Short Answer
Transplanting a cactus may seem daunting, but with the right approach, it can be a straightforward process. This guide aims to equip you with the knowledge and confidence needed to safely move your cactus to a new location, ensuring its health and vitality remain intact.
Before embarking on the transplanting journey, it is essential to understand why you might need to do so. Cacti may require relocating due to several reasons: they may have outgrown their current pot, you might be changing your home’s decor, or perhaps your plant could benefit from new soil to thrive better. Regardless of the reason, careful planning and execution are paramount.
Here’s a detailed step-by-step breakdown:
Understanding the Right Time to Transplant Your Cactus
Timing plays a crucial role in the successful transplanting of your cactus. Ideally, you should consider moving your cactus during its active growing season, which typically falls between late winter and early spring. During this period, the plant is more resilient and able to recover from the shock of being uprooted.
Look for signs that your cactus needs to be transplanted. If the roots are exceeding the pot’s confines or if you notice stunted growth, it may be time for a change. Additionally, if the soil has degraded or retains too much moisture, a transplant can rejuvenate your cactus’s living conditions.
Gathering Essential Tools for Transplanting
To make the transplanting process seamless, it is prudent to gather the necessary tools beforehand. Here is a list of items you will need:
- New pot: Choose one that is slightly larger than the current pot, ensuring it has good drainage holes.
- Soil: Use a well-draining cactus mix or create your own by blending potting soil with sand and perlite for enhanced aeration.
- Gloves: Protect your hands from spines and ensure safety during the process.
- Shovel or trowel: For loosening soil and moving the cactus.
- Watering can: For gently moistening the soil before transplanting.
Now that you are well-equipped, let us move onto the step-by-step process of transplanting your cactus.
Steps to Safely Transplant Your Cactus
Prepare the New Pot
Before removing your cactus from its existing pot, prepare the new one. Fill it partially with your chosen soil mix, ensuring that the drainage holes are unobstructed. You want the soil to be densely packed enough to support the cactus’s roots but loose enough to allow for airflow.
Remove the Cactus from Its Old Pot
With your gloves on, carefully tip the old pot on its side. Gently coax the cactus out by lightly tapping the pot’s sides. If necessary, use a trowel to loosen the soil around the edges while being cautious of the spines. Be firm but gentle—excessive force can damage the root system.
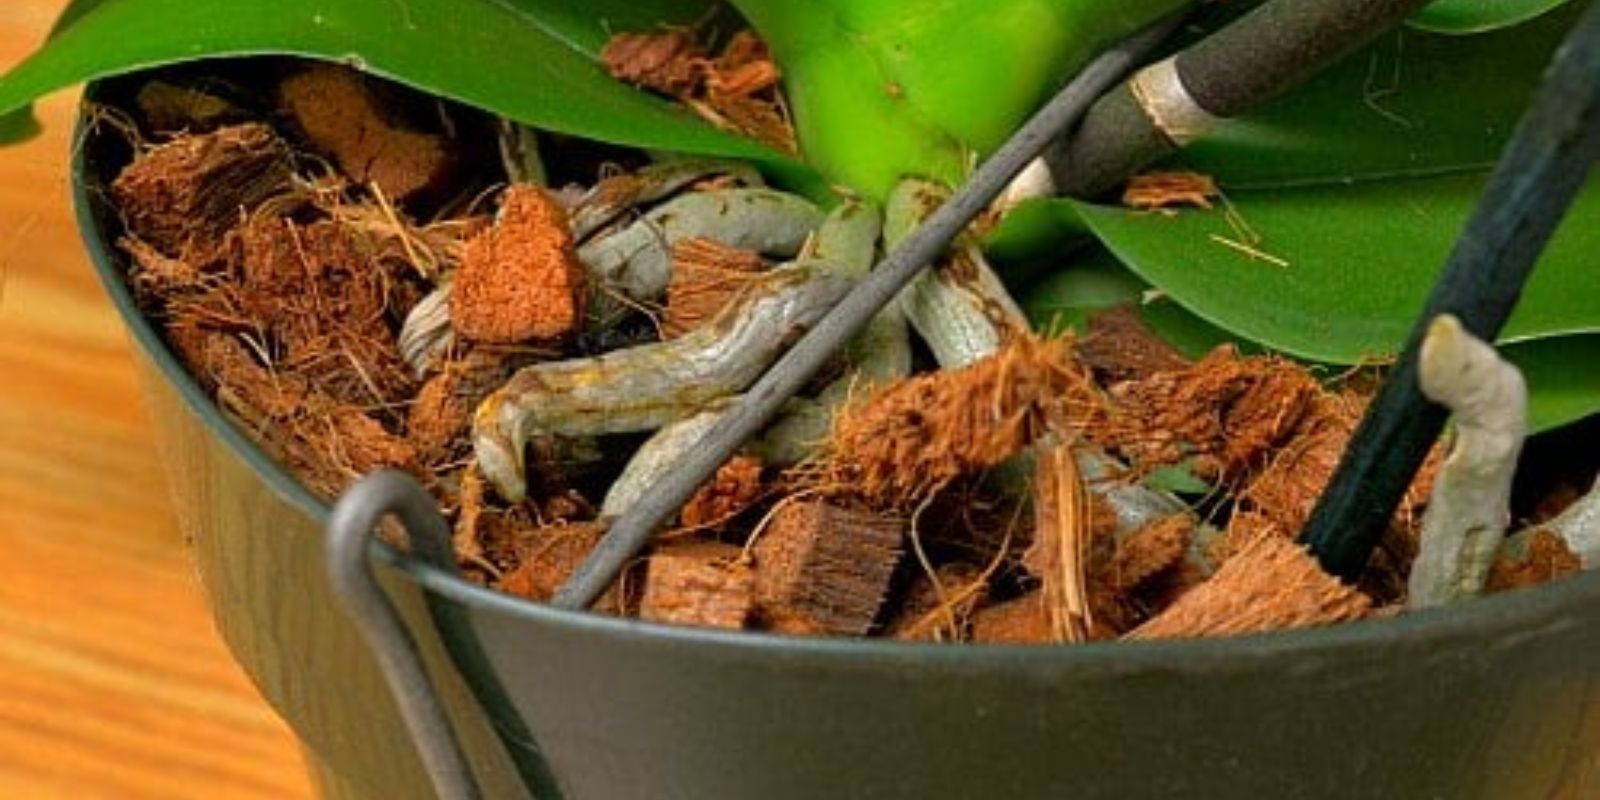
Inspect and Prune the Roots
Once removed, it’s time to examine the root ball. Look for any signs of rot, which may appear as mushy, dark roots. If you encounter unhealthy roots, use sterilized scissors or pruning shears to trim away the affected areas. Healthy roots are typically firm and light in color. This step is essential to ensure that your cactus has the best chance of thriving in its new environment.
Place the Cactus in the New Pot
Center your cactus in the new pot, ensuring that it sits at the same depth as it did in the previous one. This is crucial—planting it too deep can cause rot, while too shallow can expose roots to air, compromising the plant’s health. Carefully fill in around the roots with fresh soil, firming it gently to eliminate air pockets.
Watering After Transplanting
After successfully positioning the cactus in its new pot, it’s time for a delicate watering. Use the watering can to moisten the soil lightly, ensuring you don’t inundate it. Adequate drainage is vital, so allow excess water to flow out through the pot’s drainage holes. Overwatering post-transplant can lead to further complications, so err on the side of caution.
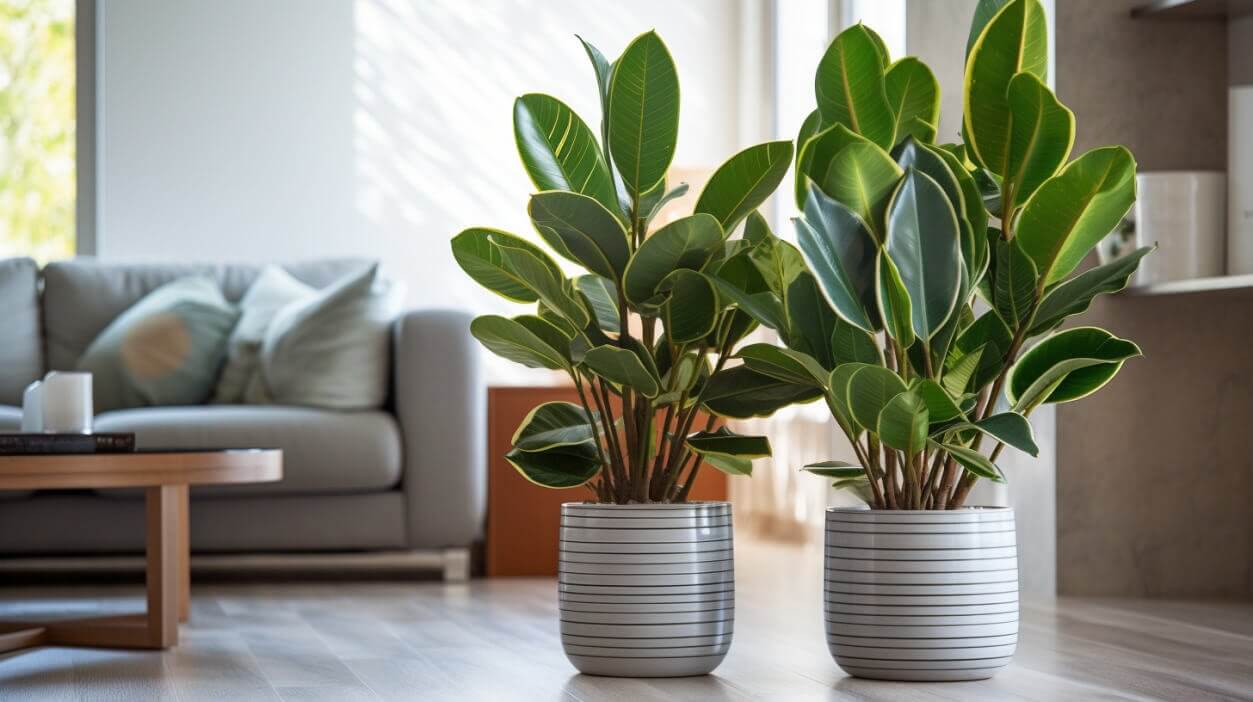
Finding the Right Location
Selecting an appropriate location for your newly transplanted cactus is pivotal. Choose a spot that receives ample sunlight, as most cacti prefer bright, indirect light. Avoid locations where the plant might experience extreme temperature fluctuations or drafts, as these factors can stress the plant.
Pampers Post-Transplant Care
After transplanting, give your cactus a bit of time to acclimate. For the first two weeks, refrain from watering unless the soil appears excessively dry. Withhold fertilizer during this initial adjustment period, as the roots are still establishing. Gradually reintroduce watering and fertilizers once the cactus shows signs of recovery and growth. Monitoring its progress closely will provide insights into its health.
In Conclusion
Transplanting a cactus does not have to be a nerve-wracking ordeal. By following these comprehensive steps and employing careful techniques, you can ensure the successful relocation of your beloved plant. Remember that patience and attentiveness during the transplanting process lay the foundation for a healthy cactus that will thrive in its new home.
FAQ
What is the right time to transplant a cactus?
The ideal time is during the cactus's active growing season, usually late winter to early spring.
How do I prepare my cactus for transplant?
Gather tools, prepare a new pot with well-draining soil, and wear gloves to protect from spines.
How should I handle the roots during transplant?
Inspect roots for rot, prune unhealthy roots, and ensure the cactus is planted at the same depth.
How often should I water my cactus after transplanting?
Water lightly after transplanting and withhold further watering for about two weeks unless the soil dries out completely.
Where should I place my cactus after transplant?
Place it in a location with bright, indirect sunlight and avoid extreme temperature changes or drafts.

Leave a Reply