Short Answer
Aloe plants, with their striking rosettes and succulent leaves, are not just aesthetically pleasing; they are also incredibly resilient and relatively easy to propagate. Growing aloe plants from cuttings can be a rewarding endeavor for both novice and seasoned gardeners alike. This guide will delve into the methods, care, and considerations involved in successfully cultivating aloe plants from cuttings.
The first step in your aloe propagation journey is to understand the different types of cuttings and methods available. Aloe has two primary forms of cuttings: leaf cuttings and offsets. Each has its unique advantages and nuances, which tailored techniques can maximize.
Understanding Aloe Cuttings
When it comes to propagating aloe, understanding what you’re working with is crucial. Aloe vera, for instance, is the most commonly cultivated species, appreciated for its medicinal properties and ease of care. However, many other members of the Aloe genus exist, each possessing distinctive characteristics.
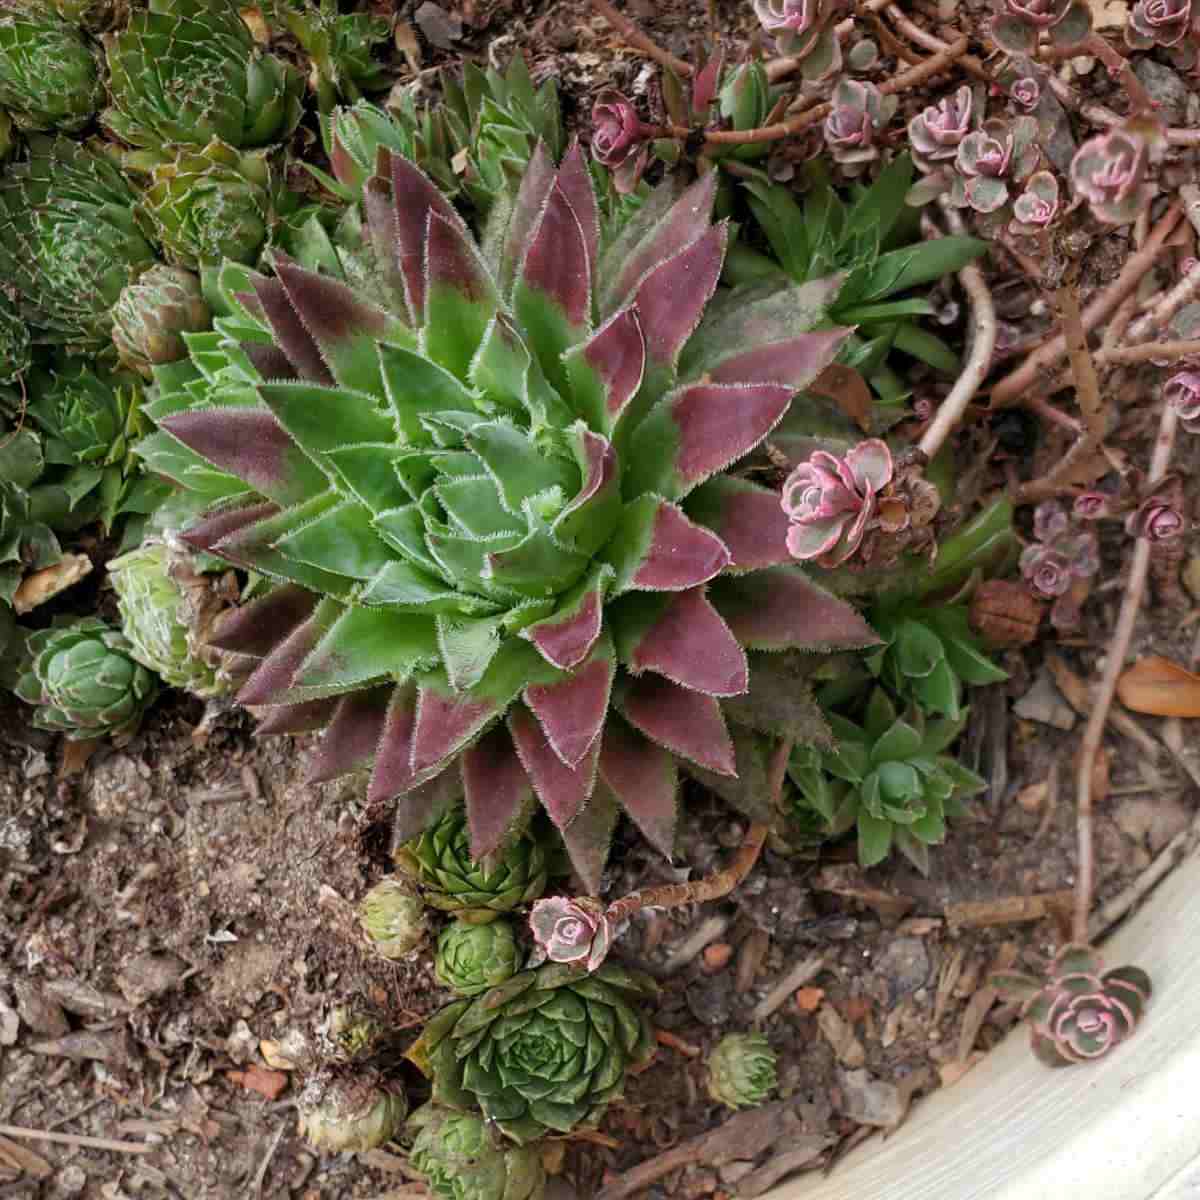
Offsets, often referred to as “pups,” are small offshoots that grow at the base of the parent plant. These are the most straightforward way to propagate aloe and will generally have a higher success rate compared to leaf cuttings. They can be removed from the main plant and planted as independent specimens.
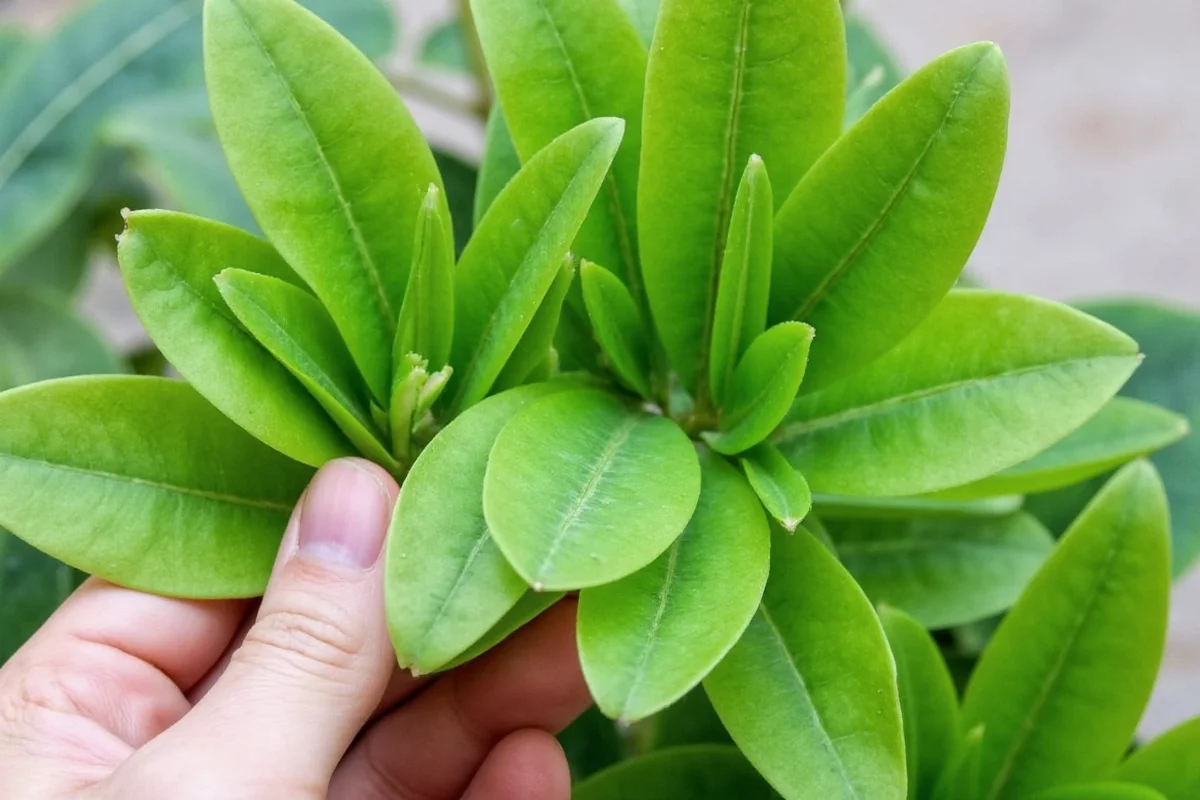
Leaf cuttings, while possible, are less reliable for propagation, as not all aloe leaves will root effectively. If opting for this method, choose healthy, mature leaves. However, offsets are typically favored due to their higher likelihood of success and faster growth rates.
Preparing the Cuttings
Once you’ve chosen between offsets and leaf cuttings, the next step is proper preparation. For offsets, ensure you have a clean, sharp tool to make the cut. Gently dig around the base of the pup and sever it from the parent plant, taking care not to damage the roots.
If working with leaf cuttings, select a healthy, larger leaf from the base of the rosette. Cut the leaf with a clean knife at a 45-degree angle to maximize the rooting surface area. After making your cut, allow the cutting to dry for a few days in a shaded, warm area. This step is crucial, as it allows the cut surface to callous over, helping to minimize rot when planted.
Choosing the Right Medium
The medium you select for planting your cuttings significantly affects their chances of successful establishment. A well-draining soil mix is crucial for aloe. They thrive in substrates that mimic their native arid environments.
A mixture of cactus potting soil combined with perlite or coarse sand is ideal. This blend facilitates excellent drainage while providing enough nutrients. Avoid using regular potting soil, as it tends to retain moisture and risks overwatering, leading to root rot.
Before planting, fill your pots or containers with the prepared soil mix. Make sure that the pot has adequate drainage holes. While it might be tempting to choose attractive containers without drainage, ensure that the cuttings have the necessary conditions for healthy growth.
Planting the Cuttings
With your cuttings prepared and your potting medium ready, it’s finally time to plant. For offsets, simply place the pup into the soil, ensuring the roots are gently buried but the rest of the plant’s body remains above the soil line. For leaf cuttings, insert the cut end into the soil mix, ensuring it’s upright and stable.
Do not water immediately after planting. Instead, allow the cuttings a few days to acclimatize to their new environment. Once planted, they will require a careful watering regimen. Wait until the soil dries out almost completely before watering to avoid the complications of over-saturation.
Providing the Ideal Environment
Aloe plants prefer warm temperatures and bright indirect sunlight. Place your newly potted cuttings in a location that receives ample natural light but is shielded from direct sunlight, which can scorch the delicate leaves. If sunlight is too intense, consider using sheer curtains to diffuse the light.
During the initial stages of growth, maintaining a humid environment is beneficial. A humidity dome or plastic bag over the plant can help retain moisture, but ensure that there is adequate airflow to prevent mold growth.
Watering and Fertilization
After the cuttings have settled in, it’s vital to adopt a structured watering regimen. Water the newly potted cuttings every couple of weeks, allowing the soil to dry out completely before each watering. This practice mimics their natural habitat, where drought conditions often prevail.
Regarding fertilization, it’s best to withhold any nutrients during the first few months to allow the plant to establish itself. Once your cuttings have developed roots and new growth appears, you can use a diluted succulent or cactus fertilizer during the growing season to promote robust health.
Promoting Healthy Growth
Keep an eye out for signs of growth. New leaves emerging from the center of the rosette signify that your cuttings are establishing roots. Additionally, ensure that you regularly inspect for pests such as mealybugs or aphids, as these can hinder your aloe plants’ growth.
Propagation from aloe cuttings can be an enriching experience that allows you to expand your plant collection affordably. By understanding the intricacies of aloe propagation, preparing your cuttings properly, and providing the right conditions, you can cultivate a thriving space infused with these resilient plants. Growing aloe from cuttings not only rewards your gardening efforts, but it can also lead to a deeper appreciation of nature’s resilience and diversity.
FAQ
How do I propagate aloe plants from offsets?
Gently remove offsets from the base of the parent plant with a clean tool, allow them to dry briefly, and plant in well-draining soil.
Can I use regular potting soil for aloe cuttings?
No, regular potting soil retains too much moisture and can cause root rot. Use a cactus soil mix with added perlite or sand.
When should I water newly planted aloe cuttings?
Wait several days after planting before watering, then water only when the soil is completely dry.
What are common pests to look for on aloe plants?
Mealybugs and aphids are common pests that can affect aloe growth and should be monitored regularly.
Leave a Reply