Replanting a cactus can seem daunting, particularly when dealing with large specimens that possess both stature and spines. However, with the right knowledge and tools, the process can be a rewarding experience, promoting the health and vitality of your beloved plant. This article delves into the meticulous procedure of transplanting a cactus, ensuring optimal conditions for its growth while addressing common concerns and considerations.
Understanding the Importance of Repotting
Repotting is a fundamental aspect of maintaining the health of any plant, especially for cacti. Over time, cacti may become root-bound, where the roots entwine tightly within their pot, restricting growth and nutrient uptake. Additionally, the soil may degrade, losing its aeration and drainage properties, which are crucial for the unique needs of desert-dwelling plants. Recognizing signs that your cactus requires repotting—such as slow growth, visible roots emerging from drainage holes, or soil depletion—is essential for proactive care.
Furthermore, environmental factors such as a change in light conditions or seasonal shifts may necessitate moving your cactus to a more suitable location, enhancing its exposure to the appropriate light levels. Hence, the decision to replant should not merely be reactive but rather a part of a holistic gardening strategy.
Essential Tools and Materials for Transplanting
Before embarking on the repotting journey, gather the necessary tools and materials. Proper preparation is paramount in ensuring a smooth and effective transplant process.
- Potting Soil: A well-draining cactus mix, often containing sand, perlite, and peat moss, is ideal. This blend mimics the arid environments these plants thrive in.
- Container: Select a pot slightly larger than the current one, ensuring it has ample drainage holes to prevent waterlogging.
- Gloves or Tongs: Protect your hands with sturdy gloves, or use tongs to handle spiny cacti safely without injury.
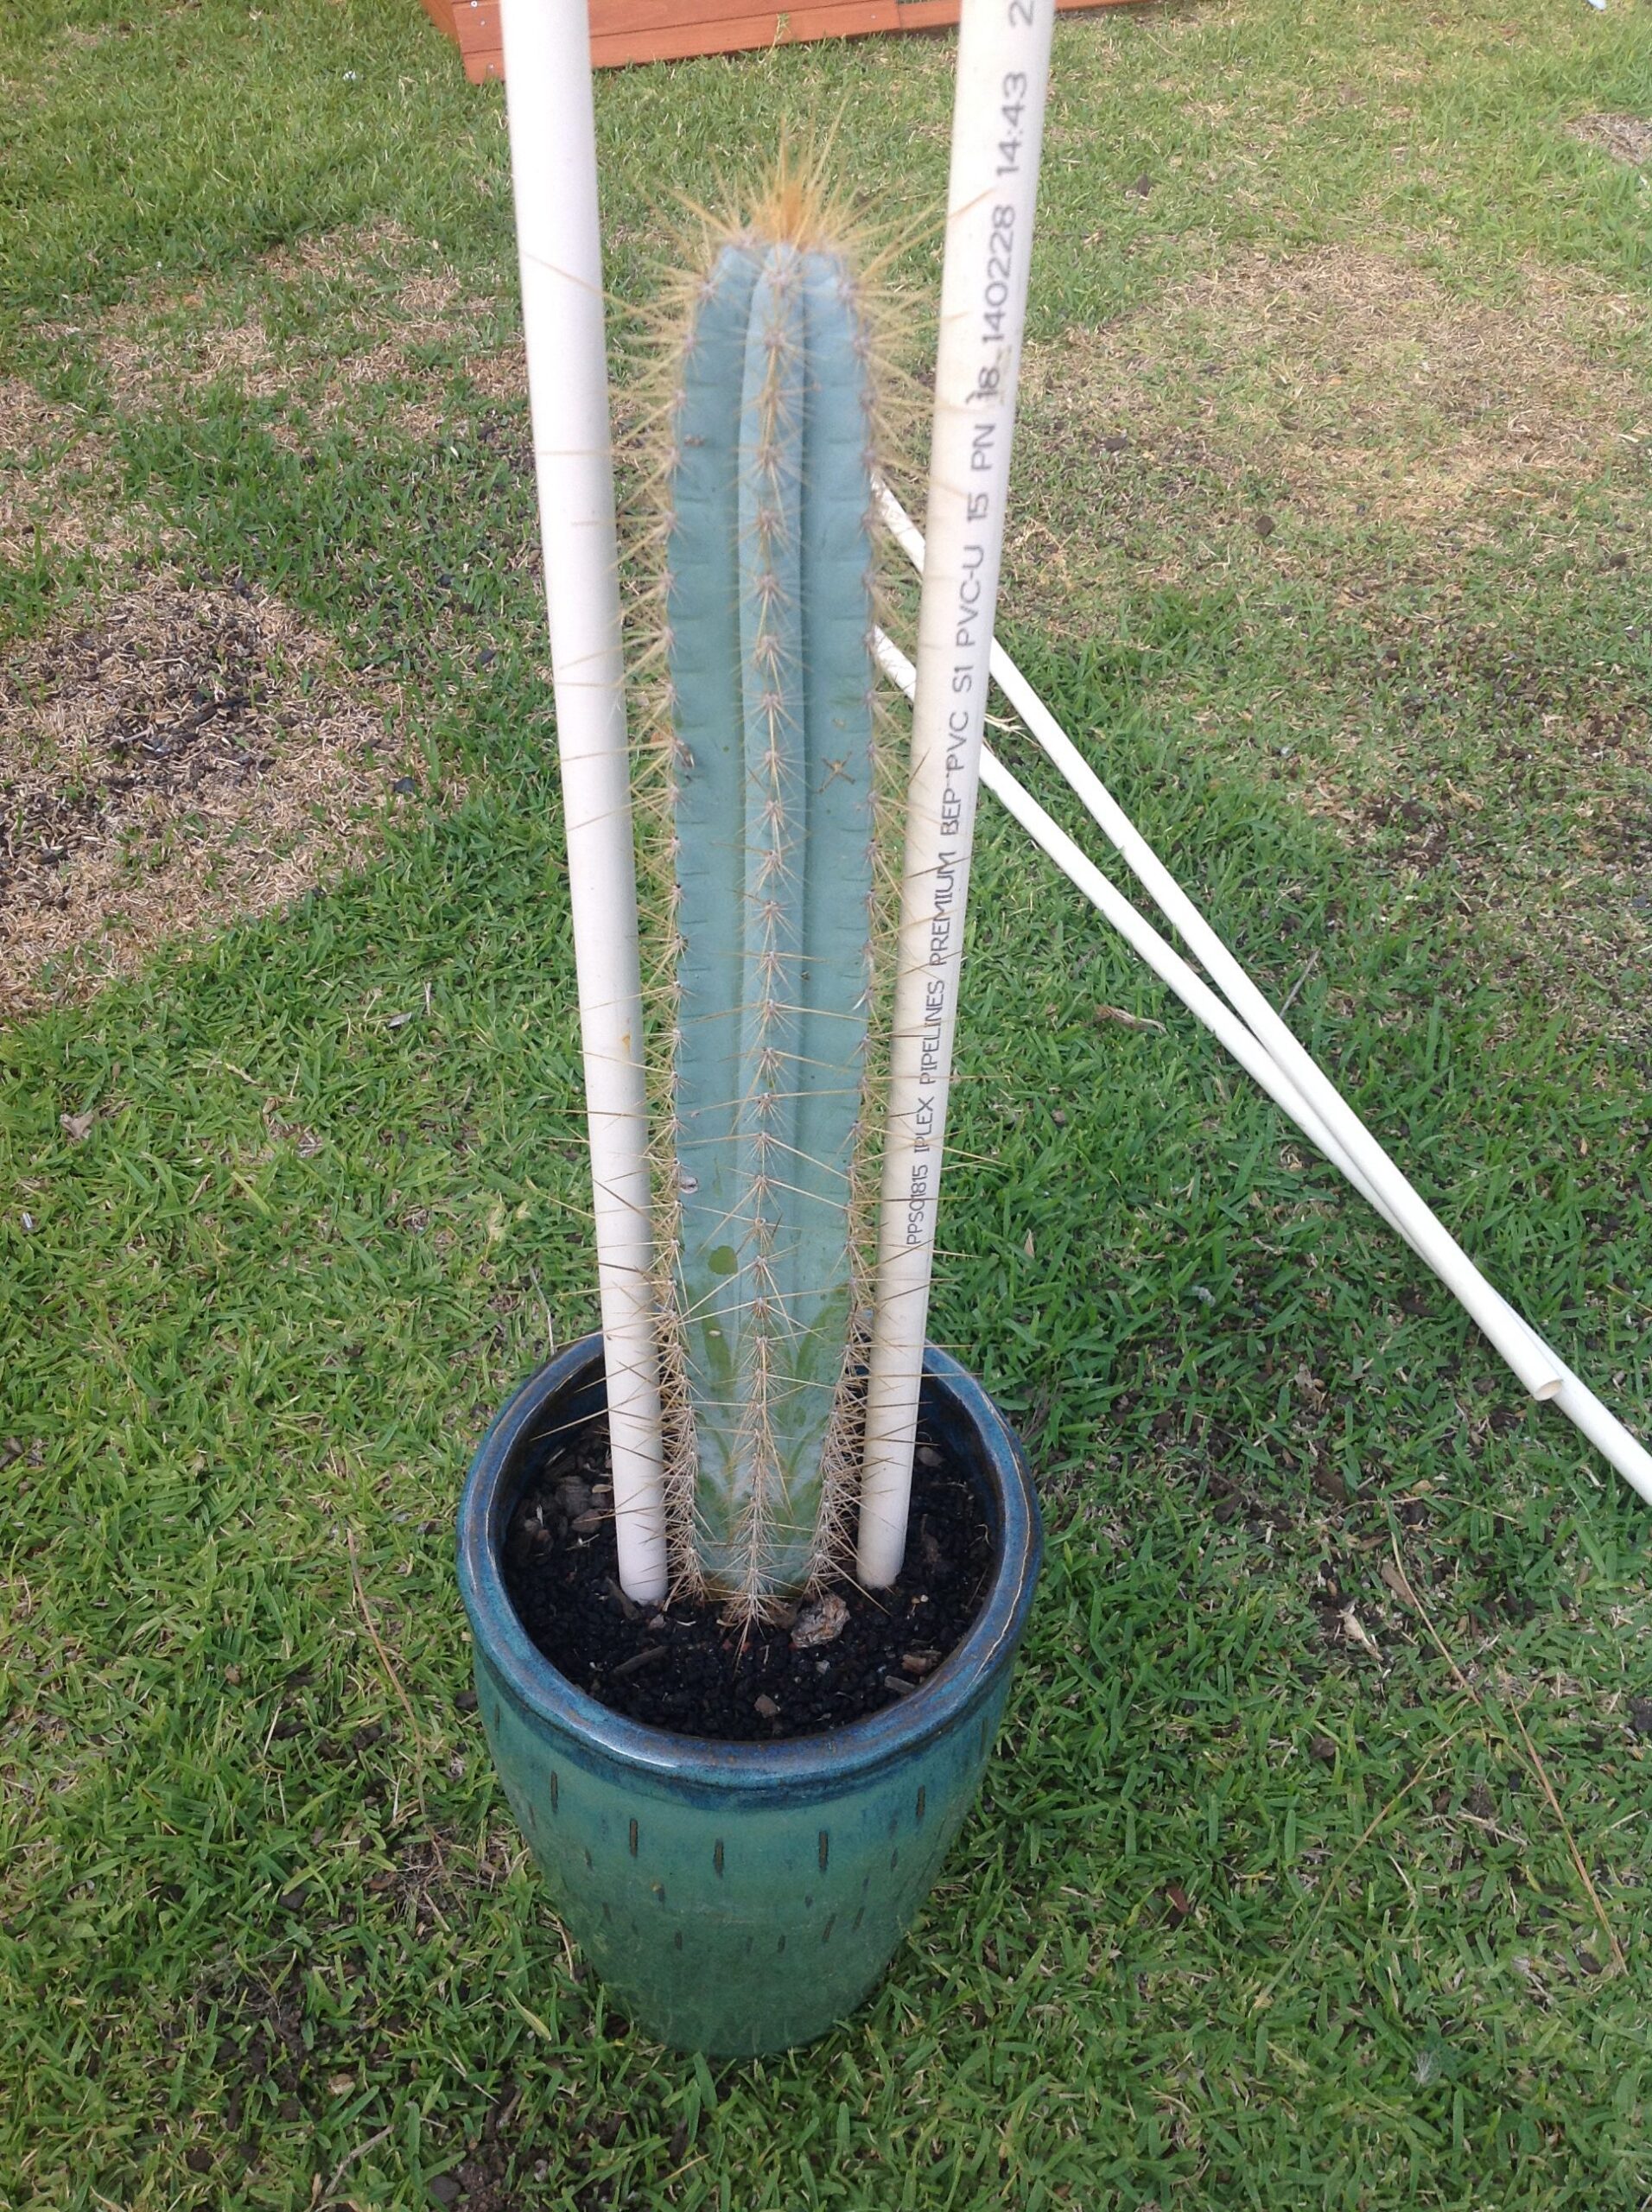
- Long Poles or Sticks: For larger cacti, these can assist in the maneuvering and stabilization of the plant during the transplant process.
- Watering Can: A fine spout watering can will help in the gentle watering of the newly potted cactus without causing soil disturbance.
Step-by-Step Instructions for a Successful Transplant
Once you have gathered your materials and tools, the following systematic steps will guide you through the repotting process.
1. Prepare the New Pot
Start by ensuring that the new container is clean and dry, free from any residues or pathogens that may harm the cactus. Layer the bottom with a small amount of fresh potting mix, providing a foundation for the root system to spread comfortably.
2. Remove the Cactus from Its Current Pot
Gently tip the cactus on its side and tap the pot’s sides to loosen the soil. If the cactus resists, carefully use a spatula or flat tool to pry it out. Avoid pulling on the plant itself to prevent damage to the roots. If necessary, a long pole can help guide the cactus out without bending it awkwardly.
Gently shake off excess soil while being cautious with the roots. Inspect them for any signs of rot or distress. Healthy roots should appear white or light tan. Trim away any damaged roots with clean scissors to promote optimal growth in the new substrate.
3. Position the Cactus in the New Pot
Place the cactus upright in the center of the new pot, ensuring that the top of the root ball is slightly below the pot’s rim. This level promotes stability and reduces the risk of soil spilling in the watering phase. Fill in around the sides with fresh potting mix, pressing down gently to eliminate air pockets.
For large cacti, consider using poles to support the plant in an upright position until the roots establish themselves. This stabilization is crucial to prevent the plant from wobbling or falling over as it acclimates.
4. Watering Guidelines Post-Transplant
After planting, water the cactus lightly, just enough to settle the soil without soaking it. Allow the top inch of the soil to dry out before adding more water. Overwatering is a common pitfall, particularly in newly potted conditions where roots need time to adjust. Follow the rule of thumb: when in doubt, wait.
5. Providing Optimal Conditions
Post-transplant, place your cactus in a warm location that receives bright, indirect sunlight. Direct sunlight can stress the recently disturbed plant. Stay vigilant for signs of stress, such as discoloration or drooping, as these may indicate a need for adjustments. Gradually acclimate it to more sunlight over several days, monitoring its response.
Additionally, resist the urge to fertilize immediately after transplanting. Wait at least a month to allow the cactus to recover and establish itself in the new substrate fully.
Conclusion: Embracing the Art of Cactus Care
Replanting a cactus is more than a straightforward task; it is an art that marries knowledge, precision, and a touch of patience. By adhering to these detailed guidelines, you can ensure a successful transplant that not only rejuvenates your cactus but also enhances its longevity and resilience. Embrace the beauty of this enduring plant, and with the right care, it will thrive in its new environment for years to come.


Leave a Comment