Short Answer
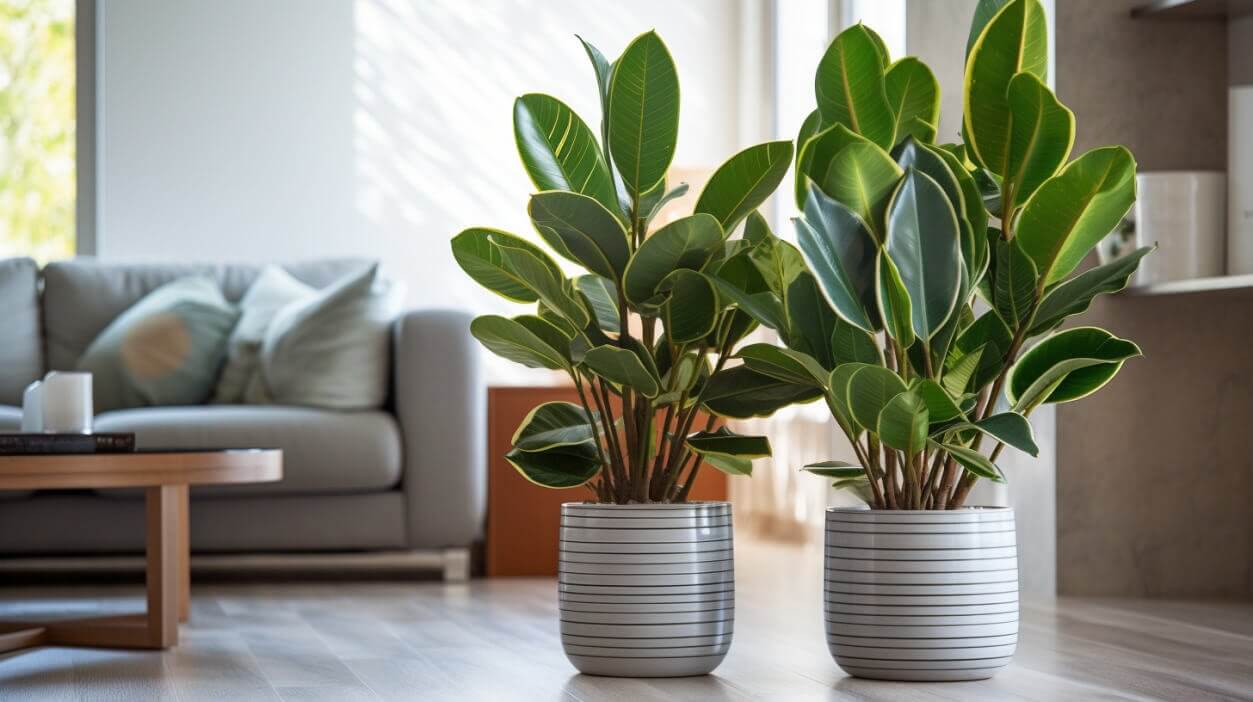
Cacti are remarkable plants that capture the imagination with their resilience and unique adaptations to arid environments. Understanding how to repot cacti is essential for maintaining their health and vitality. Repotting not only provides the necessary nutrients these plants require as they grow, but it also facilitates proper drainage and air circulation, essential for their well-being.
For many enthusiasts, the fascination with cacti stems not only from their exotic appearance but also from the peculiar qualities that enable them to thrive in harsh conditions. When undertaking the task of repotting, it is crucial to recognize that this process is more than just a simple transfer of soil; it is an opportunity to nurture these admirable plants in a manner that respects their unique needs.
Before diving into the nitty-gritty of repotting techniques, one must understand when it is the right time to repot a cactus, the critical factors that influence this decision, and the tools required to make the transition smooth.
Recognizing the Signs: When to Repot Your Cactus
It is vital to determine the right moment to repot your cactus. While some plants indicate their need for a new home with visible signs, cacti are less expressive. A few telltale signs can provide a clue:
First, observe the growth patterns. If your cactus appears to have outgrown its current container—often evident if roots are emerging from the drainage holes—it’s time to consider repotting. An undersized pot can restrict growth and affect the plant’s overall health.
Second, evaluate the condition of the soil. Cacti require well-draining soil to thrive. If the substrate has become compacted, holds too much moisture, or has developed an unpleasant odor, a change is necessary. Fresh soil also helps reinvigorate the plant’s nutrient supply.
Finally, seasonal changes can cue the optimal time for repotting. The best time to repot cacti is during their active growing season, typically in late winter or early spring, when they can recover quickly and establish roots in the new soil.
Gathering the Essential Tools: Preparing for Repotting
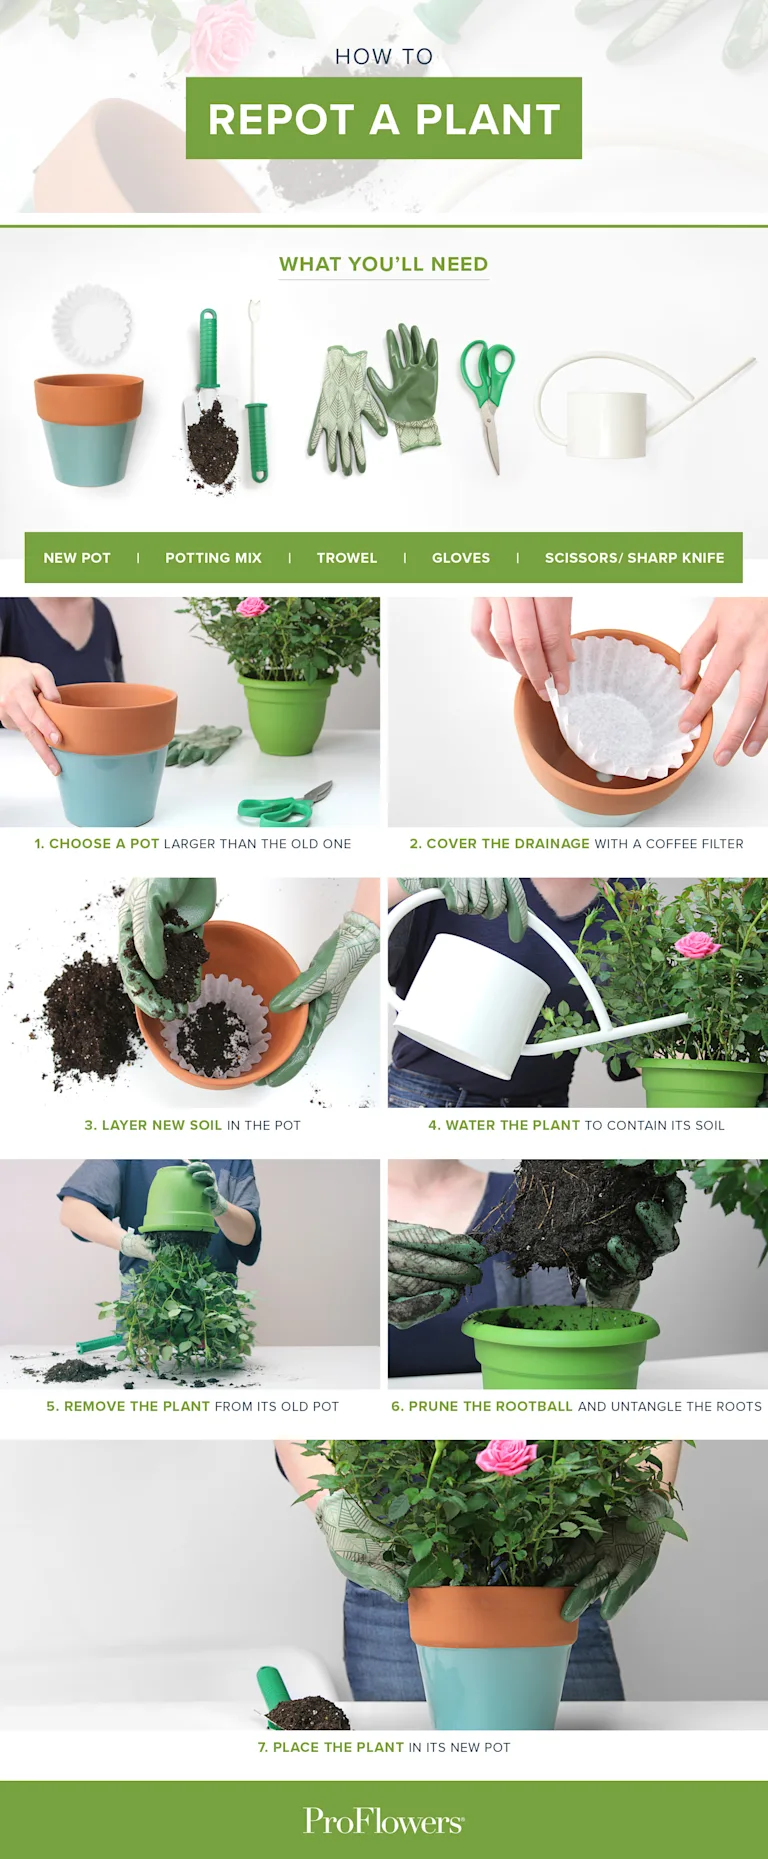
Before beginning the repotting process, gather the necessary tools. Proper preparation is key. You will need:
- A new pot that is one size larger than the current one, ensuring it has drainage holes.
- Specialized cactus and succulent potting soil that provides the right balance of drainage and aeration.
- Garden gloves to protect your hands from sharp spines and potential irritants.
- Tools such as a small trowel, a chopstick for gentle soil manipulation, and, optionally, a spray bottle for moisture control.
Executing the Repotting Process: A Step-by-Step Guide
Now that the preliminaries are in order, it is time to commence the repotting process. This procedure involves several critical steps, each contributing to the overall success of the transition.
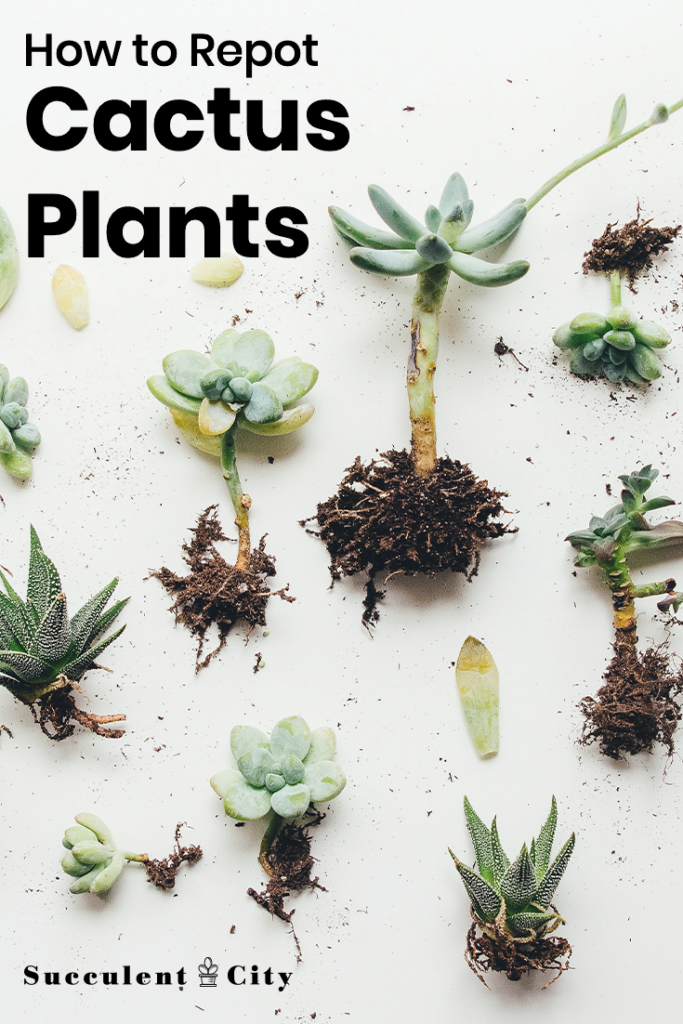
Start by gently removing the cactus from its current pot. Tilt the container and carefully slide your hand over the base of the cactus. It may help to grip the plant with a folded cloth or paper towel to avoid injury. The root system should come out with a little coaxing.
Once freed, examine the roots. A healthy root system should be firm and white or light tan. Trim any dead or rotting roots using sterilized scissors. This step is vital for ensuring that the remaining roots can absorb nutrients effectively.
Prepare the new pot by adding an adequate layer of fresh potting soil at the bottom. Place the cactus into the pot, centering it. Fill around the sides with more potting mix, ensuring that the plant sits at the same depth as it did in the previous pot to prevent the stem from rotting.
Once the cactus is positioned in the pot, gently press the soil around it to eliminate air pockets while still allowing sufficient aeration. It’s crucial to avoid overly compacting the soil, as oxygen is essential for root health.
After repotting, refrain from watering the cactus immediately. Allowing time for any damaged roots to heal and callous over is necessary. It usually takes about a week before watering is appropriate—you can then mist the soil lightly to assist with moisture levels.
Establishing a Post-Repotting Care Routine: Nurturing Your Cactus
To support recovery, create a conducive care routine. Position your repotted cactus in a location with indirect bright light to minimize stress from intense sunlight until it adapts to its new environment.
Monitor watering needs carefully. As a rule of thumb, wait until the top inch of the soil dries out before watering. Ensure the pot has proper drainage to prevent root rot—a common issue that can afflict cacti.
Finally, offer an occasional liquid cactus fertilizer during the growing season to boost nutrient levels. Following the proper repotting techniques contributes not only to the physical health of the cactus but also enhances the overall aesthetic of your green space.
In conclusion, the repotting of cacti is a fundamental practice that requires attention to detail and understanding of plant biology. By adhering to the best techniques outlined, one can ensure the longevity and beauty of their cacti for years to come, underscoring the marvel of these resilient plants that continue to fascinate enthusiasts worldwide.
FAQ
What is the ideal soil for repotting cacti?
Specialized cactus and succulent potting soil that provides excellent drainage and aeration is ideal for repotting.
How do you safely remove a cactus from its pot?
Gently tilt the pot and slide your hand over the base of the cactus using a folded cloth or paper towel to protect from spines, then coax the root ball out carefully.
Can repotting damage a cactus?
If done improperly, repotting can damage roots, but trimming dead roots and allowing the plant to rest before watering helps prevent harm.

Leave a Reply