Short Answer
Propagation of cacti through cuttings is a rewarding endeavor, both for seasoned horticulturists and novice gardeners alike. With an array of fascinating species available, you can cultivate unique specimens that not only enhance your garden but also serve as striking indoor decor. This guide will walk you through the essential steps, best practices, and considerations when propagating cactus clippings, ensuring that your propagation attempts yield success.
Understanding the Propagation Process
Before embarking on your cactus propagation journey, it’s paramount to understand the biological mechanisms behind it. Cacti are succulents characterized by their ability to store water in their tissues, making them adept at surviving in arid environments. Their ability to propagate asexually—that is, without seeds—results largely from their regenerative capabilities. When properly cut and cared for, cactus segments can develop roots and eventually become independent plants. This is often achieved through several straightforward steps, beginning with selecting the right material.
Selecting the Right Cactus for Propagation
Choosing the appropriate cactus species is critical for success. Some popular choices for propagation include:
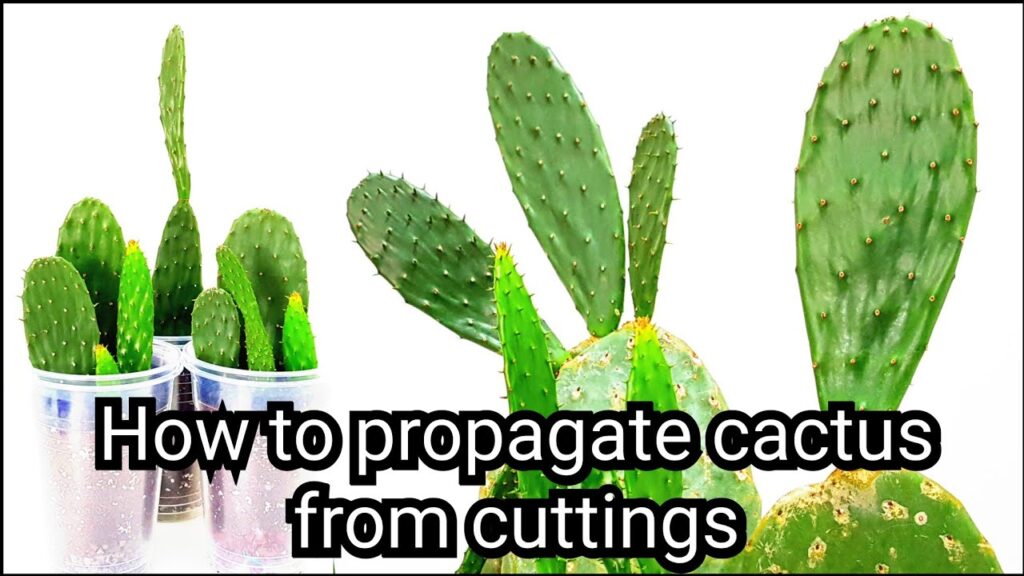
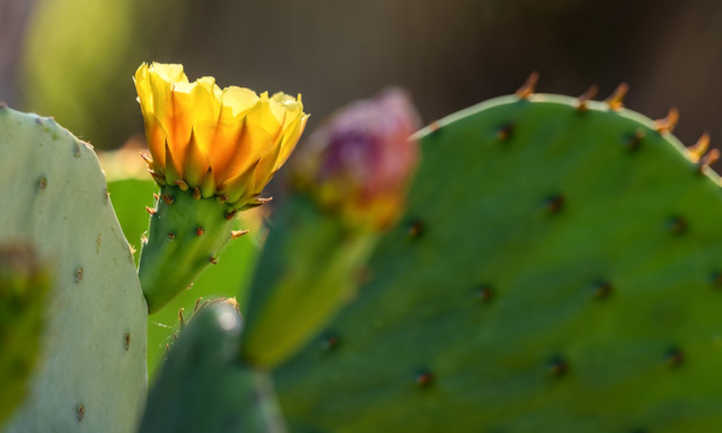
- Opuntia: Commonly known as the prickly pear, Opuntia species are especially easy to propagate from pads—or rectangular segments. Their rapid growth rate and hardiness make them a favorite among new gardeners.
- Ferocactus: Also known as barrel cactus, Ferocactus is another excellent choice. Its thick, globular shape and vibrant flowers add visual appeal, making propagation endeavors particularly enticing.
- Echinopsis: Known for their stunning blooms, Echinopsis species offer a beautiful option for cactus enthusiasts. These can be propagated through their stems and produce colorful flowers, enhancing the aesthetic of any garden or indoor setup.
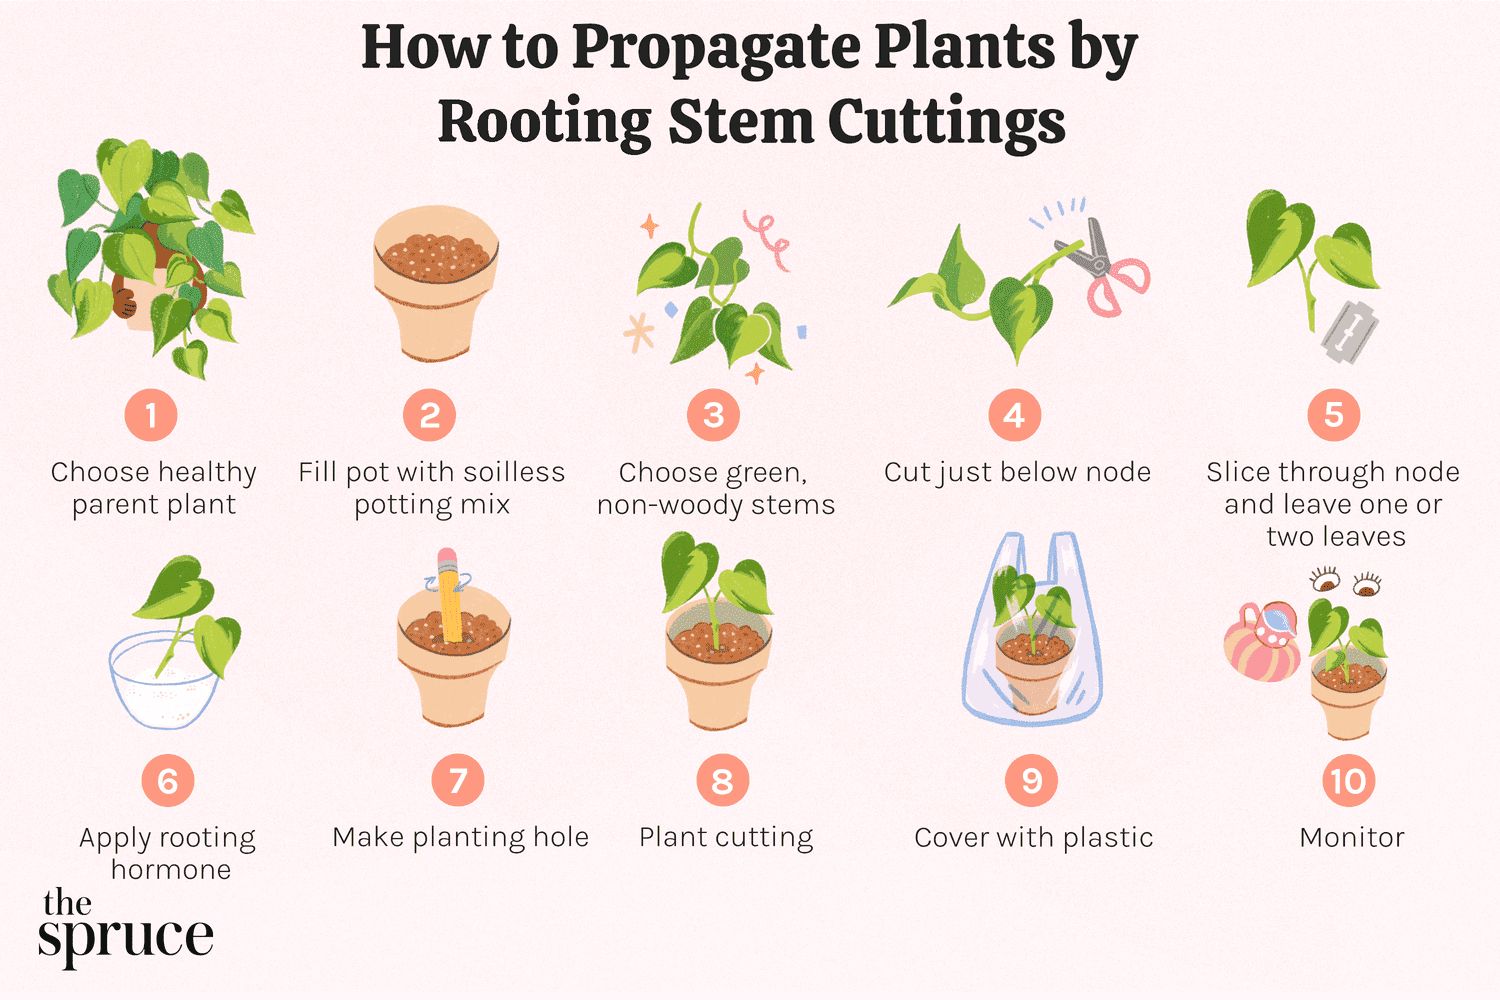
Once you’ve selected your desired cactus, preparedness is key. Gather your tools, which include a sharp, sterile knife or scissors, a clean surface for cutting, potting soil or a well-draining mixture, and planting pots.
Techniques for Cutting and Preparing Your Cactus
Knowledge of the proper cutting techniques is fundamental. Aim for healthy, mature segments of the cactus that exhibit vibrant coloration and absence of any blemishes or diseases. Follow the subsequent steps to ensure minimal stress to the plant:
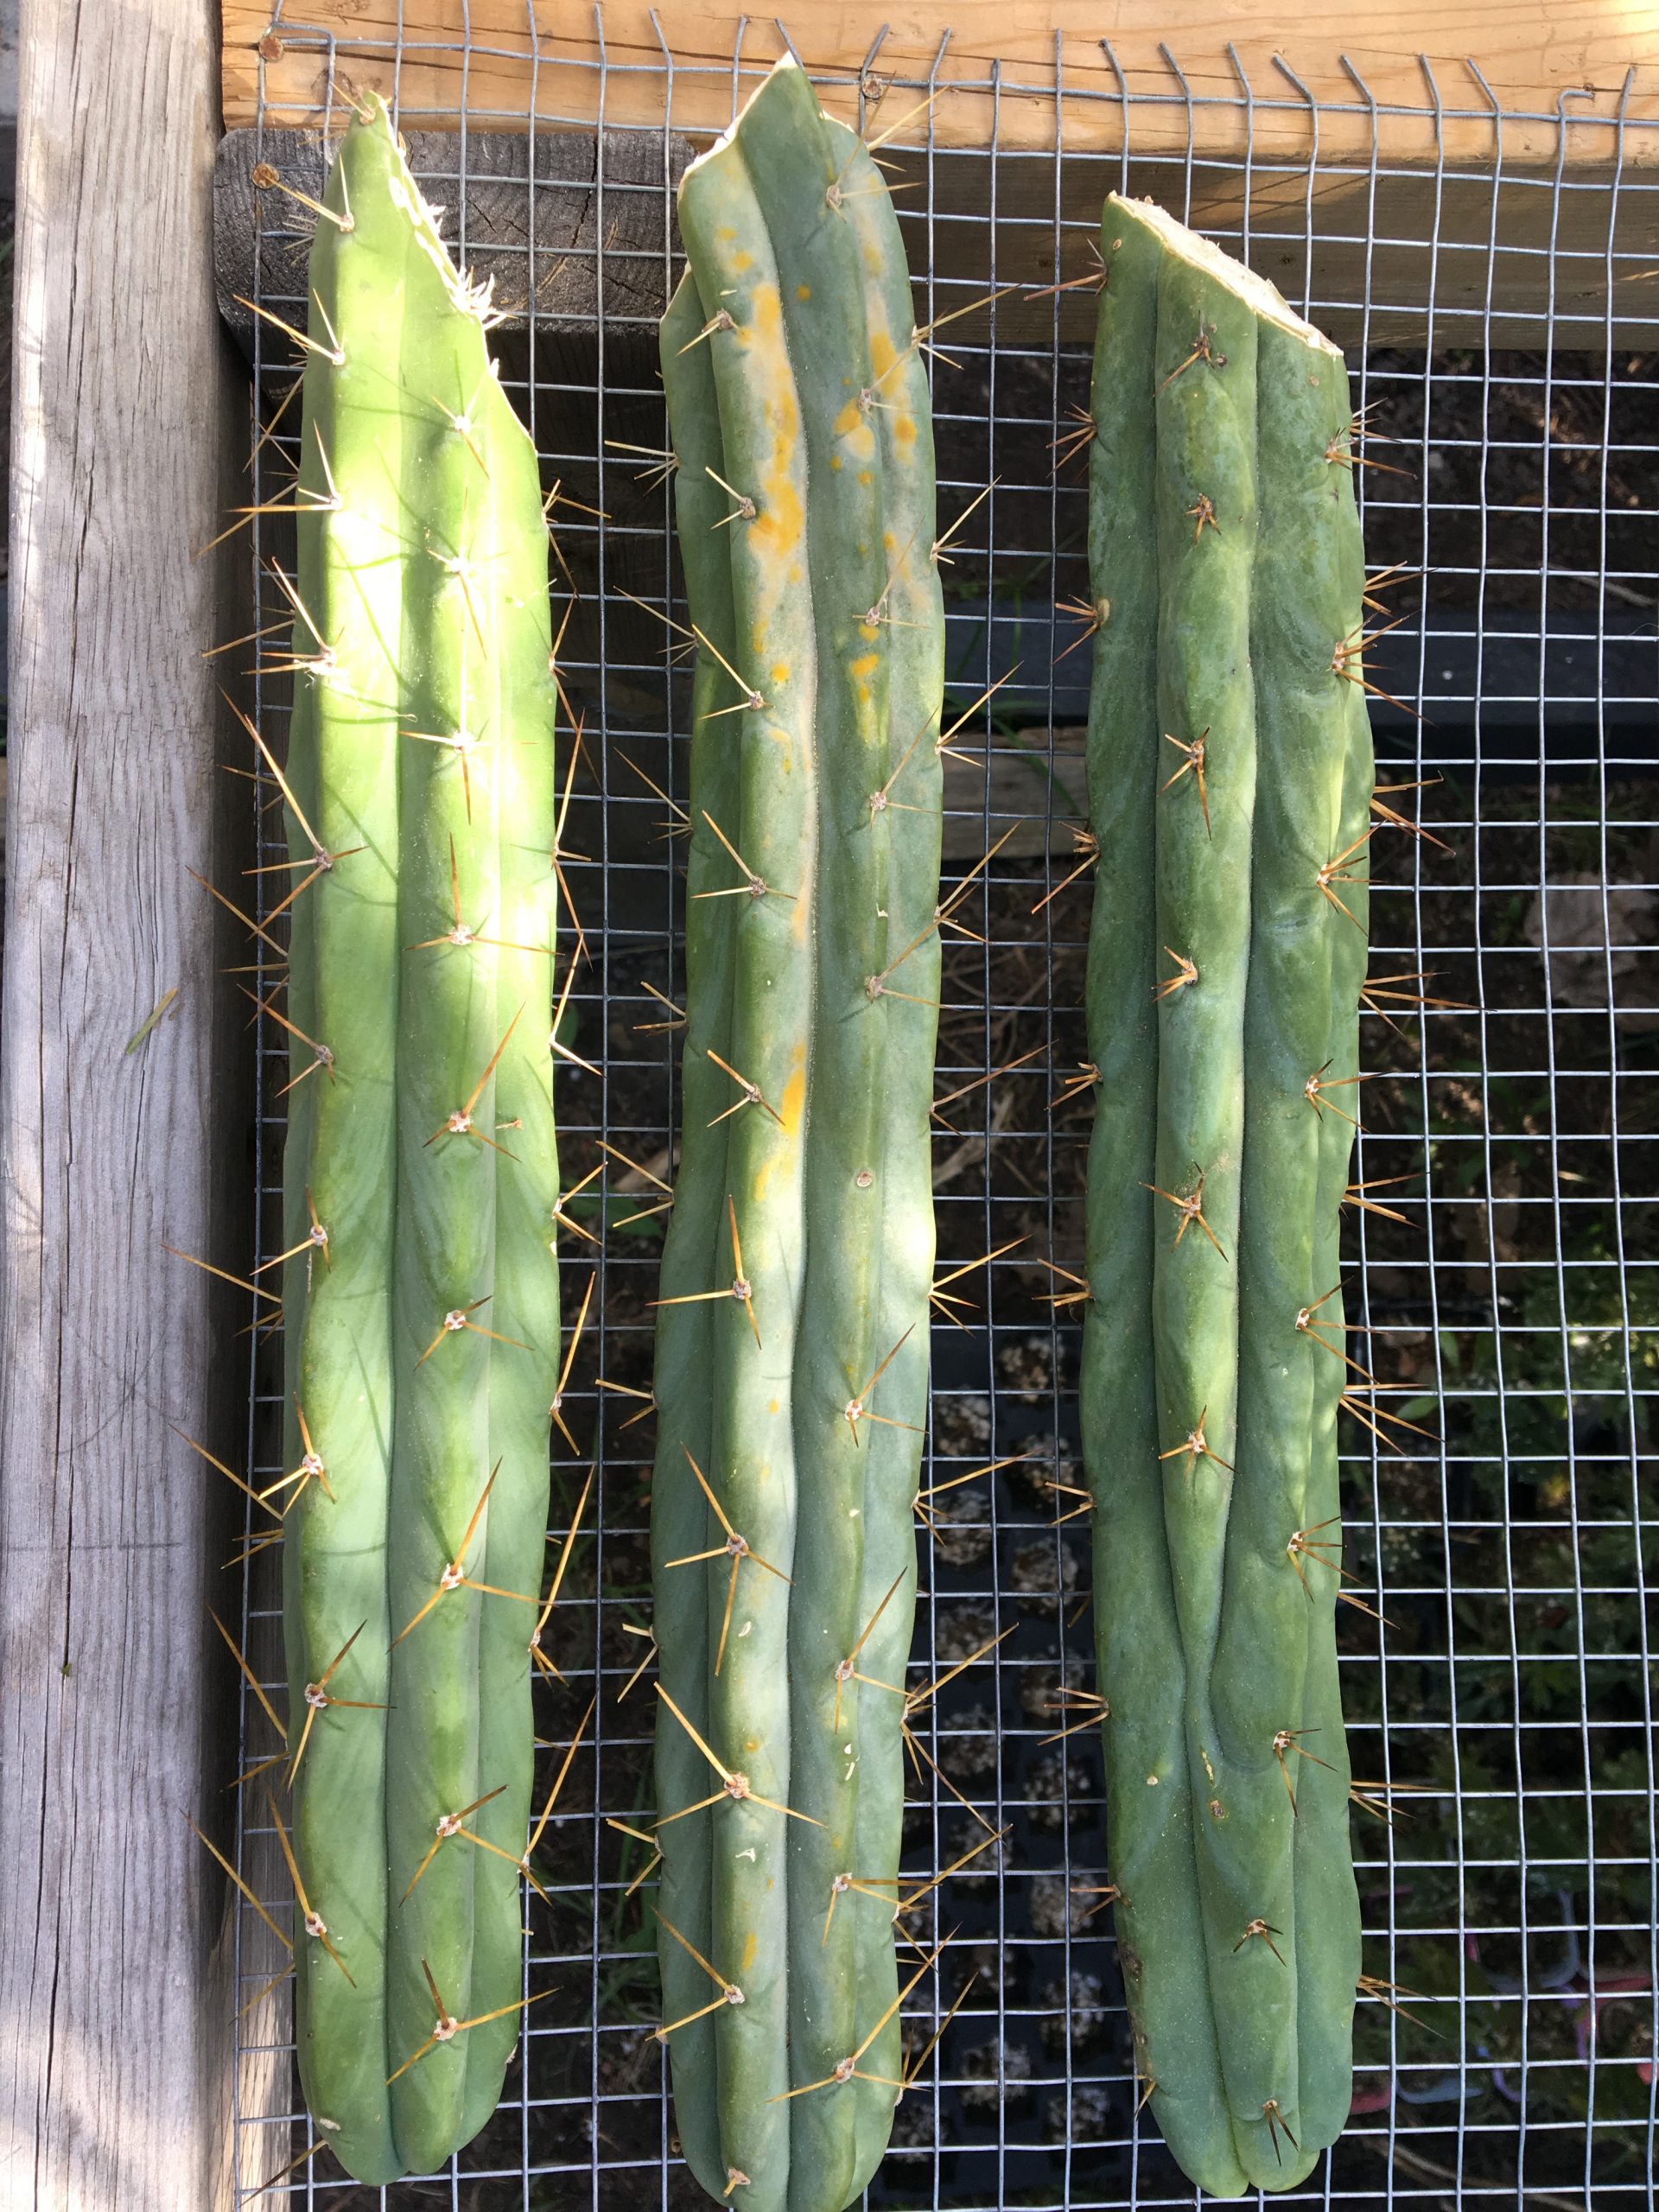
- Preparation: Use a clean, sharp knife to take your cuttings. Ideally, you want segments that are at least 4 to 6 inches long, but this can vary depending on species. If working with Opuntia, for example, individual pads can be sliced off from the main body, ensuring a clean cut at a 45-degree angle.
- Callusing: After cutting, allow the clippings to dry for about 24 to 72 hours in a shaded, dry area. This process—known as callusing—enables the wound to heal and reduces the risk of rot once planted.
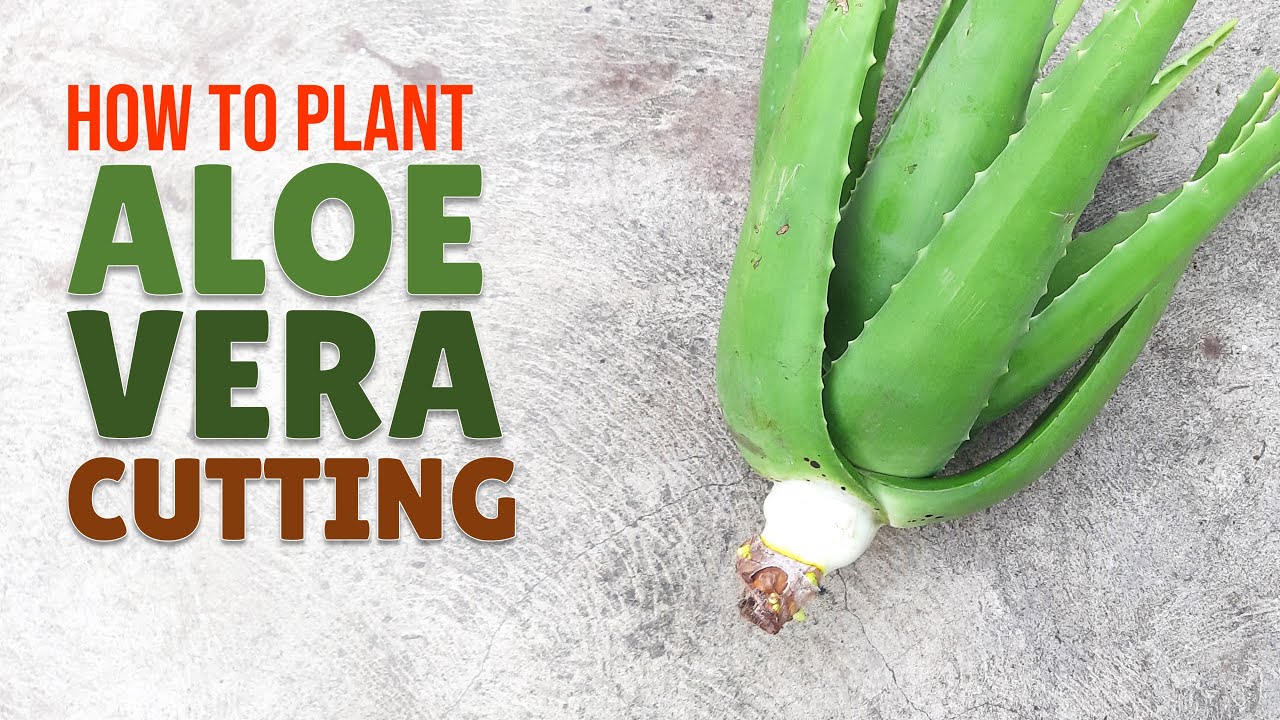
- Soil Selection: Utilize a well-draining soil mix for optimal root development. A combination of cactus soil, perlite, and sand works effectively. This mix aids in maintaining adequate aeration while preventing moisture retention, which is detrimental to cacti.
Planting Your Clippings
Once your clippings have calloused, it’s time to plant them in their new pots. Follow these steps for the best results:
- Planting Depth: Insert the calloused end of the cactus clipping about an inch deep into the soil. Ensure that the segment is positioned upright to minimize the risk of tipping over.
- Watering: Refrain from watering immediately after planting. Wait about a week to allow the roots to begin developing. After the initial waiting period, provide a light water to the soil, ensuring it is moist but not saturated.
- Environment: Place the pots in a bright location with indirect sunlight. Overexposure to direct sunlight can be damaging during the initial rooting stage. A warm, stable environment is essential for root development.
Maintaining Healthy Growth
As your cactus cuttings begin to establish themselves, diligent care will facilitate robust growth. Here are some significant aspects to consider:
- Watering Routine: After the initial week, continue with a sparse watering regimen. Cacti thrive in dry conditions and may develop root rot if overwatered. Generally, watering every two to three weeks is sufficient, but monitor the soil’s moisture levels closely.
- Fertilization: Once your cacti have established roots, usually after a few weeks to a couple of months, you can begin using a diluted cactus-specific fertilizer every month during the growing season (spring and summer).
- Temperature and Humidity: Cacti prefer warm conditions, typically between 70°F to 100°F. Their tolerance for dryness is an advantage, but be cautious of extreme temperature drops at night.
Evaluating Success and Troubleshooting
Indicators of successful propagation often include new growth appearing shortly after a few weeks. Shoots or pups developing around the base signify healthy growth. Conversely, signs of root rot or wilting require immediate attention. Adjust your watering habits and check for overly humid conditions.
To summarize, propagating cacti from cuttings offers a fulfilling avenue to expand your collection and appreciate the intricacies of these remarkable plants. Through attentive preparation, planting, and care, your propagation efforts can flourish. With patience and the right practices, anticipate watching your cacti thrive, bringing elegance and a touch of the desert to your home.
FAQ
How long does it take for cactus cuttings to root?
Cactus cuttings usually root in a few weeks to a couple of months, depending on species and environmental factors.
Should I water cactus cuttings right after planting?
No, wait about a week after planting to water to prevent rot and encourage root growth.
What soil is best for cactus cuttings?
A well-draining soil mix consisting of cactus soil, perlite, and sand is best for rooting cactus cuttings.
Which cacti are easiest to propagate from cuttings?
Opuntia, Ferocactus, and Echinopsis are among the easiest cacti to propagate from cuttings.
Leave a Reply