
Short Answer
Cactus grafting is more than just a horticultural technique; it is an art form that intertwines science, skill, and an element of creativity. The fascination with grafting lies not only in its ability to propagate unique plant varieties but also in the opportunities it presents for aesthetic expression and ecological experimentation. This guide will provide an exhaustive overview of how to graft a cactus, detailing the necessary materials, techniques, and post-grafting care to ensure successful growth.
Grafting, at its core, combines the strengths of two different plants to produce a more resilient and vibrant specimen. Understanding the why behind grafting is essential. Many cactus species have specific growth habits, pest resistance, and environmental tolerances that can be manipulated through this method. Consequently, combining these traits can create hybrids that thrive in various conditions, contributing greatly to the diversity of cacti enthusiasts enjoy today.
The following sections will delve into the essential elements of cactus grafting, discussing the necessary tools, preparation methods, and step-by-step techniques.
Essential Tools and Materials for Grafting
Before embarking on your cactus grafting adventure, gathering the proper tools and materials is imperative. The technique requires precision and care; therefore, equipping yourself with the right implements will enhance the likelihood of success.
Firstly, a sharp knife or scalpel is crucial. This tool should be disinfected to prevent any pathogen transfer that could jeopardize the health of the plants involved. A clean cut is essential for a successful graft, as it allows for the cambium layers of both plants to come into contact, promoting effective fusion.
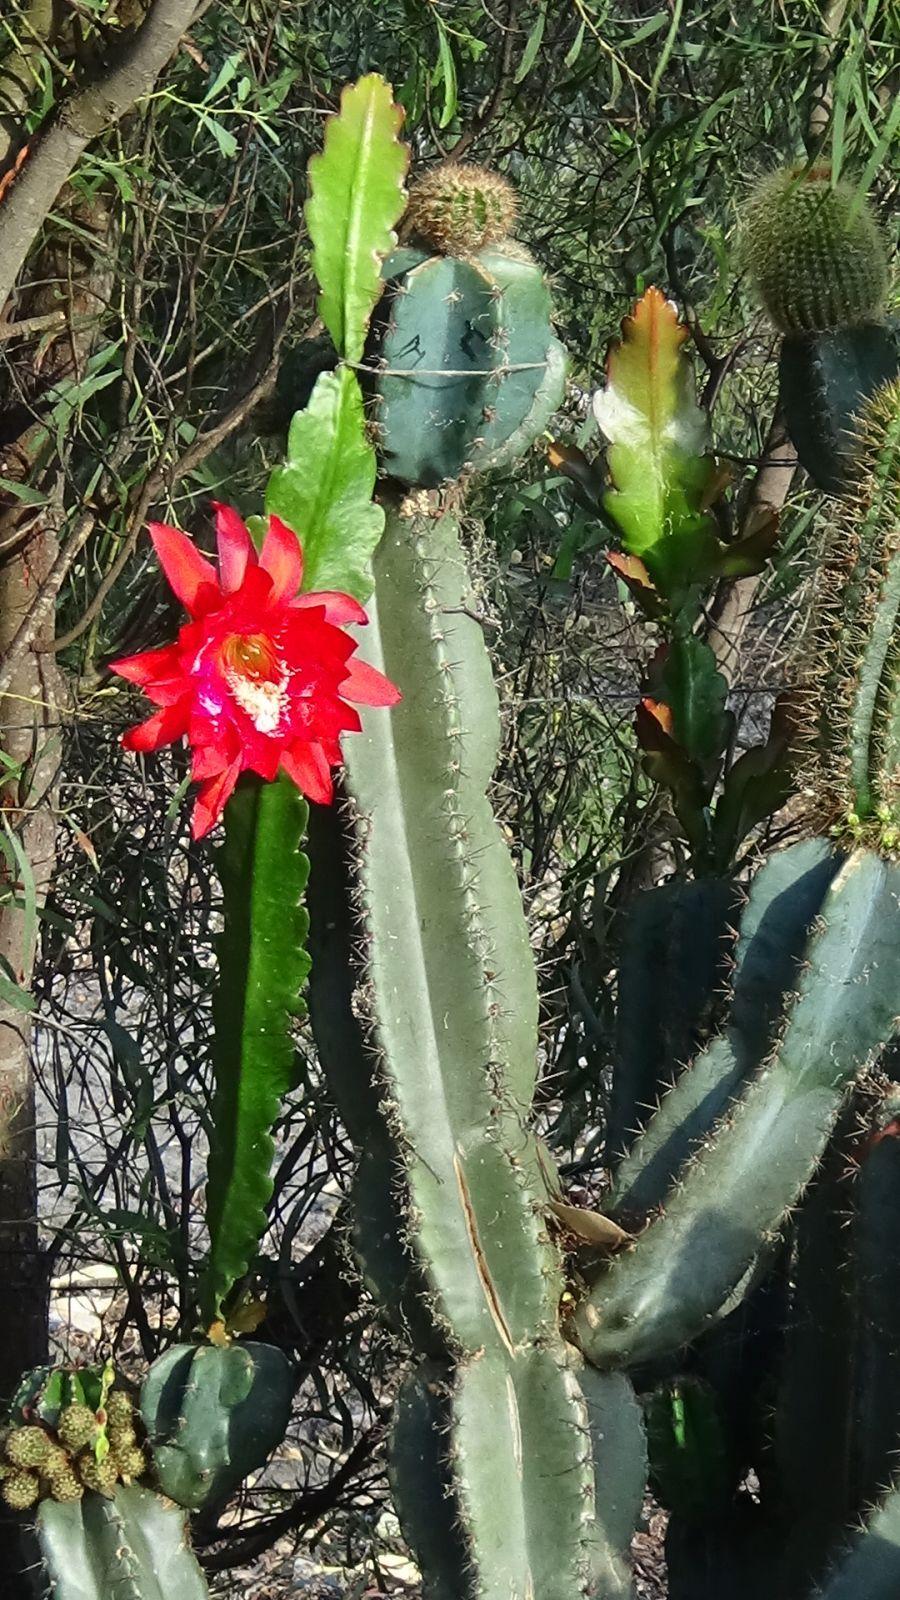
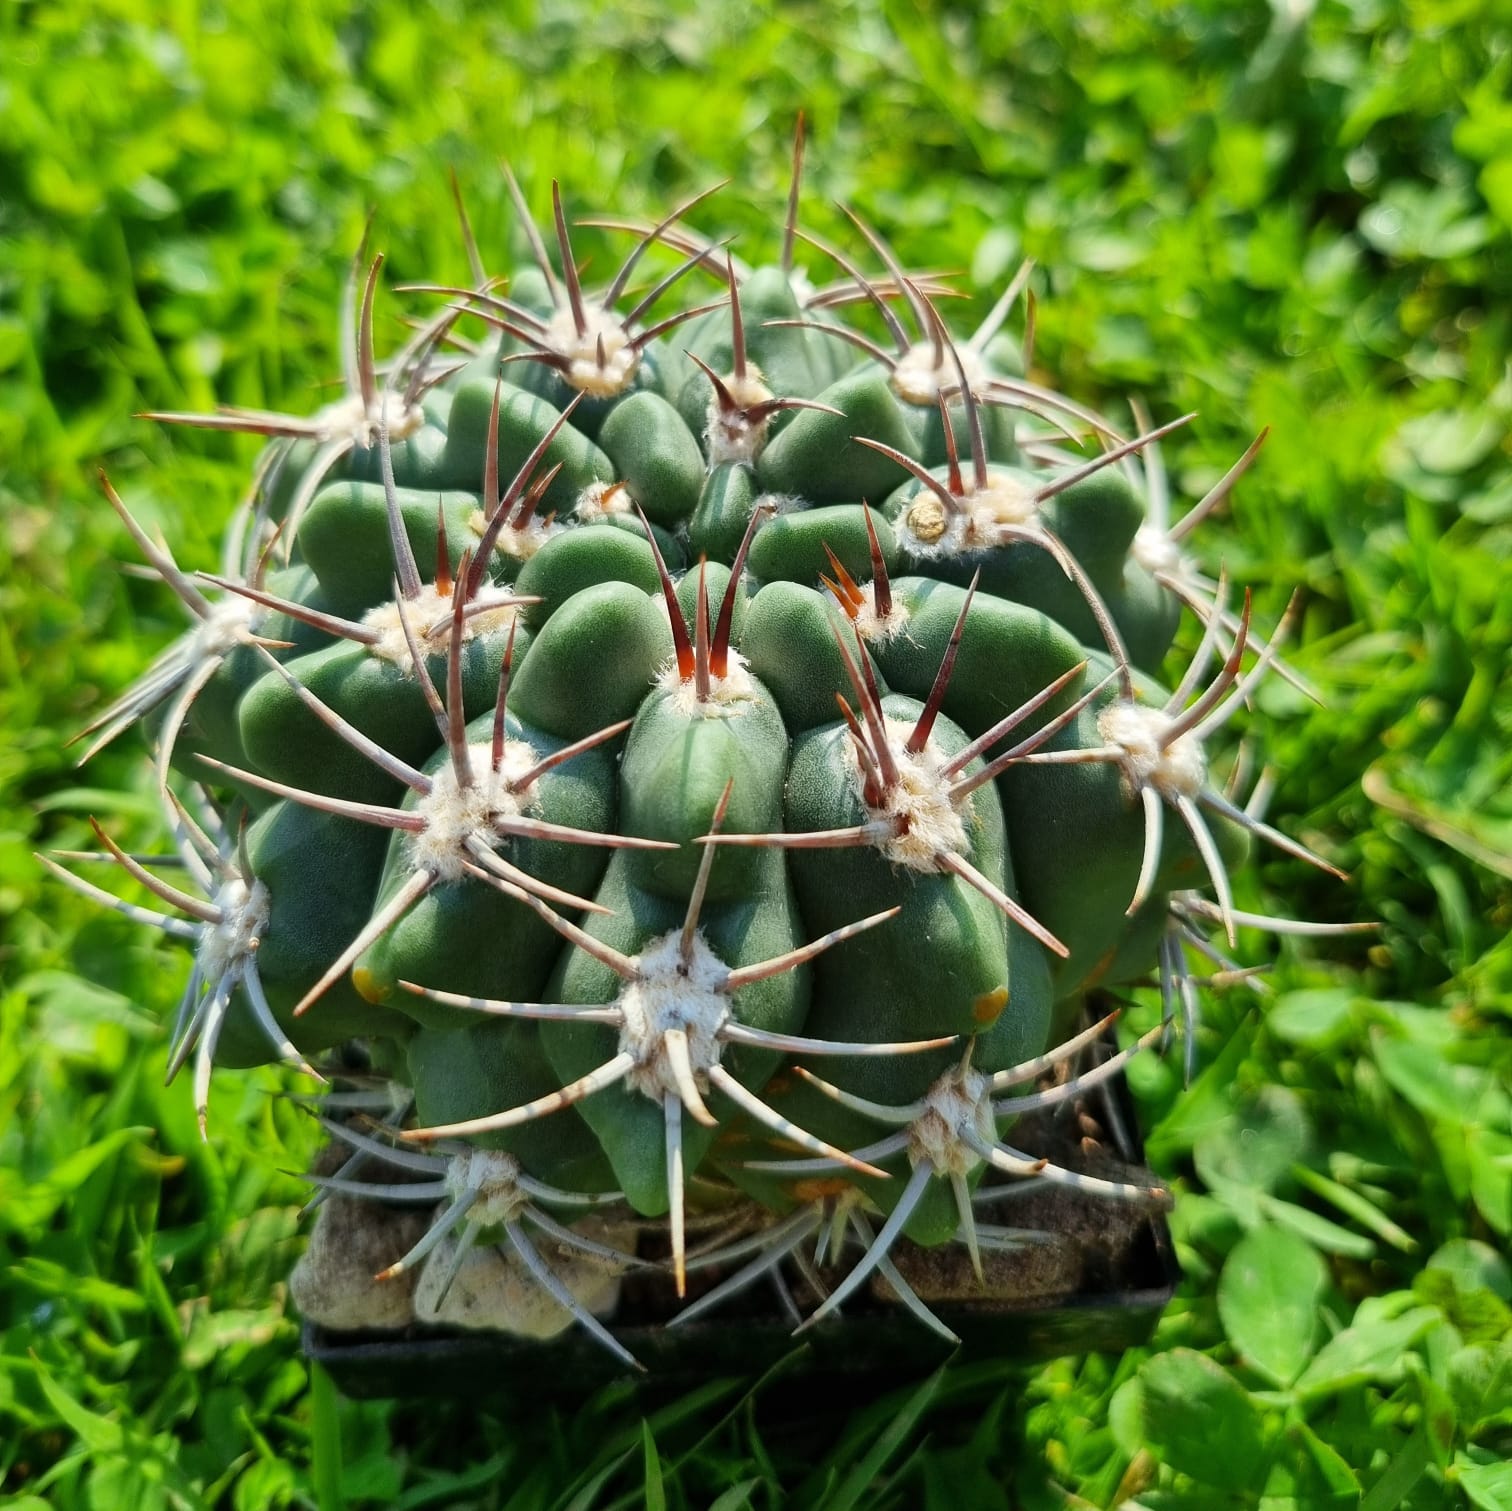
Secondly, securing a healthy rootstock and scion (the grafting partner) is vital. The rootstock typically represents the more vigorous, hardy species, while the scion is often a more ornamental or delicate varietal. A common combination is the hardy Hylocereus (the rootstock) used with various Opuntia or Gymnocalycium (the scions).
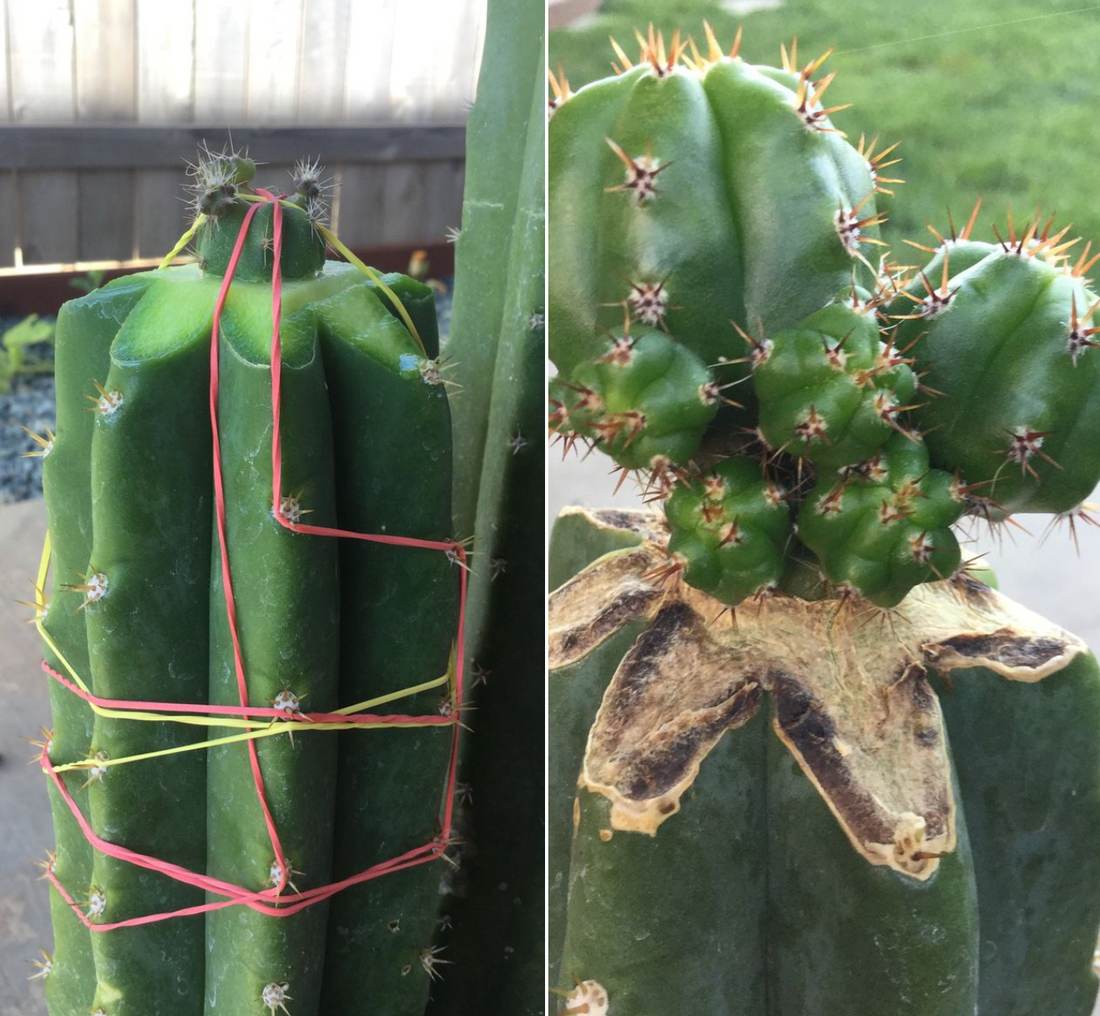
Other indispensable materials include grafting tape or parafilm, which will support the graft union as it heals, ensuring stability until the plants become one. Lastly, a suitable grafting compound, such as a natural plant hormone or rooting gel, can encourage the healing process, though this is not always necessary for every graft.
Preparing the Cacti for Grafting
Preparation is the cornerstone of effective grafting. Begin by selecting healthy specimens. Inspect both the rootstock and scion for any signs of disease or stress, as weak plants are less likely to establish a successful graft. Allowing the plants to acclimate to their new environments by ensuring they are well-watered and free from pests will also help facilitate the trophic connections necessary for growth.
Once healthy plants are selected, begin by trimming the ends of both the rootstock and scion. Each plant part should be cut at an angle, as this increases the surface area for cambial contact. For most graft types, a wedge or a cleft cut can be effective. The angle of the cut will determine how well the cambium layers align, so precision is paramount.
Once the cuts are made, immediately place the scion on the rootstock, aligning the cambium layers. This alignment is the crux of a successful graft, as it encourages the vascular tissues to merge. Secure the graft with grafting tape or parafilm, ensuring that moisture is retained, and the two parts remain aligned. This process should be done swiftly to minimize the exposure of the cut surfaces to air, which can lead to desiccation or infection.
Post-Grafting Care: Nurturing New Growth
Post-grafting care plays a significant role in the success of the graft union. After securing the graft, place the newly joined cacti in a location with indirect sunlight. This will prevent shock and reduce the risk of sunburn, allowing the graft to heal. For several weeks, monitor the grafted cactus for signs of growth, which might come in the form of new tissue formation around the graft site.
Watering should be approached cautiously during this healing phase. Initially, avoid watering the graft for about a week, and then provide minimal moisture as needed. Over-watering can lead to rot, while under-watering can cause desiccation. Utilizing a moisture gauge can assist in determining the appropriate time to water.
As the graft begins to heal, consider transferring the plant to a larger pot if growth becomes rapid. This allows the root system to develop further, enhancing the overall vigor of the grafted cactus. Fertilizing is generally not recommended for the first growing season post-grafting, as it may induce stress. However, once you see signs of new growth, you may introduce a diluted liquid cactus fertilizer as part of your routine care.
In conclusion, grafting cacti requires dedication, knowledge, and an understanding of the complex relationships between plant species. As you refine your skills through practice, the satisfaction of witnessing a successful graft develop into a unique and thriving specimen becomes immensely rewarding. Understanding the intricacies of grafting not only demystifies the process but also offers insight into the ecological marvel that is plant hybridization, leaving enthusiasts captivated by the resilience and beauty of nature.
FAQ
What is cactus grafting?
Cactus grafting is a horticultural method where a piece of one cactus (scion) is joined with another cactus (rootstock) to combine their beneficial characteristics.
Why align the cambium layers in grafting?
The cambium layers must be aligned to allow the vascular tissues to fuse, enabling nutrient and water flow between the plants.
What tools do I need for cactus grafting?
You need a disinfected sharp knife or scalpel, grafting tape or parafilm, and optionally, a grafting compound or rooting gel.
How should I care for a newly grafted cactus?
Place it in indirect sunlight, avoid watering for about a week, water sparingly afterward, and avoid fertilizing until new growth appears.
Leave a Reply