Short Answer
Transplanting a cactus can often be a pivotal moment in its growth and health. A cactus, similar to any other plant, thrives in conditions tailored to its needs. This article will provide an extensive step-by-step guide on how to replant cactus plants effectively, ensuring a seamless transition to a new pot or location.
Before beginning the transplantation process, it’s imperative to understand the unique needs of cacti, which differ from more traditional houseplants. These succulent wonders have adapted to arid environments and therefore require specific considerations when replanting.
Understanding the Right Time to Replant Your Cactus
Timing is crucial when it comes to replanting your cactus. Early spring is generally the ideal period for transplantation as it aligns with the plant’s active growing season. During this time, the cactus can readily acclimate to its new environment and establish roots more effectively.
Observing the signs of an overgrown cactus can help identify when it is time to replant. Common indicators include:
- Roots emerging from drainage holes
- Stunted or slowed growth
- Soil depletion, likely indicated by a failure to hold moisture
Gathering the Essential Materials
Before starting the process, you must gather all necessary materials to ensure everything goes smoothly. Here is a list of supplies you will need:
- A new pot with adequate drainage holes
- Succulent or cactus potting mix
- Gardening gloves, preferably thick to protect against spines
- Small trowel or hand shovel
- Watering can
Choosing the Right Pot for Your Cactus
The choice of pot plays a significant role in the welfare of your cactus. Here are key factors to consider:
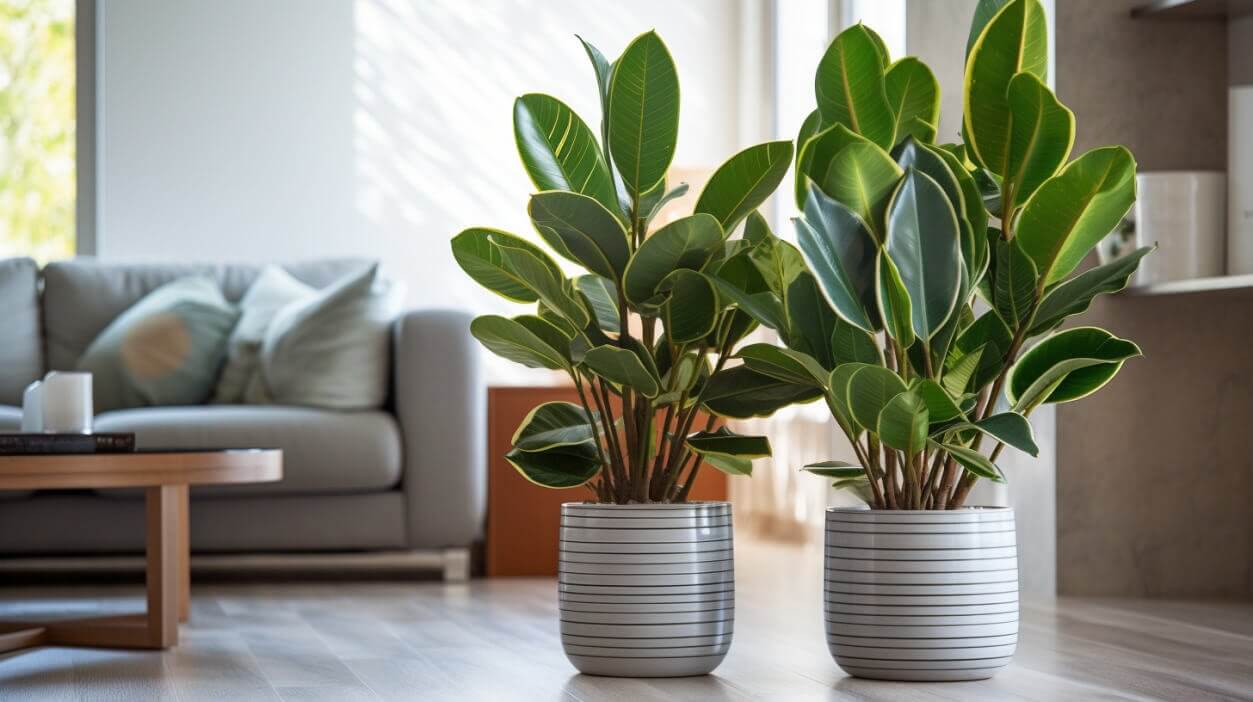
- Size: The new pot should be slightly larger than the previous one to allow for growth. Too large a pot can lead to excess moisture retention, which is detrimental to cacti.
- Material: Terracotta pots are an excellent choice due to their breathability. They allow for evaporation of excess moisture, reducing the risk of root rot.
- Drainage: Ensure the pot has drainage holes to facilitate proper water flow. This is crucial for preventing overwatering.
Step-by-Step Instructions for Transplanting Your Cactus
Once you have determined the right time and gathered your materials, it’s time to proceed with the transplantation. Follow these detailed steps:
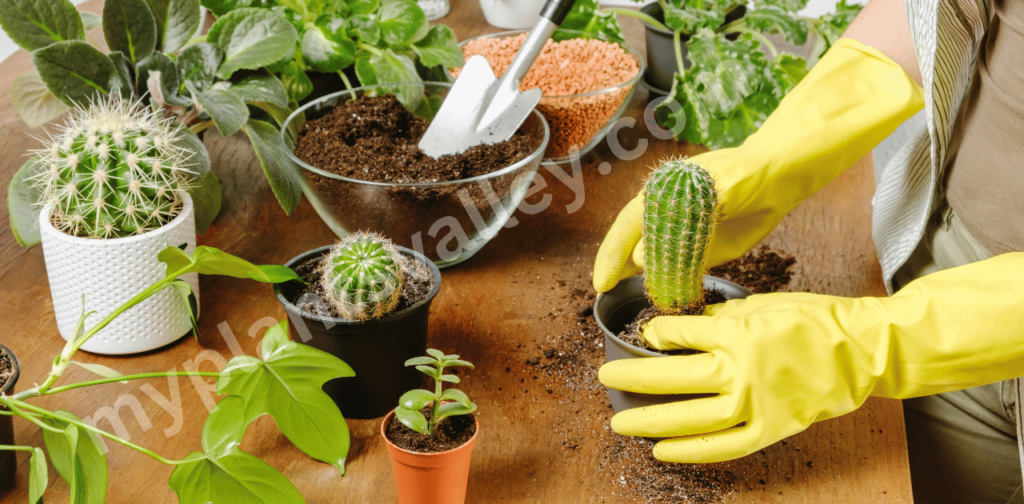
1. **Prepare for the Process**: Place your cactus on a stable surface where you can work comfortably. Lay down some newspaper or a tarp to catch any soil spills.
2. **Remove the Cactus from Its Current Pot**: Put on your thick gardening gloves to protect your hands from the spines. Hold the cactus gently but firmly at the base and wiggle it slightly to loosen it from the pot. If it is stubborn, you may need to run a small trowel around the edges to aid in loosening the root ball.
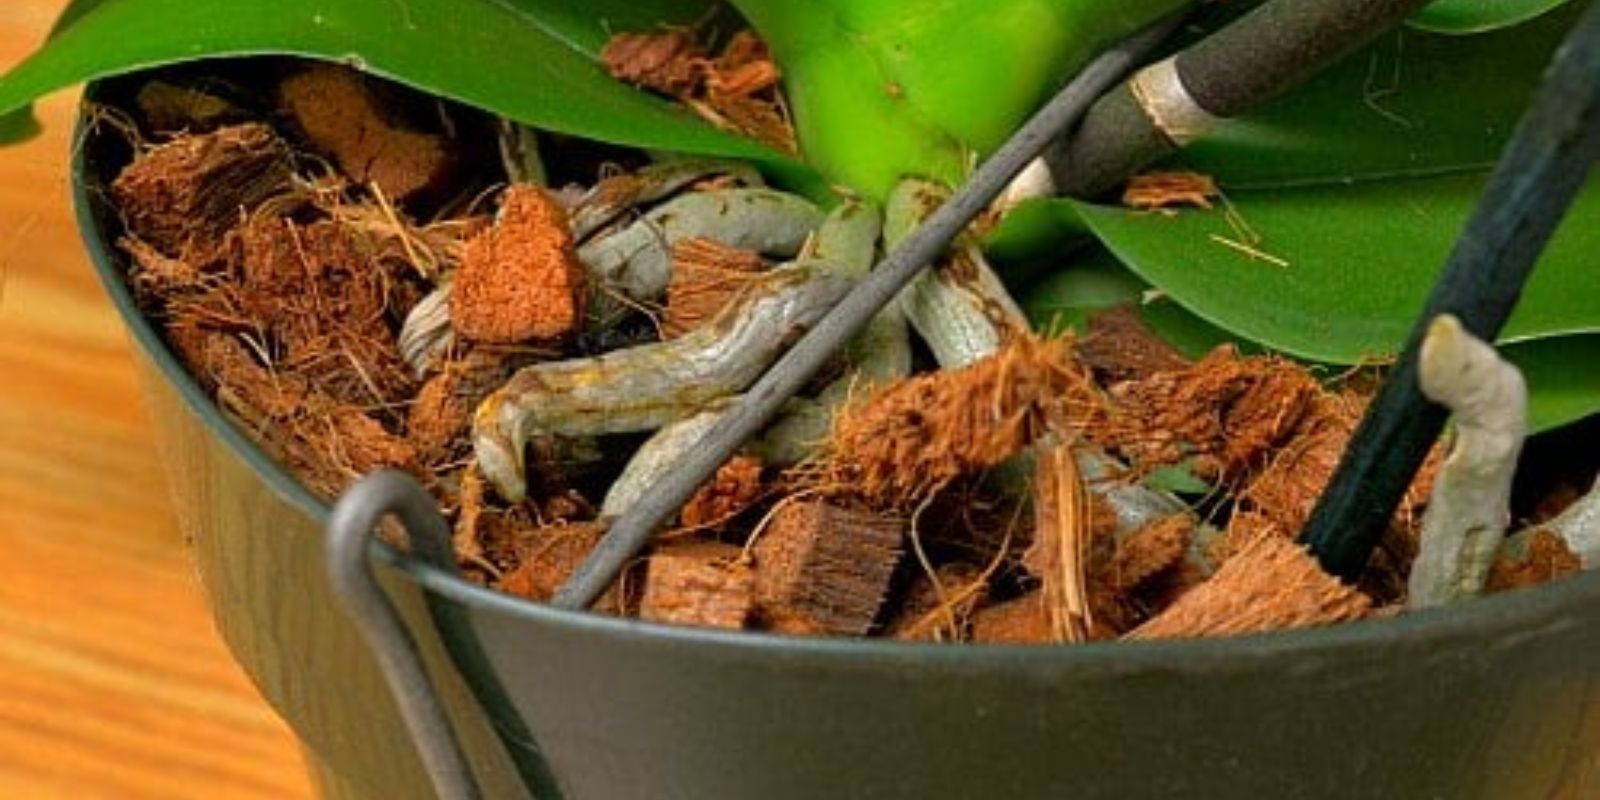
3. **Inspect the Roots**: Once removed, take a moment to inspect the roots. Healthy roots should be white or light tan and firm. Trim away any dark, mushy roots with sterile pruning shears, as these indicate rot.
4. **Prepare the New Pot**: Add a layer of cactus potting mix to the bottom of the new pot. Ensure it is enough to raise the base of the cactus to the desired height once positioned inside.
5. **Plant the Cactus**: Place the cactus upright in the new pot and fill in around the sides with more potting mix. Gently tap the pot to eliminate air pockets, ensuring a stable foundation for the root system.
6. **Water the Cactus**: After transplanting, lightly water your cactus to help settle the soil around the roots. Be cautious not to overwater—allow the soil to dry out before the next irrigation, as cacti prefer dry conditions.
Post-Transplant Care: Nurturing Your Cactus Back to Health
The period following transplantation is crucial for acclimatization. Here are some essential care instructions to keep in mind:
- Light Conditions: After replanting, place your cactus in a location that receives bright, indirect sunlight. Avoid direct sunlight for the first few days to reduce stress.
- Watering Schedule: Allow the top inch of soil to dry completely before watering again. Typically, cacti require watering every two to four weeks, depending on temperature and humidity levels.
- Temperature and Humidity: Keep your cactus in a warm environment, ideally between 70 and 100 degrees Fahrenheit. Cacti thrive in low humidity, making regular household conditions favorable for their growth.
Signs of Successful Transplantation
Within a few weeks of transplanting, your cactus should begin to show signs of new growth, which indicates successful acclimatization. Look for:
- Healthy new growth in the form of new pads or arms
- A rejuvenated color, returning to its vibrant hue
- Sturdy and upright posture, a sign of a well-established root system
Conclusion
Transplanting a cactus might seem like a daunting task, but with careful planning and execution, it can be a straightforward process that invigorates your plant. By following these guidelines, you will not only enhance the growth of your cactus but also enjoy the unique charm these remarkable plants bring to your home. Remember, each cactus has specific needs, so tailor your methods to suit the variety you own for the best results.
FAQ
What materials do I need to replant a cactus?
You need a new pot with drainage holes, cactus potting mix, thick gardening gloves, a small trowel, and a watering can.
How do I handle cactus spines safely during transplanting?
Wear thick gardening gloves to protect your hands from spines and handle the cactus gently but firmly at the base.
How can I tell if my cactus roots are healthy?
Healthy roots are white or light tan and firm. Remove any dark, mushy roots which indicate rot.
What care does a cactus need after replanting?
Place it in bright, indirect sunlight, water sparingly, maintain a warm temperature, and avoid high humidity.


Leave a Reply