Short Answer
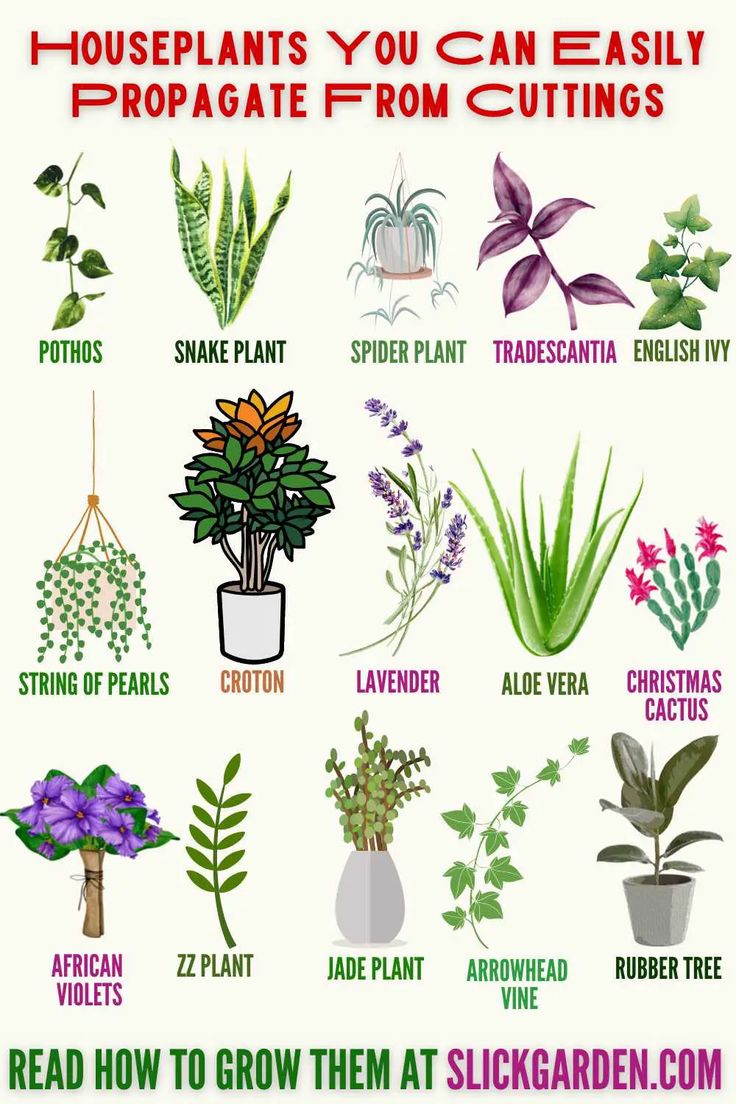
Aloe Vera, a succulent revered for its versatility and resilience, offers a bountiful opportunity for cultivation enthusiasts. This delightful plant not only enhances the aesthetic appeal of homes and gardens but also provides an array of medicinal uses. Propagating this hardy succulent from cuttings is an effective way to expand your collection and enjoy the benefits it provides. This guide endeavors to detail the best practices for successfully propagating Aloe Vera, ensuring your efforts yield thriving plants.
Understanding the Anatomy of Aloe Vera
Before diving into the propagation process, it is paramount to grasp the basic anatomy of the Aloe Vera plant. Aloe Vera features thick, fleshy leaves that store water, making it well-suited for arid climates. Its root system comprises shallow, fibrous roots that do not require excessive soil depth. Recognizing these characteristics is essential when selecting cuttings for propagation, as they will influence the plant’s growth potential.
Choosing the Right Cuttings for Propagation
When selecting cuttings for propagation, it’s crucial to choose healthy, mature leaves. Aim for cuttings that are at least 8 to 10 inches in length and exhibit vibrant green coloration. Avoid any leaves that show signs of discoloration, damage, or disease, as these imperfections may jeopardize the success of your propagation efforts.
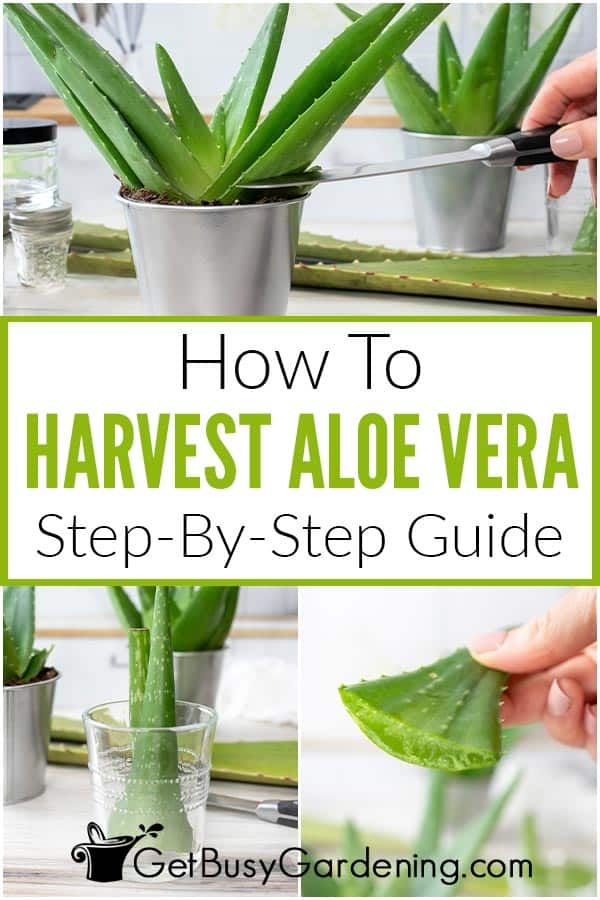
Harvesting Cuttings: A Step-by-Step Approach
The process of harvesting Aloe Vera cuttings requires a gentle touch and precise technique to ensure the cuttings can thrive post-severing. Follow these steps for optimal results:
– Begin by sterilizing a sharp, clean knife or pair of scissors to reduce the risk of infection. This step is crucial in maintaining the health of both the parent plant and the cuttings.
– Identify the leaves that are best suited for cutting. Ideally, select the oldest, outermost leaves, as they are more mature and have higher chances of successful propagation.
– With a swift, clean cut at the base of the leaf, detach it from the plant. Make the cut close to the stem, as this aids in quicker healing and minimizes the risk of rot.
– Allow the cuttings to rest for a few hours or even a day in a warm, dry place. This period is critical for the cut ends to callous over, which helps prevent moisture loss and infection.
Rooting the Cuttings: Techniques for Success
Once the cut ends have calloused, it’s time to initiate the rooting process. There are multiple techniques for rooting your Aloe Vera cuttings, each with its own merits.
Soil Propagation
Soil propagation is a straightforward approach that requires minimal materials:
– Select a well-draining potting mix specifically designed for succulents. A blend formulated with perlite, cactus soil, or sand enhances aeration and drainage.
– Fill a small pot with the potting mix and create a hole in the center with your finger or a pencil.
– Insert the cut end of the Aloe Vera cutting into the hole, ensuring that at least one inch of the cut end is buried beneath the soil surface.
– Water lightly to moisten the soil, but be careful not to saturate it. Overwatering can lead to root rot, significantly damaging the cuttings.
– Place the pot in a location that receives bright, indirect sunlight, as direct sunlight might scorch the cutting.
Water Propagation
Alternatively, water propagation is a popular method for observing the rooting process:
– Choose a clean, small container and fill it with enough water to submerge the bottom inch of the cut end.
– Set the cutting upright in the water, ensuring it does not touch the bottom of the container, as this can promote rot.
– Monitor the water level and change the water every week to maintain cleanliness and oxygen availability.
– After a few weeks, roots should begin to develop. Once the roots are at least 2 to 3 inches long, transfer the cutting to a pot with well-draining soil for continued growth.
Care and Maintenance of New Aloe Vera Plants
As your new Aloe Vera plants establish themselves, adequate care is essential for robust growth:
– Water sparingly; allow the soil to dry out completely between waterings. Overwatering can cause root rot, while underwatering can lead to stunted growth.
– Fertilize during the growing season (spring and summer) using a balanced, diluted fertilizer once a month. This boosts nutrient availability and supports healthy development.
– Ensure that the plants receive ample sunlight. Ideally, Aloe Vera should bask in bright, indirect light for several hours each day.
– Monitor for pests such as aphids and mealybugs. Should you notice any infestations, treat them promptly with insecticidal soap or neem oil.
Concluding Remarks
Successfully propagating Aloe Vera from cuttings is a gratifying venture that nurtures both your gardening skills and the plant’s remarkable attributes. With proper care, attention to detail, and patience, your cuttings can flourish into thriving Aloe Vera plants. This process not only expands your collection but also enables you to share this invaluable plant with friends and family, enhancing their lives with its numerous benefits. Embrace the art of propagation, and witness the beauty of Aloe Vera thrive in your space.
FAQ
What is the best time to propagate Aloe Vera?
The best time to propagate Aloe Vera is during the spring and summer when the plant is actively growing.
Can Aloe Vera cuttings rot during propagation?
Yes, excess moisture or failure to allow cut ends to callous can cause rot, so it is important to let cuttings dry and avoid overwatering.
Leave a Reply