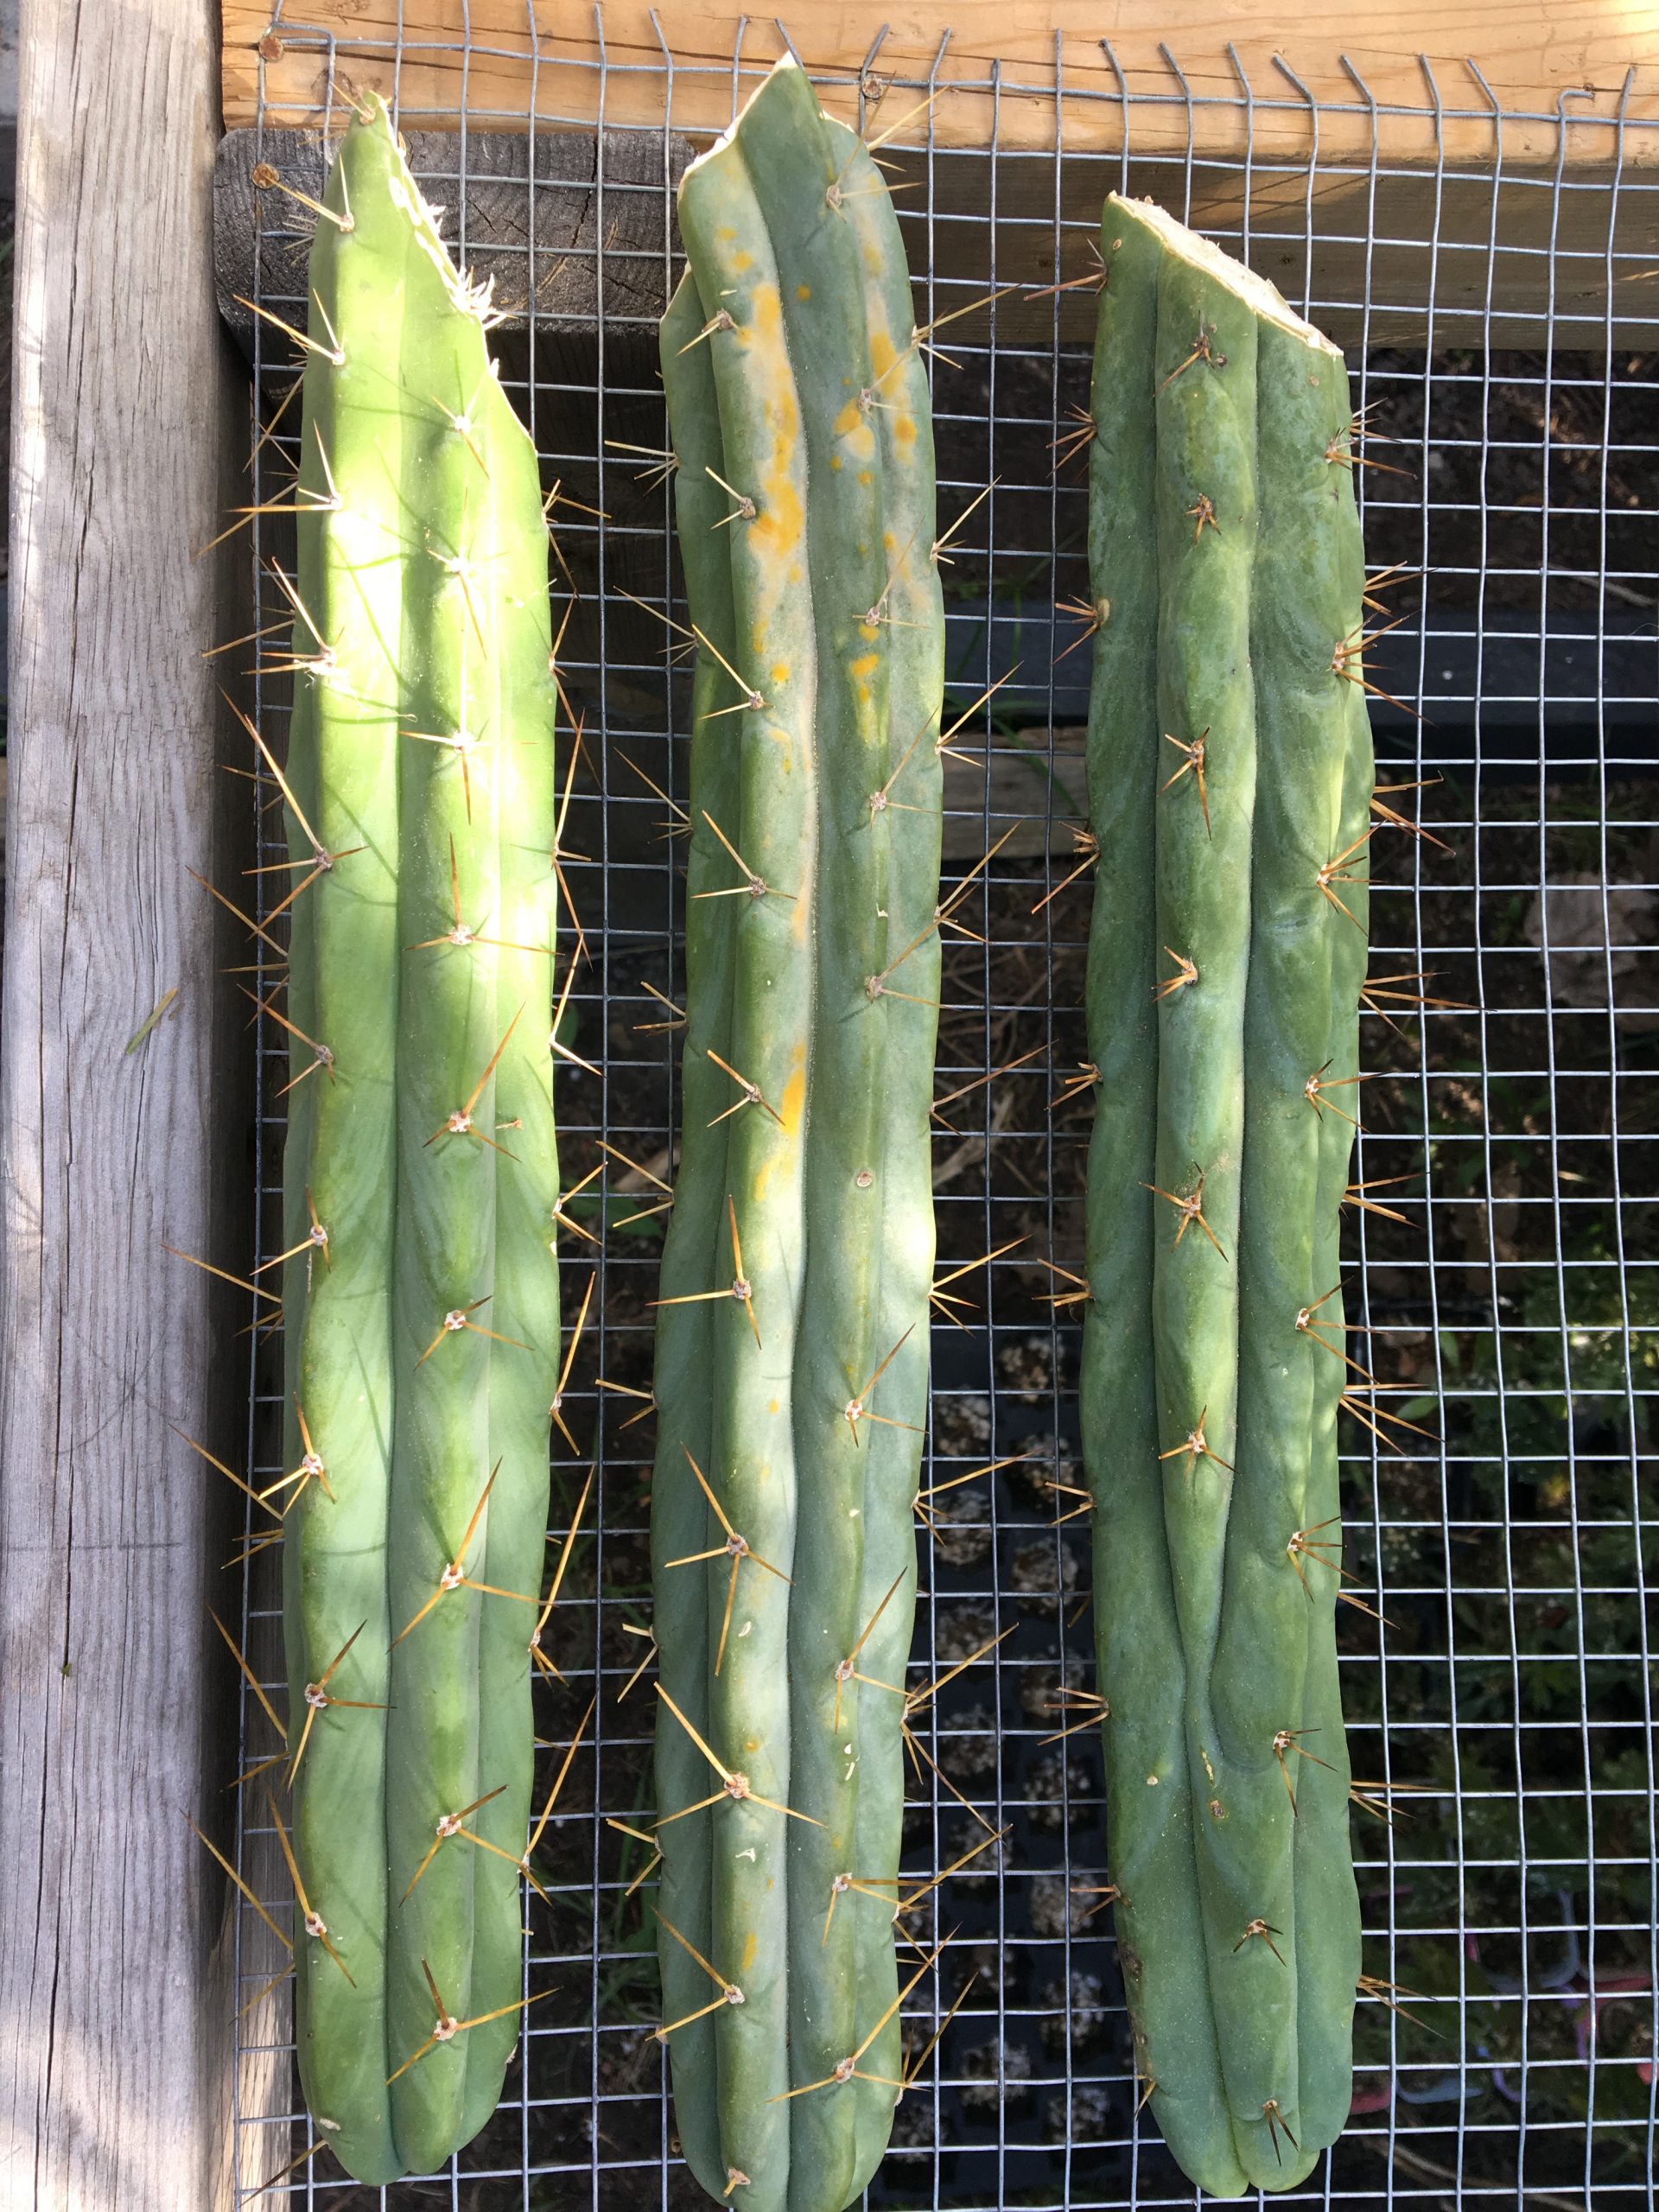
Growing a Christmas cactus (Schlumbergera) from a cutting can be a rewarding endeavor, perfectly blending horticulture with personal satisfaction. This tropical plant, renowned for its stunning blooms during the holiday season, is highly coveted among gardening enthusiasts. Through effective propagation methods, one can easily amplify their collection or share the beauty of this vibrant cactus with others.
The essence of propagating a Christmas cactus lies in understanding its unique structure and requirements. Unlike traditional cacti that thrive in arid environments, the Christmas cactus flourishes in humid conditions. This characteristic is vital in selecting the methods of propagation. In this guide, we will explore the best practices for reproducing this extraordinary plant from cuttings.
Before delving into the process of propagation, it’s important to grasp the anatomy of the Christmas cactus. Its segmented leaves are pivotal for both aesthetic allure and physiological function, acting as reservoirs for moisture and nutrients. These flat, leaf-like segments, closely resembling the foliage of other succulents, are the basis for successful propagation.
Below, we will discuss the necessary steps and considerations for effectively propagating a Christmas cactus from cuttings.
Choosing the Right Cutting
The journey to propagating a Christmas cactus begins with selecting the ideal cutting. Timing plays a significant role in ensuring successful rooting. Late spring to early summer is considered the optimal period for taking cuttings. During this time, the plant is in an active growth phase, thus enhancing the likelihood of root formation.
Select a healthy stem that boasts vibrant green color. The ideal cutting should be 3 to 4 segments long. It’s advisable to avoid overly woody or bloated segments, as these may struggle to root. Use a clean, sharp knife or scissors to make the cut, ensuring minimal damage to the parent plant.
Once the cutting is taken, allow it to callous over for about 24 to 48 hours. This crucial step helps to prevent rot when the cutting is placed in soil. During this time, store the cutting in a cool, dry location away from direct sunlight.
Preparing for Soil: The Foundation of Success
After your cutting has successfully calloused, it’s time to prepare the propagation medium. A well-draining soil mix is fundamental for the Christmas cactus. To achieve this, consider combining standard potting soil with perlite or coarse sand in equal parts. The goal is to create an environment that retains some moisture while allowing excess water to drain away, preventing root rot.
Fill a small pot with the prepared soil mix. Opt for a container with drainage holes to facilitate proper drainage. Make a small hole in the center of the soil using your finger or a pencil, and gently insert the cutting, ensuring at least one segment is buried in the medium. Firm the soil around the base of the cutting to provide stability.
Water the soil lightly after planting, taking care not to saturate it. Ensure the cutting is positioned in an area with indirect sunlight, as direct exposure can scorch the delicate segments.
Promoting Growth: The Care Routine
Caring for your propagation setup is vital to encourage healthy root development. The Christmas cactus thrives in moderate to high humidity. To boost humidity levels around your cutting, consider placing a clear plastic bag or a mini greenhouse over the pot. This creates a contained environment that mimics the humid conditions the plant prefers. Just be sure to open it periodically to prevent excess moisture accumulation and allow for air circulation.
Temperature is another critical factor. The Christmas cactus prefers daytime temperatures between 70°F and 80°F (21°C to 27°C) and slightly cooler temperatures at night. Avoid placing the cutting near drafts or direct heat sources that may lead to stress.
Watering should be done cautiously. Allow the top inch of soil to dry out between waterings. This practice encourages the roots to grow deeper in search of moisture. Overwatering can thwart growth, leading to root rot or other complications.
After a few weeks, you can gently tug on the cutting. If it resists, root development is underway. Patience is crucial, as rooting can take anywhere from 2 to 6 weeks.
Transplanting: The Next Chapter
Once your cutting has established roots, it’s time to consider transplanting. This can typically occur when the new plant shows signs of new growth, often evidenced by the emergence of fresh segments. Choose a container slightly larger than the initial pot, again ensuring it has proper drainage.
Prepare a fresh batch of well-draining soil, similar to what was used for propagation. Gently remove the new plant from its original pot, taking care not to disturb the roots excessively. Place the young plant in the new container, filling in around it with fresh soil, and water thoroughly to settle the roots.
Moving forward, care for your Christmas cactus as you would a mature plant. Regular watering, proper lighting, and occasional fertilization during the growing season will ensure vibrant blooms each holiday season. Given the right conditions and care, your propagation efforts will yield flourishing results, bringing joy to your home year after year.
In conclusion, propagating a Christmas cactus from cuttings is not just a hobby; it’s a continuous cycle of growth and joy. With the right approach, anyone can appreciate the beauty and vibrant colors this unique plant brings to their life.


Leave a Comment