Short Answer
The Christmas cactus, renowned for its stunning blooms, is a popular houseplant that adds vibrancy to homes, especially during the holiday season. Propagating Christmas cactus from cuttings offers not only the joy of watching new plants grow but also cost-effective means to expand your plant collection. This guide delves into the seamless process of propagation, ensuring that even novices can succeed in cultivating lush and thriving Christmas cacti.
Understanding why one might choose to propagate a Christmas cactus through cuttings is pivotal. This method is favored for its simplicity and the certainty it provides in replicating the traits of the parent plant, including the exquisite blooms characteristic of the species. Moreover, this approach addresses the common concern about maintaining genetic integrity, which is often compromised in other propagation methods. Whether you are aiming to increase your indoor garden or share plants with friends, you will find that starting your Christmas cactus from cuttings is both straightforward and rewarding.
Preparing for Propagation: Essential Tools and Materials
Before initiating the propagation process, gathering the appropriate tools and materials is crucial. While the task may seem uncomplicated, the right preparations can significantly affect the success rate of rooting the cuttings. Below are the essential items needed:
- Healthy parent Christmas cactus
- Sharp, sterilized scissors or pruning shears
- Small pots or trays with drainage holes
- Cactus potting mix or a well-draining soil mix
- Rooting hormone (optional but beneficial)
- Clear plastic bags or a humidity dome (optional for humidity control)
Begin by inspecting your parent plant. Look for healthy segments—ideally, choose those with vibrant green pads. Healthy cuttings will significantly increase your chances of successful propagation.
Techniques for Taking Cuttings: The Art of Precision
Now that you have your tools ready, let’s explore how to take the cuttings properly. The technique you employ is vital in ensuring your cuttings have the best start possible.
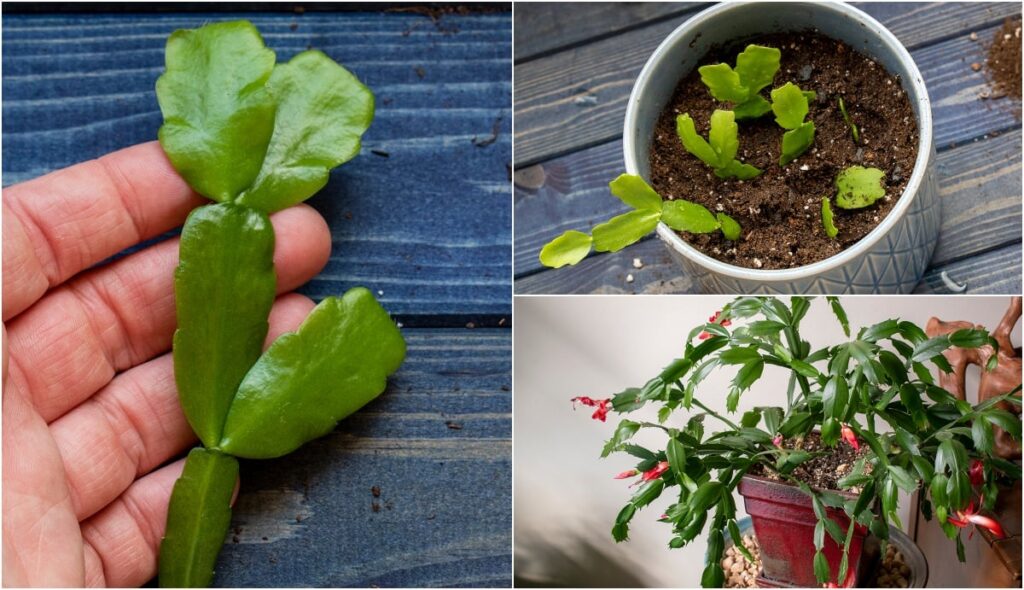
Start by gently twisting or cutting off a pad from the parent plant. Aim for segments that are around 2 to 4 inches long. Each cutting should ideally consist of two to three segments, as this length allows for a stronger root system to develop.
Once the cuttings are removed, lay them flat in a dry and shaded location. Allow the cut ends to callus over for 24 to 48 hours. This step is critical as it helps prevent rot once the cuttings are placed in soil.
After the cut ends have calloused, you may choose to dip them in rooting hormone, which can encourage faster and more vigorous root growth, though this is optional.
Planting the Cuttings: Creating a Nurturing Environment
Now comes the exciting moment of planting your cuttings. Fill your pots or trays with a cactus potting mix, ensuring good drainage properties. The potting mix should not retain excessive moisture since Christmas cacti are prone to rot if overwatered.
Make small holes in the soil—either by making an indentation with your finger or a pencil. Firmly place the cut end of each segment into the hole, then gently pack the soil around it to provide stability. You’re aiming for a well-anchored structure that will support root development.
Once your cuttings are secured in the soil, water them lightly. Ensure that excess water can drain freely from the pots. If you opted for humidity control, cover your pots with clear plastic bags or a humidity dome to maintain a consistent moisture level. This step can enhance the rooting process, particularly in a dry environment.
Optimal Care: Nurturing Your New Cuttings
After planting, place the pots in a warm area that receives indirect sunlight. Christmas cacti prefer bright, but filtered light. Direct sunlight can be too intense and may scorch the delicate cuttings.
Water your cuttings sparingly during the initial weeks. Allow the soil to dry out slightly between watering sessions. This prevents the cuttings from becoming waterlogged, which can lead to rot. After a couple of weeks, begin to check for root development by gently tugging on the cuttings; resistance indicates that roots are forming.
Once roots have established—usually within 3 to 6 weeks—you can begin to encourage healthier growth. Gradually introduce your young plants to direct sunlight, and increase watering as they grow. During this time, consider fertilizing with a diluted cactus fertilizer to promote robust growth.
Final Thoughts: Enjoying the Fruits of Your Labor
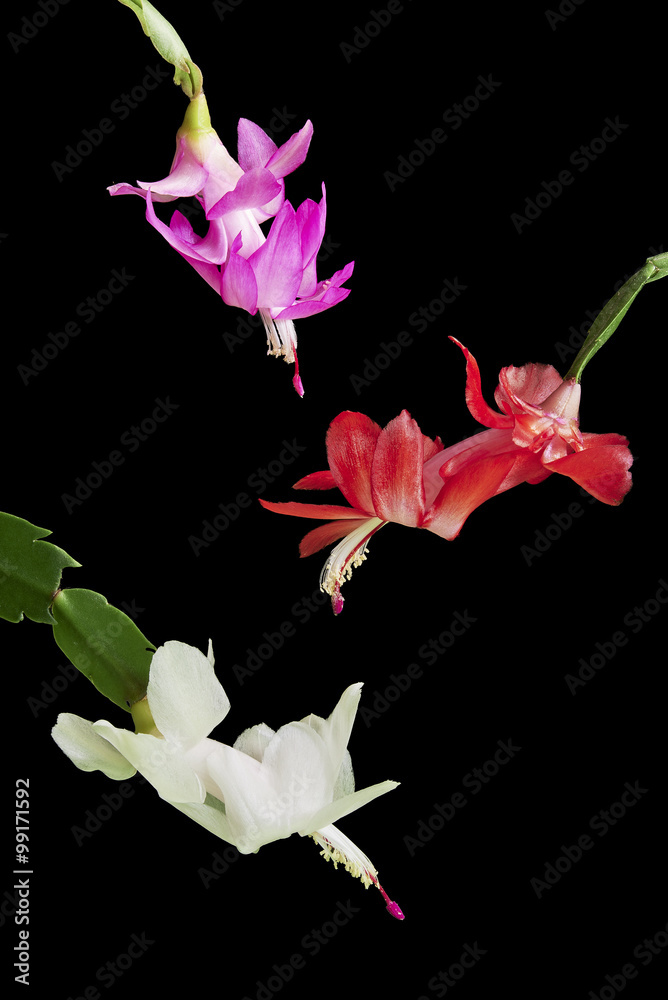
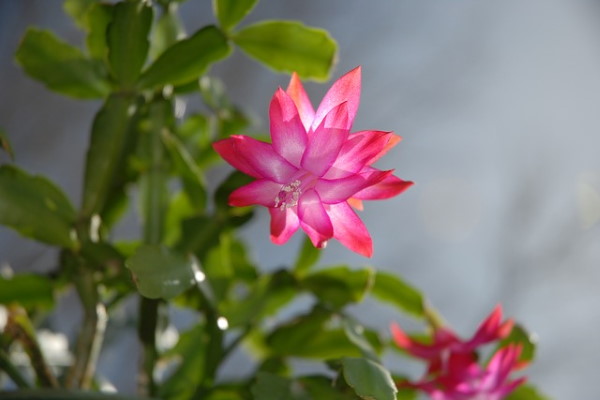
With patience and proper care, your Christmas cactus cuttings will flourish into mature plants. Once they establish a strong root system, it’s time to enjoy their remarkable blossoms, which typically appear around the holiday season. Propagating Christmas cactus not only enhances your indoor gardening prowess but also creates opportunities to decorate your home uniquely or delight friends with a carefully cultivated gift. Armed with knowledge and enthusiasm, embark on this gratifying journey of propagation, and watch your gardens come to life.
FAQ
What is the best time to take Christmas cactus cuttings?
The best time is during the active growing season, typically spring or early summer.
Can Christmas cactus cuttings be propagated without rooting hormone?
Yes, rooting hormone is optional but can help speed up root development.
How often should I water Christmas cactus cuttings?
Water sparingly, allowing the soil to dry out slightly between watering to prevent rot.
How do I know if my Christmas cactus cuttings have rooted?
Gently tug on the cuttings after a few weeks; resistance indicates root growth.


Leave a Reply