Short Answer
Hypertufa Planters How to Make: A DIY Guide to Crafting Hypertufa Planters for Your Cacti
Creating hypertufa planters is an engaging and rewarding project that allows for individual creativity while providing a unique medium ideal for growing cacti. This versatile substance mimics the appearance of natural stone and offers excellent drainage properties, promoting healthy root systems for your spiny companions. In this guide, we will delve into the intricacies of crafting hypertufa planters, examining materials, construction techniques, and maintenance tips to ensure your cacti flourish.
Understanding Hypertufa: The Material of Choice
Hypertufa is a lightweight, porous material engineered to resemble natural stone and consists primarily of three elements: peat moss, perlite (or vermiculite), and portland cement. This combination results in a medium that is both aesthetically pleasing and conducive to plant health, making it particularly suitable for cacti, which thrive in well-draining environments. Cacti require not only sunlight but also airflow around their roots, and hypertufa facilitates this by offering sufficient drainage while retaining a small amount of moisture.
The beauty of hypertufa lies in its adaptability. With a little creativity, you can mold and shape this concoction into various forms to complement your garden aesthetics. Let’s explore how to create this incredible material from scratch.
Gathering Your Supplies: Essential Ingredients for Success
Before embarking on your hypertufa adventure, ensure you have the following materials readily available:
- Portland cement: This acts as the binding agent in your mixture.
- Peat moss: This organic material enhances water retention while promoting proper aeration.
- Perlite or vermiculite: These lightweight aggregates help provide drainage, ensuring your cacti do not suffocate in overly saturated conditions.
- Water: This simple ingredient is crucial in activating the cement mixture.
- Mixing containers and tools: Use buckets, shovels, and gloves to effectively mix and cast your hypertufa.
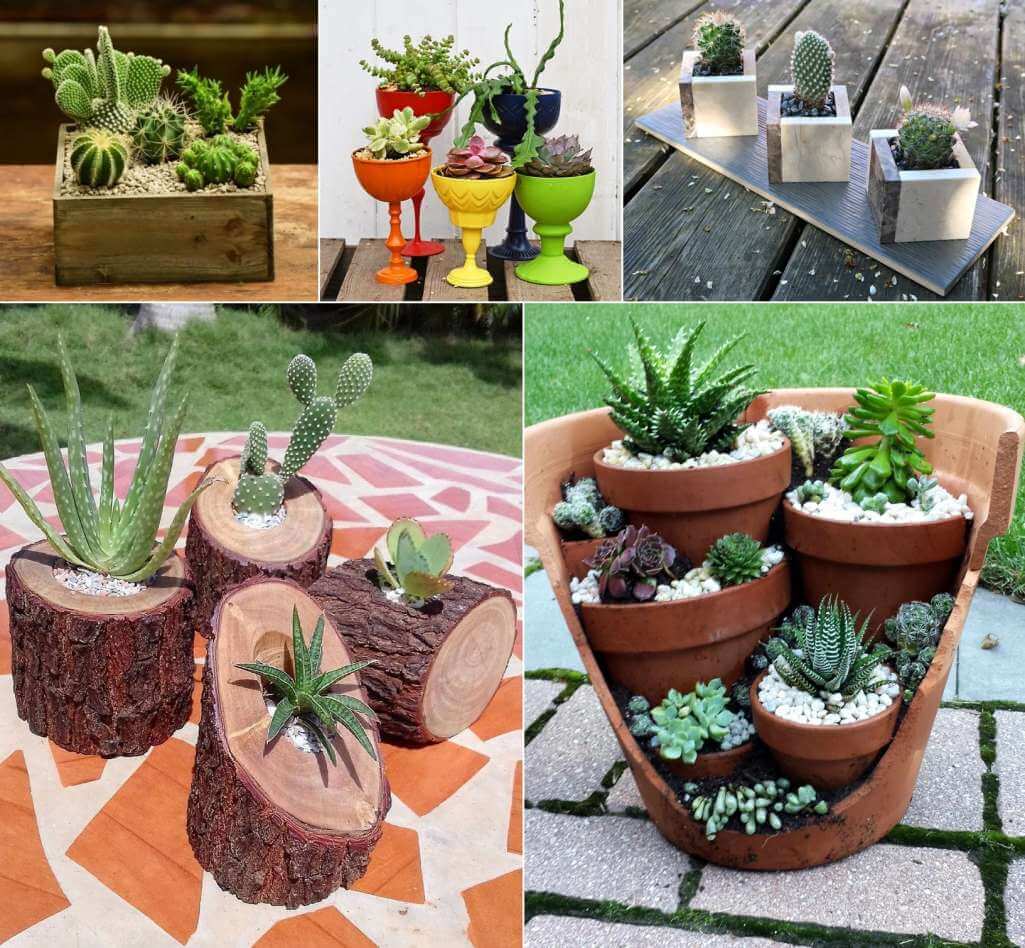
- Molds: Plastic containers or silicone molds can be repurposed to shape your planters.
Crafting Your Hypertufa Planters: Step-by-Step Guide
Now that you have gathered your materials, it is time to dive into the process of creating hypertufa planters:
Preparing the Mix
The proportion of your materials is essential. A popular recipe involves mixing 1 part portland cement, 1 part peat moss, and 1 part perlite/vermiculite. Start by combining the dry materials in a mixing container. Ensure an even distribution to achieve a consistent mix. Gradually add water until you arrive at a thick, moldable consistency that resembles cake batter.
Molding Your Planters
After you’ve completed the mixture, it’s time to mold your hypertufa. Choose your molds based on the size and shape of the planters you wish to create. For larger planters, utilize crates or boxes. For smaller versions, consider using plastic bowls or cupcake molds. Coat the insides of your molds with a non-stick spray or oil to facilitate easy removal once the hypertufa has set.
Fill your chosen molds with the hypertufa mixture, pressing it firmly to eliminate air pockets. Form a drainage hole at the bottom if needed—this can easily be done by using a dowel or a small stick before the hypertufa sets fully. Ensure that the thickness of the walls is at least an inch to guarantee durability.
Allowing the Planters to Cure
Patience is key as your planters start to cure. It is best to keep your filled molds in a shaded area to prevent rapid drying, which can lead to cracking. Cover the molds with a plastic sheet to retain moisture and allow them to cure for 24-48 hours. After the initial curing, gently remove your hypertufa planters from the molds. Let them cure in an elevated position for an additional two weeks, turning them periodically to ensure even curing.
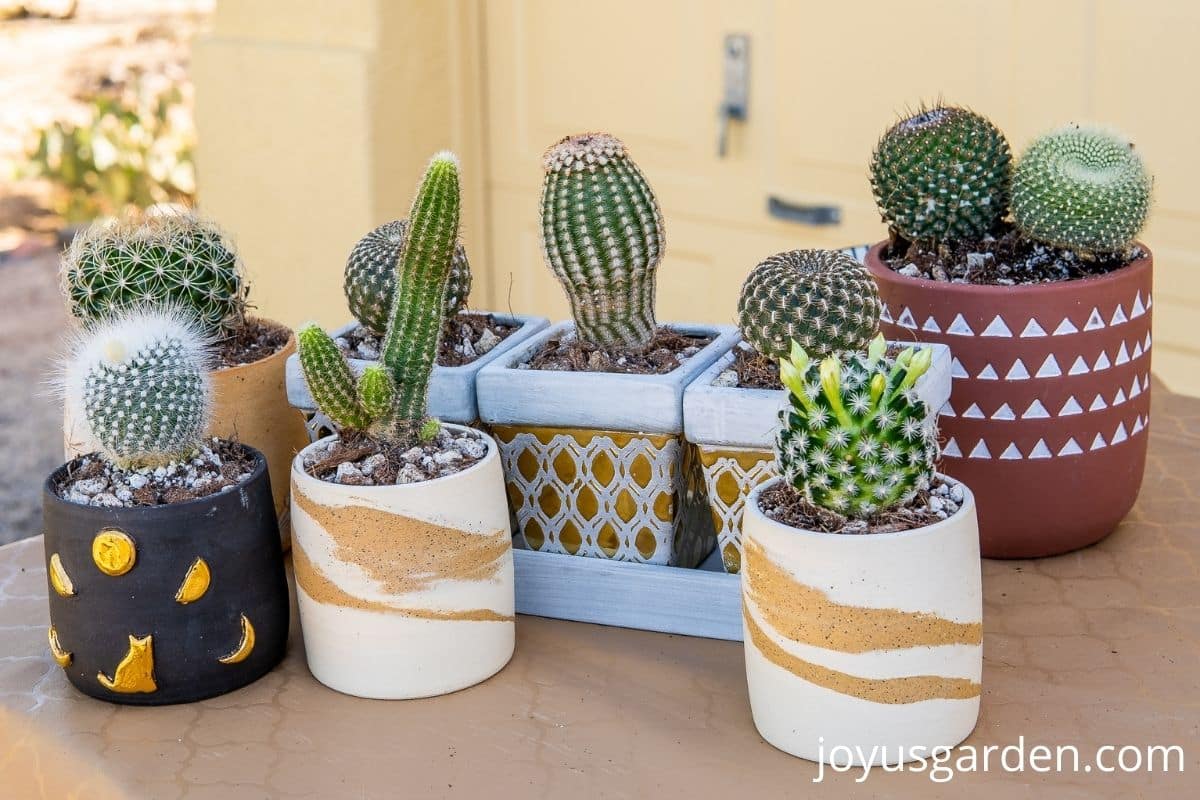
Finishing Touches: Personalizing Your Planters
Once the curing process is complete, your hypertufa planters are ready for personalization. You can leave the planters with a rustic look or enhance their aesthetics with paint, stencils, or natural stains. Consider incorporating decorative stones, driftwood, or other embellishments to accentuate their visual appeal.
Planting Your Cacti: The Final Step
When it comes to planting in your new hypertufa planters, choose cacti that are well-suited for pot life and that will thrive in the provided conditions. Use a well-draining cactus mix, ideally containing sand, perlite, or gravel, to fill the planters. Ensure to lightly compact the soil after planting to promote stability, especially for taller varieties of cacti that might require extra support.
Maintaining Your Hypertufa Planters: Best Practices
To maintain and protect your hypertufa planters, consider the following:
- Avoid placing them in areas where they will be overexposed to harsh weather—especially freezing temperatures—unless you are utilizing frost-resistant plants.
- Water your cacti sparingly, allowing the soil to dry out between watering sessions, as hypertufa’s porous nature allows for swift drainage.
- Regularly check for any cracks or wear in your planters, repairing them as needed with additional hypertufa mixtures.
Conclusion: The Rewarding Craft of Hypertufa Planters
Hypertufa planters provide an excellent opportunity to not only house your cacti but also express your creative flair. This DIY project results in durable, naturally appealing planters that enhance your garden’s ambiance. Through proper knowledge of materials and techniques, anyone can create stunning hypertufa planters, thereby fostering a deeper connection with the art of gardening.
FAQ
What is hypertufa?
Hypertufa is a lightweight, porous material made from a mixture of peat moss, perlite or vermiculite, and Portland cement, designed to mimic natural stone and provide excellent drainage for plants like cacti.
Why are hypertufa planters good for cacti?
Hypertufa planters offer excellent drainage and airflow, which are essential for cacti health, preventing root rot and promoting strong root systems.
How long does it take for hypertufa planters to cure?
The initial curing takes 24-48 hours in molds, followed by an additional two weeks of curing out of molds while turning periodically for even drying.
Can hypertufa planters be painted or decorated?
Yes, once fully cured, hypertufa planters can be personalized with paint, stencils, natural stains, or decorative elements like stones and driftwood.
How should hypertufa planters be maintained?
Avoid harsh weather exposure especially freezing temperatures, water cacti sparingly, and inspect planters regularly for cracks to repair as needed.

Leave a Reply