Short Answer
Introduction to Terracotta Pots
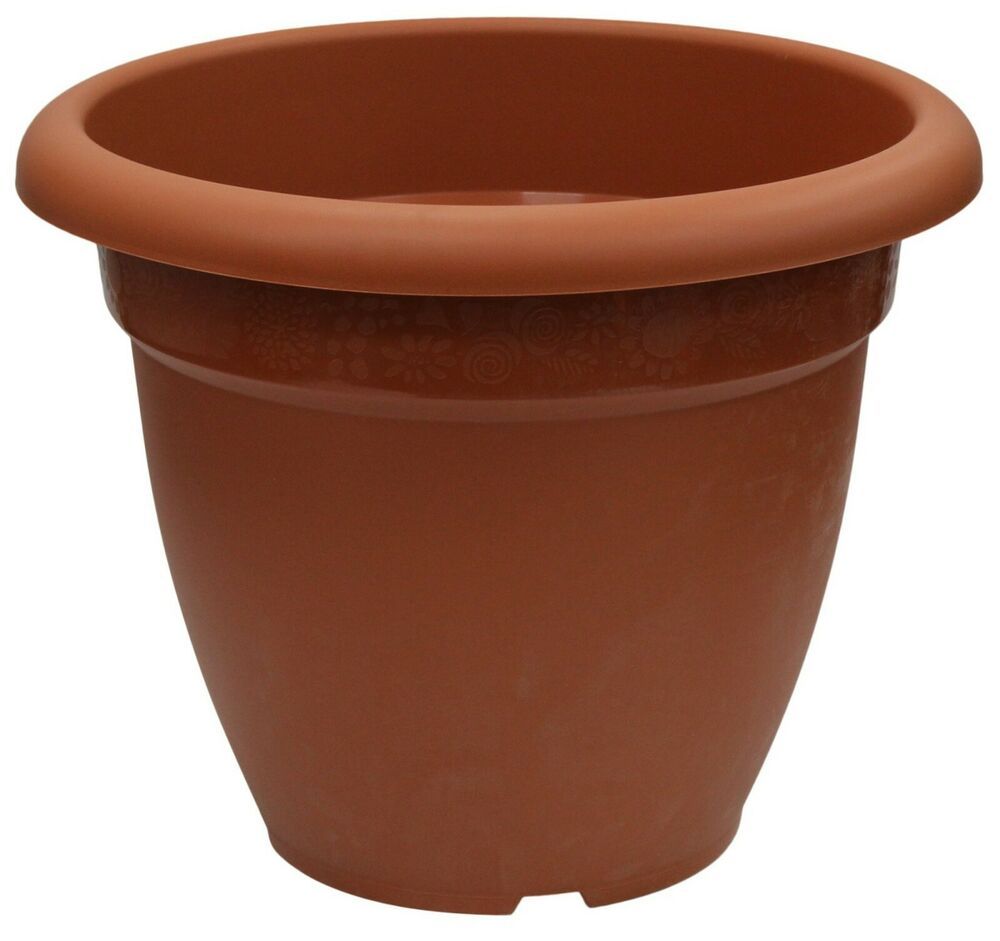
Terracotta pots have long been favored by gardeners and plant enthusiasts alike for their rustic appeal and breathability. Made from natural clay, these pots not only allow for excellent drainage but also promote healthy root systems in plants. However, their porous nature can be a double-edged sword. While this porosity aids in regulating moisture, it also renders them susceptible to stains, cracking, and the absorption of harmful substances. To preserve and enhance the longevity of terracotta pots, proper sealing is essential.
Understanding the Need for Sealing
Sealing a terracotta pot serves multiple purposes. Primarily, it creates a barrier against moisture that can lead to mold and mildew growth. Additionally, sealing mitigates the risk of soil leaching or staining on surfaces beneath the pot. This is especially important when utilizing the pots indoors or on delicate surfaces. Furthermore, sealing allows for improved paint adherence if the terracotta pot is being customized or decorated.
By understanding the advantages of sealing, one can appreciate the significance of this process in protecting the integrity and appearance of terracotta pots.
Essential Materials for Sealing
Before starting the sealing process, it is imperative to gather all the necessary materials. Here is a comprehensive list:
Sealing Agents
Select the appropriate sealant based on the intended use of the pot. Options include:
- Acrylic Sealants: Water-based and suitable for indoor use, they provide a glossy finish and vibrancy to painted designs.
- Polyurethane Sealants: More durable with a thicker consistency, these are ideal for outdoor pots that may be exposed to the elements.
- Natural Oils: Options like linseed or tung oil offer a naturally derived seal but may necessitate reapplication more frequently.
Surface Preparation Tools
- Fine Grit Sandpaper: This aids in smoothing out the surface, which enhances sealant adhesion.
- Soft Cloths: For cleaning and applying oil-based seals.
- Paintbrush or Foam Applicator: These tools assist in evenly distributing the sealant across the pot’s surface.
Cleaning Supplies
- Dish Soap and Water: For degreasing the pot’s surface.
- Rubbing Alcohol: For final disinfecting before sealing.
Step-by-Step Guide to Sealing Your Terracotta Pot
Preparation Phase
To achieve optimal results, commence the sealing process with meticulous surface preparation. Begin by washing the terracotta pot using warm soapy water. This will remove any dirt, debris, or organic residues that may impede the adherence of the sealant. Rinse thoroughly and allow the pot to dry completely, as moisture can lead to issues later on.
After the pot has dried, use fine grit sandpaper to lightly sand the surface. This step is crucial as it creates a micro-abrasive surface that enhances the bond between the pot and the sealant. Wipe away any dust with a soft, dry cloth to prepare for sealing.
Application of Sealant
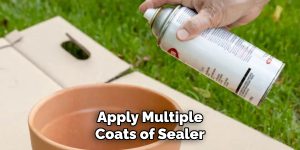
With the pot prepped, it’s time to apply the sealant. If utilizing an acrylic or polyurethane sealant, stir the product thoroughly before use. Using a paintbrush or foam applicator, commence at the base of the pot and work your way upwards. This ensures an even distribution of the sealant and prevents drips. Ensure that you cover the entire surface, paying close attention to any creases or carvings in the pot.
Should you opt for a natural oil, apply it with a soft cloth, using circular motions to rub it into the clay. This method allows the oil to penetrate the terracotta effectively. Once the first coat is applied, allow it to dry according to manufacture instructions, generally ranging from one to four hours.
For enhanced protection, consider applying a second coat. The benefits of multiple coats cannot be overstated, as they increase the longevity of the seal and provide a richer finish.
Curing and Maintenance
After the last coat has dried, the sealant needs time to cure. Curing may take several days, and during this period, it is advisable to keep the pot in a dry environment, avoiding exposure to water or excessive humidity. Once fully cured, your sealed terracotta pot is ready for use.
It is important to monitor the condition of the seal over time. For outdoor pots, periodic checks for wear and tear should be a routine practice. Reapplication of sealant may be necessary every few years to ensure continued protection.
Conclusion: Elevating Your Gardening Experience
In conclusion, sealing a terracotta pot is not just a cosmetic enhancement; it is a fundamental step towards ensuring the longevity and durability of the pot. Whether you are using them for thriving succulents, culinary herbs, or vibrant flowers, properly sealed pots will enhance not only their beauty but also their function. By following these comprehensive steps, gardeners can protect their investment and beautify their spaces simultaneously.
FAQ
What is the main reason to seal a terracotta pot?
To create a moisture barrier that prevents mold, mildew, and soil stains, enhancing the pot's longevity.
Can I use natural oils to seal terracotta pots?
Yes, natural oils like linseed or tung oil can be used but may require more frequent reapplication.
Is sealing necessary for outdoor terracotta pots?
Yes, sealing outdoor pots protects them from weather damage and prolongs their life.
How do I prepare a terracotta pot before sealing?
Clean the pot thoroughly with soapy water, dry it, sand lightly, and wipe off dust before applying sealant.
Leave a Reply