Short Answer
Rooting a cactus can seem like a daunting task, but with the right knowledge and techniques, it can be a rewarding endeavor. This guide will walk you through the essential steps to successfully propagate a cactus, providing you with a deeper understanding of the intricacies involved in the process. Whether you’re an avid gardener or a novice, rooting a cactus can enhance your collection and bring a bit of nature indoors.
Understanding the Cactus
Cacti are fascinating succulents renowned for their ability to thrive in arid environments. Their unique morphology, characterized by thickened and fleshy tissues, allows them to store water effectively. Propagating these resilient plants requires a nuanced understanding of their biology. Most commonly, cacti can be propagated through seeds, offsets, or cuttings, with cuttings being particularly popular due to their efficiency and ease.
To initiate the rooting process, it is crucial to select the appropriate species. Opt for healthy, mature cacti that exhibit no signs of disease. Look for specific varieties such as Opuntia (prickly pear) or Echinopsis, which are renowned for their ease of rooting. The time of year also plays a pivotal role; spring and early summer are optimal, as these seasons promote robust growth in cacti.
Preparing for Rooting
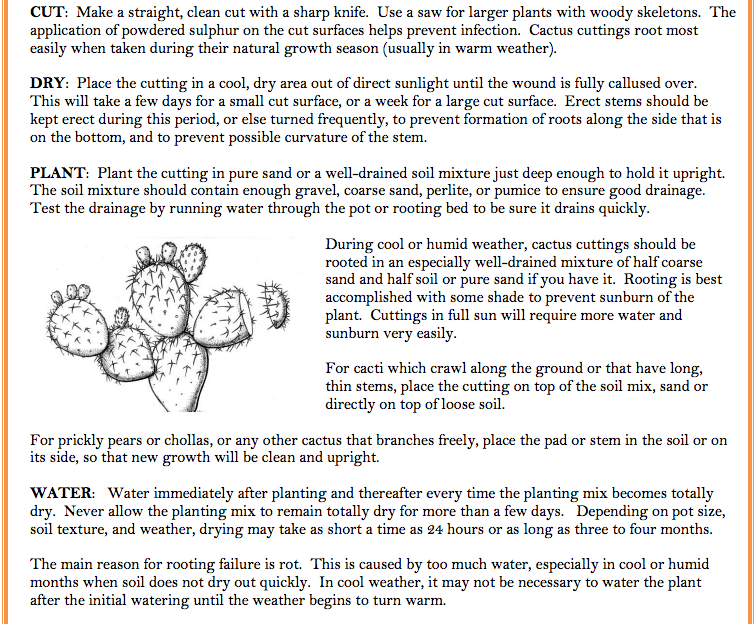
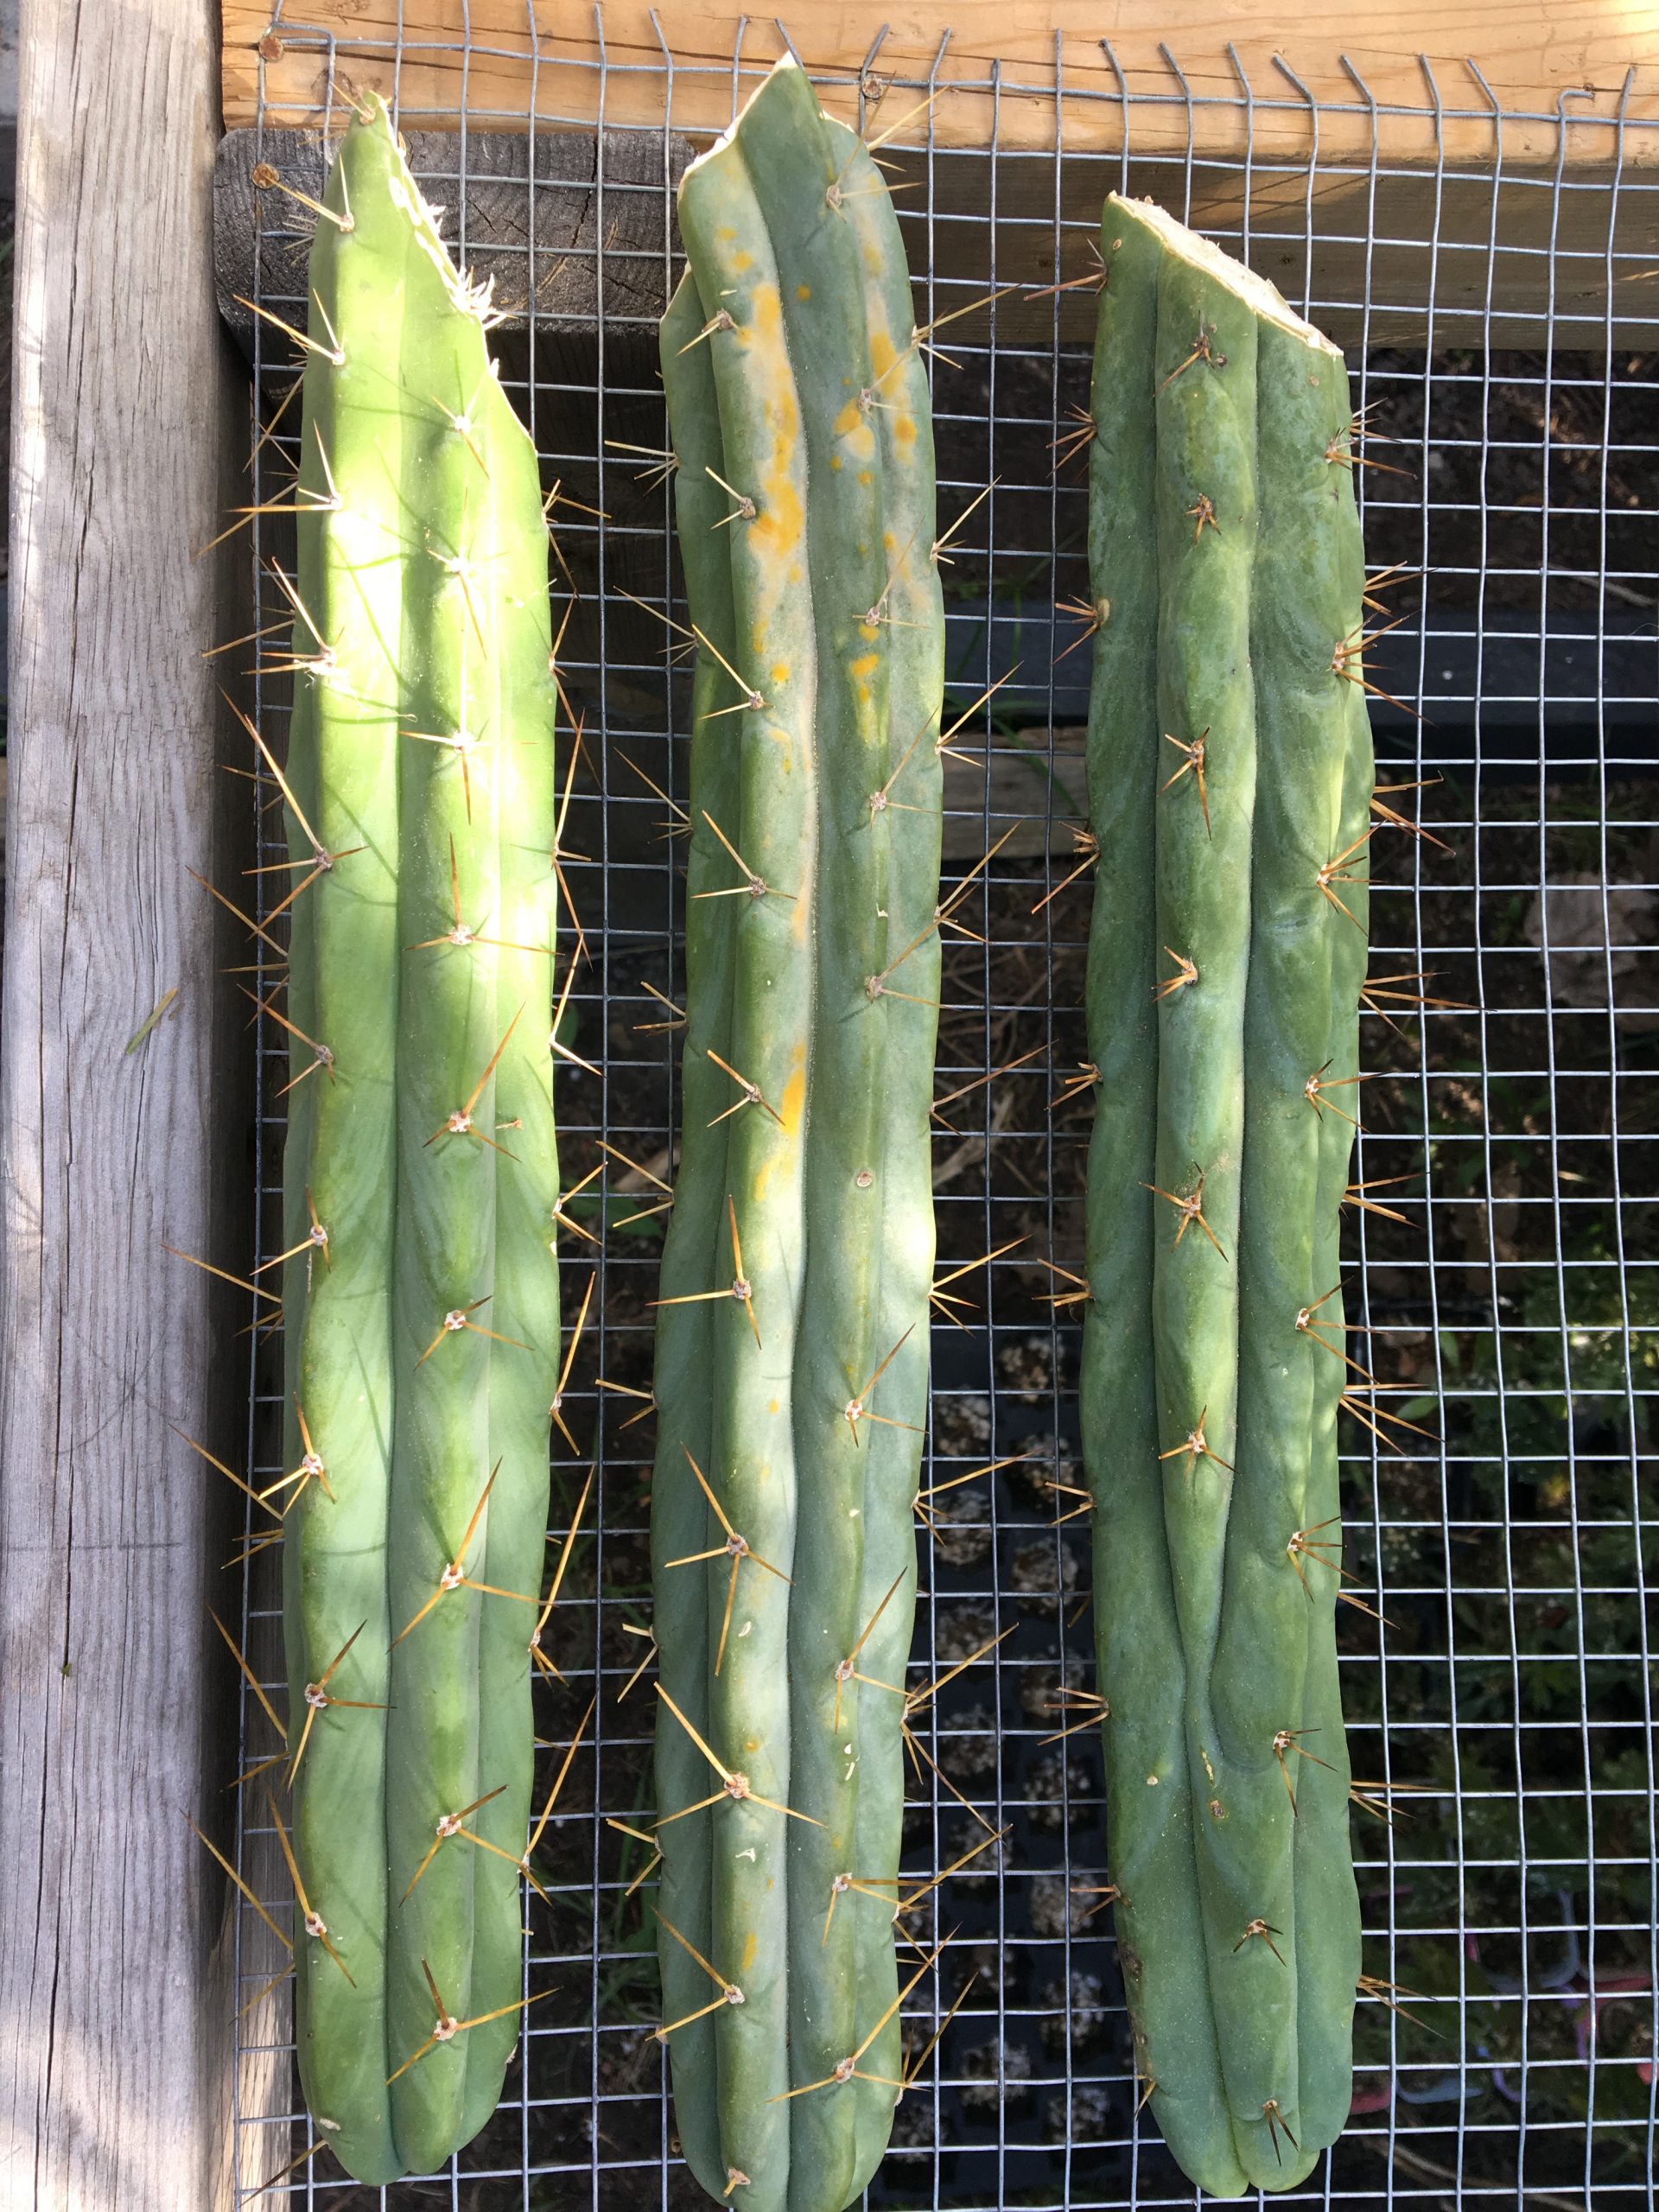
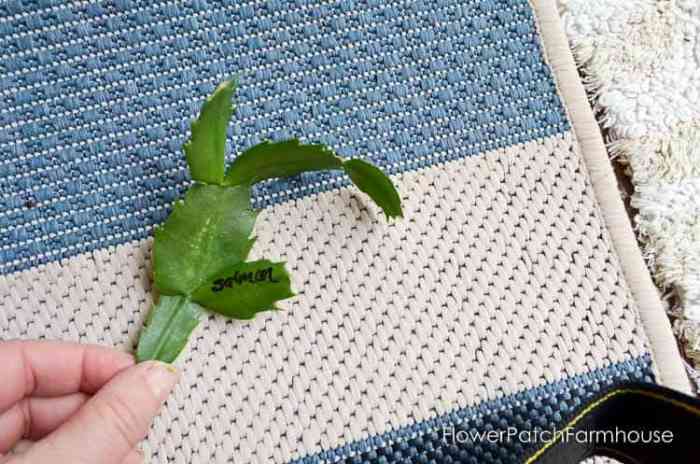
Once you’ve selected the right cactus, the preparation phase begins. Begin by obtaining a clean, sharp knife or pruning shear. The tool must be thoroughly sterilized to prevent any pathogens from entering the succulent. Carefully cut a healthy segment of the cactus, ensuring your cutting is approximately 4-6 inches in length. For certain varieties, cutting just below a joint or nub may yield better results.
After severing the cutting, allow it to “callous” for one to two weeks. This crucial period allows the cut surface to dry, reducing the chances of rot once it is placed in soil. Place the cutting in a warm, dry area, shielded from direct sunlight. This callousing process encourages the formation of a protective layer of tissue that will later facilitate root formation.
Choosing the Right Medium
The choice of rooting medium significantly affects the success rate of cactus propagation. A well-draining soil mix is imperative to prevent root rot, which is a common concern among beginner gardeners. Create a suitable potting mix by combining equal parts of potting soil, coarse sand, and perlite. This combination allows for adequate aeration, preventing moisture retention that can lead to decay.
When you are ready to plant the cutting, fill a shallow pot or container with the substrate mixture. Insert the calloused end of the cactus into the medium to a depth where it is stable, approximately an inch deep. It is crucial to ensure that the cutting is upright and does not lean, as this may hinder root development.
Watering and Humidity Control
After planting your cactus cutting, the next step involves managing moisture levels carefully. Unlike many other plants, cacti prefer a drier environment, particularly during the initial stages of growth. Avoid watering immediately after planting; instead, wait one to two weeks to allow the roots to form.
Once the calloused cutting is planted, gentle misting can be beneficial. Utilize a spray bottle to lightly mist the cutting and the surrounding soil without saturating it. Low humidity is typically preferable, but moderate humidity can create a favorable microclimate encouraging root growth. If you live in an arid climate, consider placing a plastic bag over the pot to maintain moisture levels, ensuring it does not touch the cutting directly to prevent rot.
Light Requirements and Temperature
Lighting plays a vital role in the rooting process. Place your newly planted cutting in a location that receives bright, indirect sunlight. Too much direct sun can scorch the delicate cutting, while too little can inhibit growth. An east-facing window is often ideal, providing gentle morning light without the harsh midday rays.
Temperature also influences the rooting process. Cacti thrive in warmer conditions, so maintaining a temperature range of 70°F to 90°F will encourage rapid root development. If the temperature dips below this range, consider using a heat mat to maintain warmth without exposing the cutting to extreme heat levels that could lead to desiccation.
In the weeks following planting, monitor your cutting for signs of growth. After a few weeks, gently tug at the cutting to check for resistance; this indicates that root formation is underway. Once strong resistance is felt, it is a sign that you can transition to a more regular watering schedule.
Transitioning to Care
After successful rooting, you can begin to care for your cactus cutting similarly to established plants. Gradually reintroduce water, allowing the soil to dry out between waterings to mimic natural conditions. Also, consider fertilizing the plant with a diluted cactus-specific fertilizer every four to six weeks during the growing season.
Rooting a cactus successfully demands patience and diligence. By understanding the biology of your cactus, preparing properly, and cultivating the right environment, you can reap the rewards of a flourishing succulent. Whether you are looking to expand your collection or gift a cutting to a friend, mastering the art of cactus propagation is an invaluable skill for any gardening enthusiast.
FAQ
How do I prepare a cactus cutting for rooting?
Use a sterilized, sharp knife to cut a healthy 4-6 inch segment and let it callous for 1-2 weeks in a dry, shaded place.
Can all cactus species be rooted from cuttings?
Most cacti can be rooted from cuttings, but species like Opuntia and Echinopsis root more easily.
Why is callousing important before planting a cactus cutting?
Callousing prevents rot by allowing the cut surface to dry and form protective tissue before planting.
How should I water my cactus cutting after planting?
Avoid watering immediately; begin with light misting after 1-2 weeks and gradually increase watering as roots form.
What temperature is best for rooting cactus cuttings?
Maintaining temperatures between 70°F and 90°F encourages healthy root development.

Leave a Reply