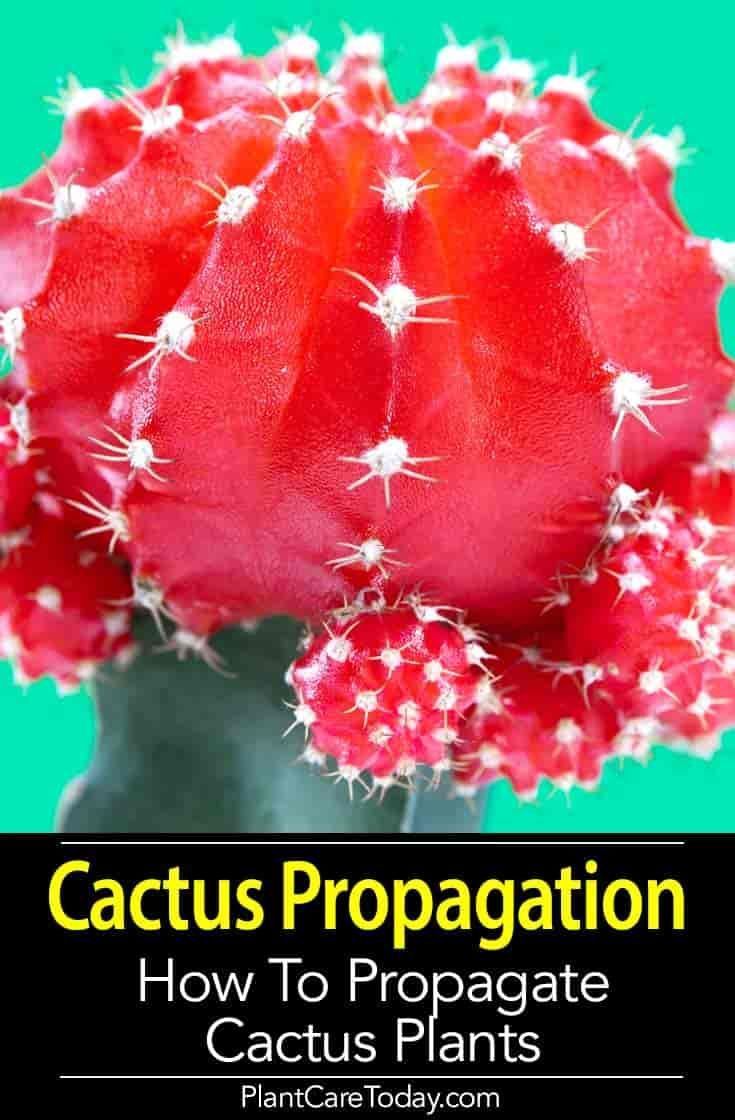
Can You Propagate Cactus? A Step-by-Step Guide to Cactus Propagation
Cacti, with their striking silhouettes and diverse textures, have gained immense popularity among plant enthusiasts. One of the most appealing aspects of cultivating cacti is the ease with which they can be propagated. Understanding the propagation methods can transform a solitary cactus into a thriving collection. This guide aims to provide comprehensive insights into the propagation of cacti, ensuring you embark on your propagation journey well-prepared.
**Understanding Cactus Propagation**
Propagation, at its core, is the process of creating new plants from existing ones. Cacti, belonging to the family Cactaceae, offer several propagation avenues, including offsets, seeds, and cuttings. Each method has its unique benefits and ideal applications.
Offsets, often called pups, are small cacti that grow around the base of the parent plant. This method is the simplest and fastest way to propagate. On the other hand, seed propagation requires patience and precise conditions, as seeds may take longer to germinate. Cuttings, involving severing a segment of a cactus, can also yield fruitful results if managed properly. Understanding these methods will be crucial for successful propagation.
**Choosing the Right Time for Propagation**
Identifying the optimal timing for propagation significantly influences success rates. Late spring to early summer, coinciding with the growing season, is the ideal period. During this time, cacti are actively growing and can adapt more readily to new environments. Conversely, propagating in fall or winter can lead to disappointing results since cacti enter dormancy and experience slower growth.
**The Offsets Method: Simplistic Success**
When considering propagation methods, using offsets is the most straightforward. This technique is particularly effective for species like the golden barrel cactus or the Easter lily cactus, which readily produce pups. Here’s how to do it:
1. **Prepare Your Tools**: Gather a sharp, sterilized knife or pruning shears and a clean pot with drainage holes. Have cactus soil ready, which is specifically designed to promote drainage.
2. **Choose the Right Parent Plant**: Look for healthy cacti with robust pups. Ensure the parent plant is in good health, as weak specimens may not successfully propagate. Follow some safety precautions to avoid injury; wearing gloves is advisable as cactus spines can be quite painful.
3. **Remove the Pups**: Gently wiggle the pup until it detaches from the parent plant. If it resists, use your sterilized knife to cut it free, taking care not to damage the main plant.
4. **Allow to Callous**: Place the cut pup in a shaded area for a few days. Allowing the cut end to callous prevents rot once it is planted.
5. **Plant**: After callousing, plant the pup in well-draining cactus soil. Water sparingly, only when the soil is completely dry.
6. **Monitor and Care**: Keep your new plant in bright, indirect light. Be patient, as growth may be slow initially. Within a few weeks, the pup should establish roots, and you can gradually increase watering frequency.
**Seed Propagation: A Walk on the Wild Side**
While growing cacti from seeds requires more time and attention, the result can be incredibly rewarding. For those interested in rare or specific cactus varieties, seed propagation can be the key. Here’s a step-by-step guide:
1. **Select High-Quality Seeds**: Purchase seeds from reputable suppliers to ensure germination potential. The freshness of seeds plays a crucial role in successful propagation.
2. **Prepare Your Planting Medium**: Use a specialized seed-starting mix that allows optimal drainage. Mixing regular cactus soil with perlite can enhance aeration.
3. **Sow the Seeds**: Scatter the seeds evenly over the surface of the soil. Gently press them down without burying them too deeply, as most cactus seeds require light for germination.
4. **Moisten the Soil**: Using a fine spray bottle, mist the soil to dampen it without oversaturating. Maintaining a humid environment is crucial during the germination period.
5. **Create a Humidity Dome**: To maintain moisture levels, cover the seed tray with plastic wrap or a clear lid. Place it in a warm location with indirect light.
6. **Monitor and Maintain**: Regularly check for moisture and watch for signs of sprouts. Once seedlings emerge, remove the cover to prevent mold buildup and continue providing indirect light.
7. **Transplanting**: After a few months and when seedlings have developed true leaves, they can be transplanted into individual pots with cactus soil. Again, water carefully to prevent root rot.
**Cuttings: A Challenging but Rewarding Method**
Utilizing cuttings can effectively propagate certain types of cacti, such as the Prickly Pear or Christmas Cactus. This method requires a delicate approach:
1. **Select a Healthy Segment**: Choose a healthy stem to cut from the mother plant, ensuring it’s free from any disease or damage.
2. **Cut and Callous**: Sever the segment using a sterilized knife. Allow the cut end to dry and callous, which can take anywhere from a few days to a week.
3. **Plant the Cutting**: Place the calloused end into well-draining cactus soil, ensuring it stands upright. Water sparingly at first and avoid soaking.
4. **Provide Care and Monitoring**: Place your cutting in an area with bright, indirect light and maintain dry conditions. Once new growth appears, it indicates that roots have formed.
In conclusion, propagating cacti presents an excellent opportunity to expand your collection while enjoying the satisfaction of nurturing new life. Whether you choose to work with offsets, seeds, or cuttings, each method has its rewards and challenges. With patience and proper care, you will find your propagation efforts bear fruit, enriching your gardening experience and bringing you closer to these fascinating plants. Happy propagating!


Leave a Comment