In the vibrant tapestry of the botanical world, prickly pear cactus stands out not only for its resilience but also for its multifaceted utility. Native to the arid landscapes of the Americas, the prickly pear, or Opuntia, offers a unique synthesis of beauty, nutrition, and ecological importance. Cultivating this magnificent specimen begins with understanding the art of cutting and propagation. This step-by-step guide delves into the nuances of propagating prickly pear, revealing the secrets behind its growth while illuminating its intrinsic appeal.
When one envisions the prickly pear cactus, the vibrant hues of its fruit and the vastness of its pads evoke images of sun-kissed deserts and wild landscapes. As if each segmented pad holds a treasure chest of history, propagating this remarkable plant can usher in more than just new growth; it cultivates a connection to nature’s artistry.
Embarking on the journey of propagation requires insight into its anatomy, along with proper technique. Just as one sharpens their tools before embarking on an artistic endeavor, so too must one prepare for the task of cutting prickly pear.
Before plunging into the hands-on process, familiarize yourself with the essential tools and conditions that enhance success in propagation.
Gathering Your Arsenal: Essential Tools for Propagation
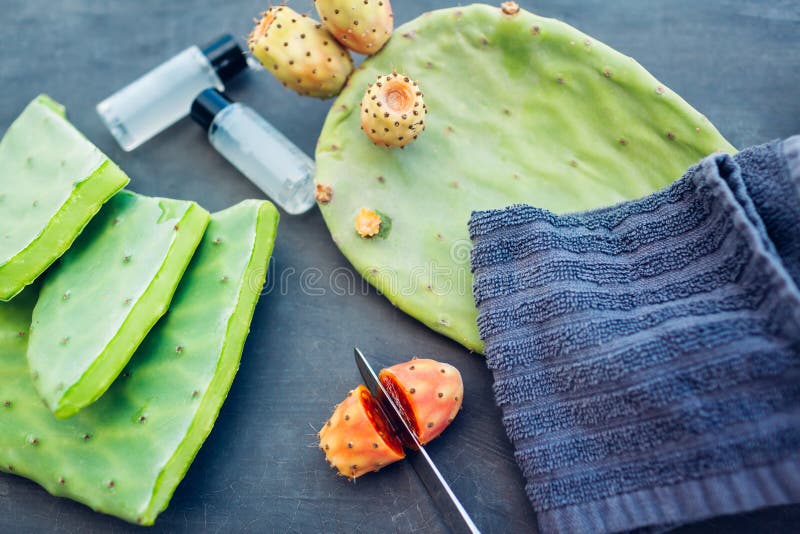
First and foremost, equip yourself with a sturdy pair of gloves. Prickly pear cactus, with its armor of glochids, can be prone to inflicting discomfort if handled carelessly. These small, barbed spines clinging to the pads are both a nuisance and a formidable defense mechanism. Once donned in protective gear, ensure that you have a clean, sharp knife. A serrated or sharp garden knife is ideal to ensure smooth cuts without crushing the flesh of the cactus. Lastly, have your planters or pots ready, along with a well-draining cactus soil mix, to provide an optimal environment for growth.
The Art of the Cut: Step-by-Step Technique
Once adequately prepared, the next phase revolves around the precise act of cutting. Each slice of the knife not only signifies a tangible separation of the pad but symbolizes the beginning of new life. Select a healthy pad from the cactus in your garden or from a nursery. Look for a pad that is robust and free from disease. A youthful pad that is around 6 to 12 inches in length is ideal.
Make a clean cut from the cactus, severing it at the base where it meets the stem. It’s essential that the cut is as clean as possible to prevent rot during the rooting process. After cutting, allow the pad to sit in a warm, dry area for a few days. This step is critical, as the cut surface must callous over before it is planted to reduce the risk of rot.
After the cut end has developed a callous— a natural protective layer— it is time to introduce the pad to its new home.
Planting Your Prickly Pear: Nurturing New Beginnings
Now comes the moment of transformation. Prepare your planting pot filled with specially formulated cactus soil, which allows rapid drainage, essential for these desert dwellers. Place the calloused end of your pad into the soil, burying it about an inch deep. It’s akin to planting a flag in the territory of possibility, marking the site of future growth. Water sparingly at first; the goal is to keep the soil moist but not drenched, as the young prickly pear thrives on minimal moisture until it establishes its roots.
Placement is also vital. Position the pot in a well-lit spot, ideally where it receives indirect sunlight. Too much direct light can scorch the tender pads, while too little can stunt their growth. The goal is to emulate the natural conditions these cacti endure—harsh yet capable of surprising resilience.
Nurturing Life: Care Tips for Growing Prickly Pear Cactus
Caring for your newly propagated prickly pear involves a delicate balance. As the days pass, be vigilant for signs of growth. New pads will begin to develop, signaling that roots have formed and that your cactus is acclimating to its new environment. At this juncture, gradually increase watering as it establishes itself. However, bear in mind that moderate neglect is often preferred over excess—prickly pear thrives on the edge of survival, a testament to its resilience.
Fertilization can begin about a month after planting. Use a diluted cactus fertilizer during the growing season (spring to early fall) to encourage vibrant growth and stimulate flowering. As the season shifts toward dormancy, reduce water and fertilizer, allowing the cactus to prepare for winter—an essential phase in its life cycle.
In conclusion, the propagation of prickly pear is a metaphorical reflection of life and growth itself. With every careful cut and nurturing gesture, one becomes intertwined with the cactus’s journey, mirroring the persistence required in the face of adversity. Through the elegance of propagation, the prickly pear cactus offers not just aesthetic pleasures but also a bounty of delectable fruits and environmental benefits. Whether utilized for culinary purposes or cherished as a vivid component of your garden’s landscape, prickly pear stands resilient, waiting to thrive under your watchful care.


Leave a Comment