Growing Cactus from Cutting: How to Successfully Propagate Cactus Plants
Cacti are resilient and captivating plants that have captured the interest of both novice and seasoned gardeners alike. The allure of propagating these hardy beauties through cuttings makes cactus gardening even more rewarding. This process, while straightforward, requires a bit of patience and knowledge. Below is an extensive guide on successfully propagating cacti from cuttings, detailing the essential steps, care, and best practices for your succulent endeavors.
Understanding Cactus Cuttings
Before embarking on the propagation journey, it’s pivotal to comprehend the anatomy of cacti. A cactus cutting is essentially a segment of the plant, typically a pad, stem, or leaf, that can develop roots when planted in suitable conditions. Certain types of cacti are more amenable to cutting propagation, including the prickly pear (Opuntia), Christmas cactus (Schlumbergera), and the growing popularity of various globular and columnar species.
Choosing the Right Cutting
Selecting a healthy cactus cutting is crucial for successful propagation. Look for segments that are robust and free from blemishes or rot. The ideal cutting should be at least a few inches long, providing enough tissue to sprout roots. In the case of larger cacti, a well-developed pad is both preferable and simpler to work with. For species like the Christmas cactus, it is suggested to take several segments to increase your chances of success.
Harvesting the Cutting
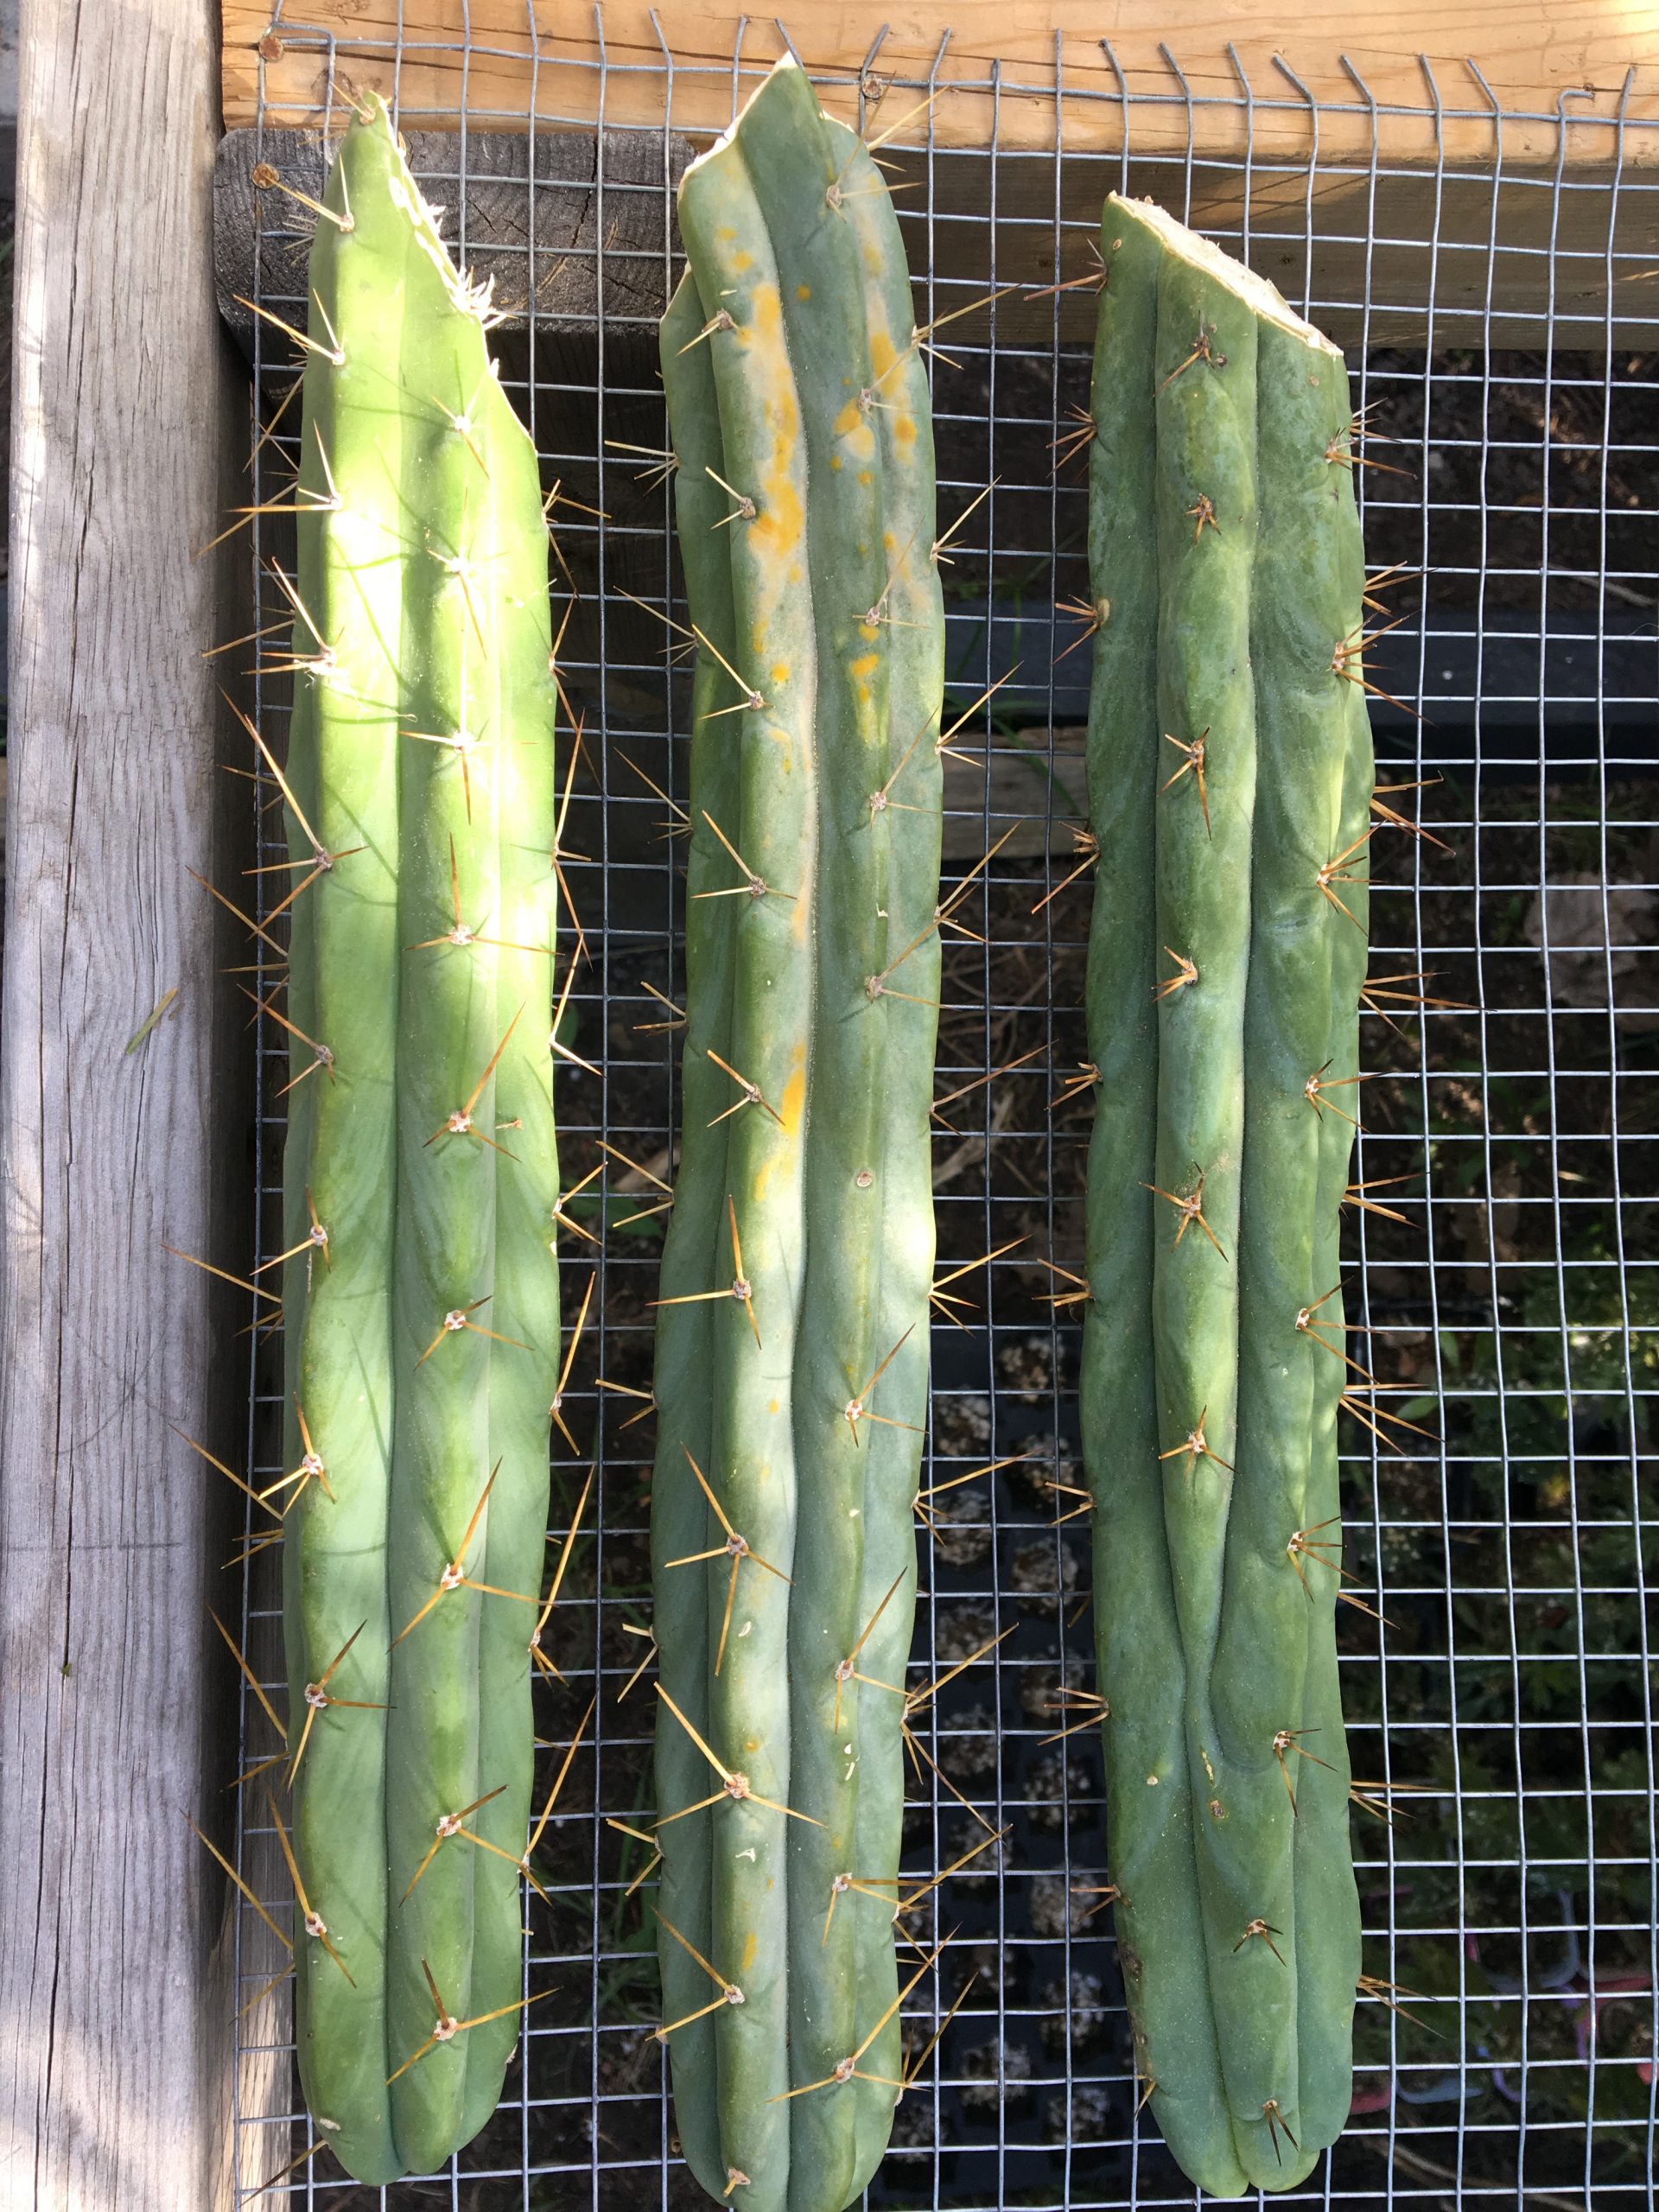
Harvesting cactus cuttings should be conducted with precision and care. Use a clean, sharp knife or pair of pruning shears to avoid introducing pathogens during the process. It’s recommended to wear gloves, as many cacti possess spines that can penetrate the skin. Make a clean cut at a 45-degree angle, which minimizes the chance of damage to the tissue. After cutting, it’s vital to allow the newly severed end to callus over. Place the cutting in a warm, dry area for anywhere between three days to two weeks, allowing a protective layer to form—this reduces the risk of rot when planting.
Preparing the Potting Medium
When it comes to potting, a well-draining medium is essential. A commercial cactus mix works well, but you can also create your own by mixing one part potting soil, one part coarse sand, and one part perlite. This combination encourages excellent drainage and minimizes moisture retention, crucial for root development.
Planting the Cutting
Once the cutting has sufficiently callused, it’s time to plant. Fill a small terracotta or plastic pot with the prepared potting medium. Create a hole in the center—large enough to accommodate the cutting without forcing it in. Place the cutting upright, ensuring that the callused end is in contact with the soil. Gently firm the medium around the cutting to secure it in place, but avoid packing it too tightly as this can inhibit root growth.
Optimal Conditions for Rooting
Providing appropriate conditions for cactus cuttings to root is vital. Place the pot in an area that receives bright but indirect sunlight, as direct exposure can stress the young cutting. A south-facing window is often ideal. Water sparingly in the initial weeks; the potting mix should remain just moist, never soggy. A good rule of thumb is to wait until the soil has completely dried out before watering again. This approach helps alleviate the risk of root rot, a significant hindrance in cactus propagation.
Encouraging Growth
Patience is paramount when propagating cacti. Rooting times can vary from a few weeks to several months, depending on the cactus species and environmental conditions. Keep an eye out for signs of growth, such as new pads or a change in the color of the cutting, which indicates that root formation is taking place. If you notice the cutting shriveling or turning mushy, it may be a sign of overwatering or insufficient sunlight—be ready to adjust your care accordingly.
Post-Rooting Care
Once the cutting establishes roots, the joyous phase of post-rooting care begins. At this point, you may gradually introduce a diluted succulent fertilizer, administering it every four to six weeks during the growing season. Additionally, consider repotting into a larger pot once the roots have filled the initial container. This step ensures the cactus has ample space to grow and thrive.
Monitoring for Pests and Problems
As your cactus cutting flourishes, vigilance is essential in monitoring for pests such as mealybugs or spider mites, which can compromise its health. If infestations occur, treat them promptly with insecticidal soap or neem oil. Furthermore, keeping the growing environment clean by removing any dead leaves or debris can deter pests and diseases.
The Satisfaction of Successful Propagation
The act of propagating cacti from cuttings offers a rewarding experience that extends beyond mere cultivation. Each cutting nurtured into a flourishing plant symbolizes persistence and dedication. While the journey requires attention and an understanding of plant needs, the outcome speaks volumes in the beauty and character that these resilient plants bring into your space.
In summary, propagating cacti from cuttings is a gratifying venture that allows you to explore the fascinating world of these unique plants. With the right knowledge, tools, and a little patience, anyone can grow a stunning collection of cacti. Start your propagation journey today, and enjoy the myriad of shapes and sizes these remarkable plants can offer.


Leave a Comment