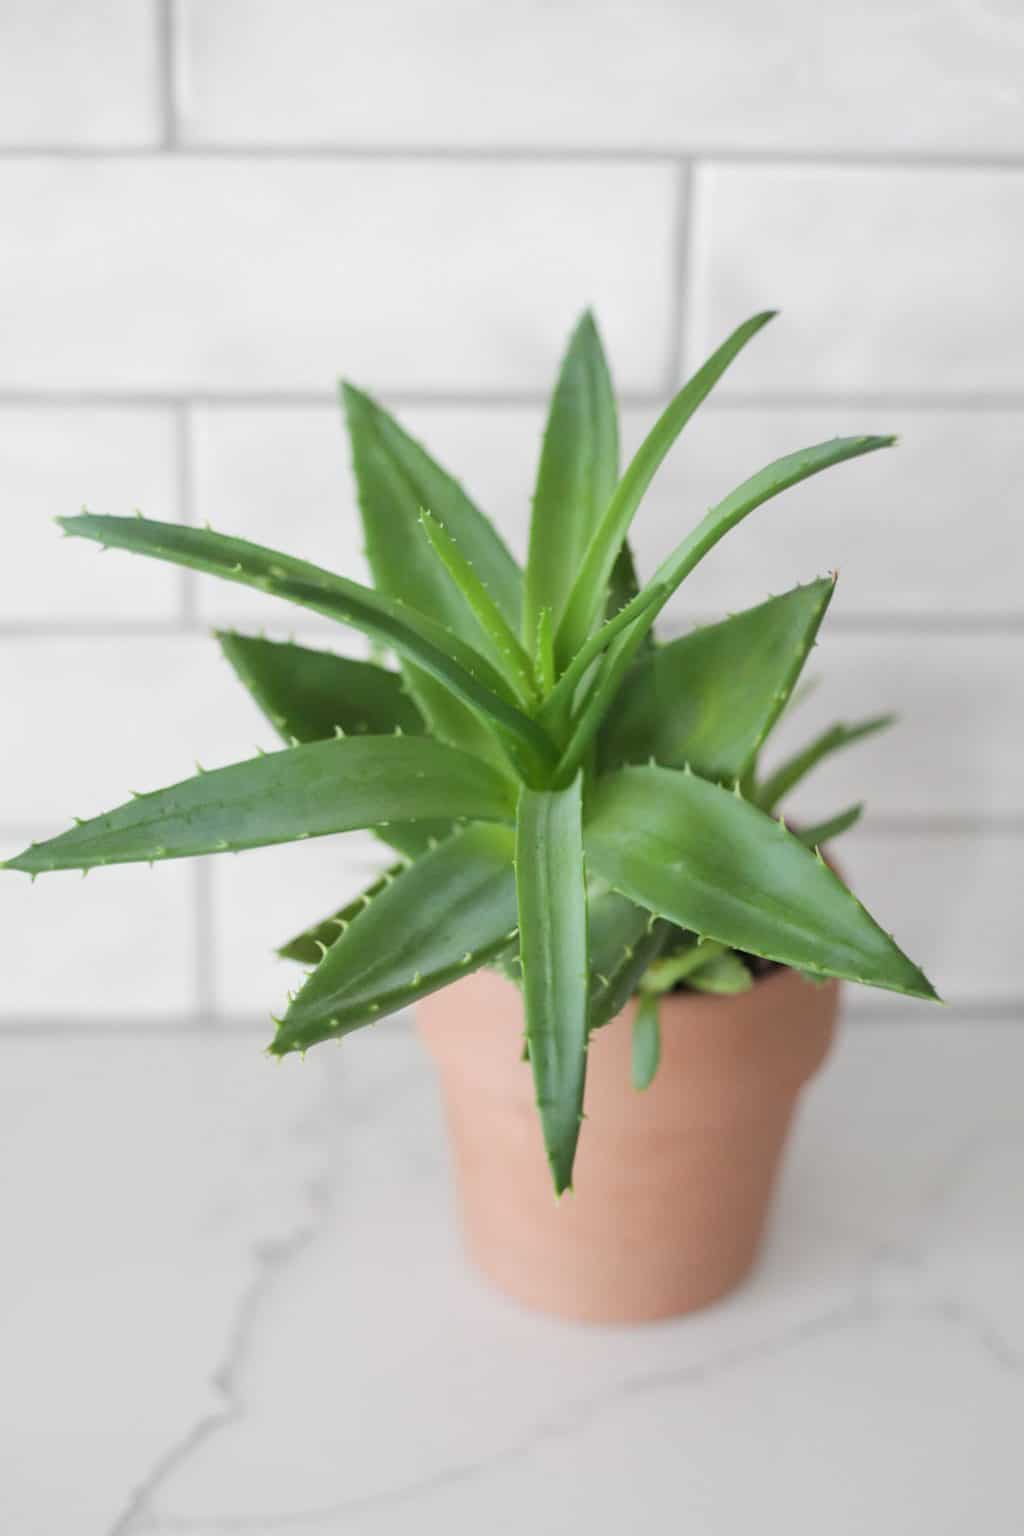
Propagating aloe plants can be not only a rewarding endeavor but also a cost-effective way to enhance your indoor or outdoor garden. Aloe vera is known for its medicinal properties, but it also makes for a stunning ornamental addition. This guide provides an in-depth exploration of how to effectively propagate aloe, ensuring your new plants thrive in their new environments.
Understanding the propagation methods is crucial. The two most common practices are offsets or pups propagation and leaf cuttings. While both methods can be successful, knowing when and how to utilize each ensures better results.
Recognizing Aloe Offsets: The Natural Propagation Method
Aloe vera plants naturally produce offsets or pups, which are small clones that sprout at the base of the mother plant. Recognizing these offsets is the first step in ensuring vigorous propagation.
Offsets typically appear when the parent plant matures, often indicated by its size and health. A healthy aloe plant might produce multiple pups. Wait until these offsets are about one-third the size of the mother plant before attempting to separate them. At this size, they will have developed enough roots to sustain themselves.
Carefully remove the offset from the parent plant. Use a clean, sharp knife to slice through the roots that connect the pup to the main plant. Make sure to include some roots with the offset, as this will increase the chances of successful propagation. If roots are minimal, don’t worry. Aloe can still successfully grow with just the offset.
The Cutting Technique: Propagating Through Leaf Sections
While growing aloe from offsets is the most common method, it is also possible to propagate aloe vera using leaf cuttings. This technique, though less favored, can yield successful results with proper care.
Begin by selecting a healthy, mature leaf from the aloe plant. The leaf should be plump and free from any blemishes or diseases. Use a clean knife to cut the leaf from the base, maintaining a diagonal cut to increase the surface area for rooting.
Once the leaf is cut, allow it to heal for a day or two. This step is vital as it helps the cut surface to callous over, reducing the risk of rot once the leaf is planted. Place the cut leaf in a dry location, away from direct sunlight, during this time.
After the cut has calloused, place the leaf section upright in a pot filled with well-draining succulent soil. Ensure that the cut end is buried about one inch deep in the soil. Water lightly to settle the soil around the cutting, but be cautious not to overwater. This initial moisture is necessary, but too much can promote rotting.
Caring for Your Propagated Aloe: The Path to Success
Once the propagation process is underway, the next crucial phase is care. Newly propagated aloe plants require a delicate balance of moisture, sunlight, and nutrition to flourish.
Position your newly propagated aloe in an area with bright, indirect light. Direct sunlight can scorch the leaves, while insufficient light may stunt growth. A south or west-facing window is generally ideal. Remember to rotate your plant occasionally so that all sides receive equal light exposure.
Watering should be approached with caution. Allow the soil to dry out completely between waterings. Aloe vera is a succulent and thrives in drier conditions. Overwatering is a common mistake and can lead to root rot. To assess when to water, check the moisture level by inserting your finger into the soil. If the top inch or two feels dry, it’s time to water.
Fertilization is another aspect to consider. Once your aloe has established roots, it can benefit from a diluted, balanced fertilizer every few months during the growing season, typically spring and summer. Choose a fertilizer specifically formulated for succulents to ensure optimal nutrient uptake without an excess of nitrogen, which can encourage leggy growth.
Common Challenges and Troubleshooting
Despite your best efforts, you may encounter issues along the way. Common challenges include slow growth, yellowing leaves, or signs of pests. Each of these concerns can hint at underlying issues in environment or care practices.
Yellowing leaves may signify overwatering or poor drainage. If yellowing occurs, immediately reduce watering and ensure the pot has proper drainage holes. Additionally, check for root rot by inspecting the roots—healthy roots should be firm and white, while rotting roots will appear mushy and dark.
If the plant appears stunted or pale, consider increasing light exposure. A lack of adequate light can impede growth, so moving your aloe to a brighter spot can invigorate it.
Pests like mealybugs or aphids may also pose a threat to your new aloe plants. Regularly inspect for these pests, and if found, treat them with insecticidal soap or neem oil.
Through thoughtful care and diligence, you can successfully propagate aloe and enjoy the numerous benefits these plants provide. Whether for their aesthetic qualities or their therapeutic uses, propagated aloe vera plants can thrive and become a cherished piece of any garden or indoor space.


Leave a Comment