Cutting and replanting a cactus can seem daunting, but it is a rewarding process that allows gardeners to expand their collection or propagate unique varieties. This guide provides comprehensive insights into the meticulous yet straightforward endeavor of propagating cacti from cuttings. Understanding the nuances of cactus anatomy, selecting appropriate tools, and fostering optimal conditions for growth will ensure a successful transition from mother cactus to new plant.
Before embarking on the propagation journey, it is essential to familiarize oneself with the anatomy of the cactus. Cacti exemplify a fascinating evolution of plant resilience, adapting to arid environments through specialized structures. Each cactus comprises a stem, spines, and occasionally, flowers, with the stem serving as the main vehicle for photosynthesis and water retention. When planning to cut a cactus, one must focus on the stem segments, as these contain the necessary cells for regeneration.
Tools and Preparation: Essential Gear for Cutting
Preparing for the task requires a few essential tools to ensure a clean and efficient cut. Firstly, procure a sharp, sterile knife or pruning shears. An unclean cutting tool may introduce pathogens to the cactus, leading to potential rot. Sterilization can be conveniently achieved by wiping the blade with isopropyl alcohol or a flame. This precautionary step is often overlooked but can make a monumental difference in the outcome of the propagation.
Next, gather a clean surface, such as a cutting board, to maintain hygiene throughout the process. Additionally, consider wearing gloves while handling spiny varieties to prevent injuries. Once equipped, identify a healthy segment of the cactus that is suitable for propagation, ensuring it exhibits vibrant coloration and no signs of disease.
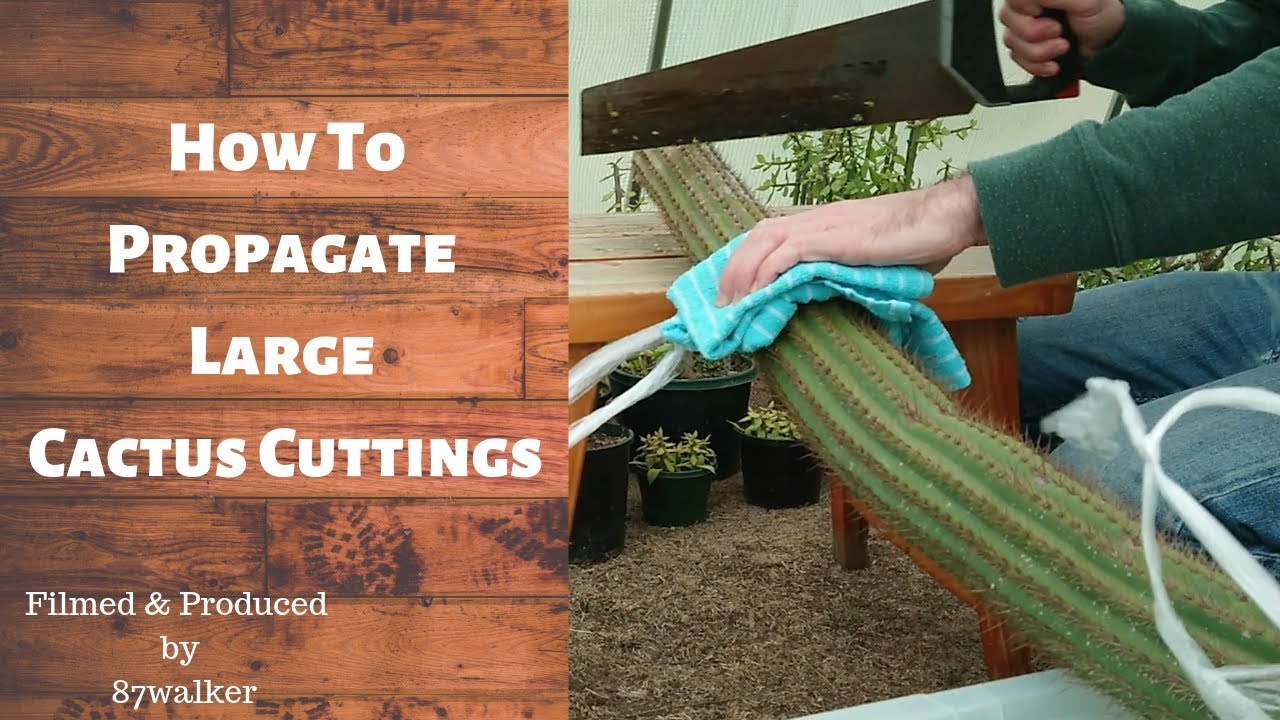
Precision Cutting Techniques: Ensuring Success
The cutting method is crucial to the success of the propagation. Gently lift the selected segment from the mother cactus using a steady hand. Aim for a cutting length of four to six inches, as this size generally provides a good balance between viability and manageability. Make an angled cut to create a larger surface area, facilitating quicker healing and root development.
Once the segment is severed, allow it to heal for at least a week. This healing process, termed “callousing,” is pivotal as it prevents rot during the replanting phase. Place the cut segment in a warm, dry location away from direct sunlight, allowing the cut end to form a callous. The duration of this process may vary depending on environmental conditions; however, patience is key.
Choosing the Right Soil: The Foundation of Growth
After the cutting has calloused, it is time to repot it in the right substrate. Cacti thrive in well-draining soil that prevents excess moisture retention, which can lead to rot. Opt for a commercial cactus mix or create a custom blend by combining regular potting soil with perlite or coarse sand in equal parts. This mix enhances drainage while offering essential nutrients.
Prepare a sturdy pot with drainage holes, as proper drainage is paramount in cactus care. Fill the pot with the soil mix, leaving enough space for the cut end of the cactus. Create a small hole in the center, gently inserting the calloused cutting into the soil, ensuring that about two inches of the cutting is buried for stability.
Watering Techniques: Nurturing New Growth
Watering is an integral aspect of cactus propagation, yet it necessitates a delicate balance. After planting, minimize watering for the initial couple of weeks. This allows the cutting to acclimatize and encourages root formation. Once roots are established, which can take anywhere from two weeks to two months, return to a moderate watering schedule. Always check the soil moisture by using your finger; if it feels dry up to an inch deep, it’s time to water.
Light Requirements: The Role of Sunlight
Cacti are notoriously fond of sunlight, yet newly planted cuttings require a careful introduction. Position the newly potted cactus in a space with bright, indirect light to encourage steady growth without sunburn. Over time, gradually expose the cactus to direct sunlight to acclimatize it to its future environment. Too much light too soon may lead to scorching, while too little light could hinder growth.
Patience and Monitoring: The Road to Thriving Plants
As weeks turn into months, remain vigilant in monitoring the newly propagated cactus. Observe for signs of growth, which may include new spines or increased size. If any signs of disease emerge, such as discoloration or mushiness, act promptly. Prune away affected areas to prevent spreading, and adjust care protocols as necessary to foster recovery.
Conclusion: The Joy of Cactus Propagation
Successfully propagating cactus from cuttings is an enriching experience that not only beautifies your living space but also deepens your connection with these resilient plants. As you nurture the young cactus, appreciate its journey from cuttings to a robust specimen. Armed with knowledge and care, your propagation endeavors will flourish, paving the way for a diverse and thriving cactus collection.


Leave a Comment