Cutting a cactus for propagation is a remarkable journey into the world of botany, showcasing the resilience and adaptability of these fascinating plants. While many admire cacti for their aesthetic appeal, their ability to thrive in arid terrains and reproduce even in the harshest conditions reveals a deeper narrative of survival. This guide will provide a thorough and pragmatic approach to cutting and propagating cacti, making the experience rewarding and fulfilling.
Understanding the Biology of Cacti
Cacti belong to the family Cactaceae, characterized by their unique adaptations for water conservation, photosynthesis, and reproduction. These extraordinary plants have developed specialized tissues that allow them to store water and endure prolonged droughts, thus making them highly resilient. Their ability to propagate both sexually, through seeds, and asexually, through cuttings, emphasizes their biological tenacity.
Cutting is a popular method for cactus propagation, especially because many species root easily from cuttings. The perennial observation that these succulent wonders can flourish from mere fragments intrigues many gardening enthusiasts. This remarkable propagation technique not only allows for the preservation of unique species but also deepens the gardener’s connection with nature.
Essential Tools and Preparations for Cutting a Cactus
Before embarking on the propagation journey, ensure the following tools and materials are at hand:
- Sharp, Sterilized Knife or Shears: Sharp tools minimize damage to the plant and reduce the risk of disease. Sterilization can be achieved using rubbing alcohol or a flame.
- Native Soil Mix: A well-draining soil mix is crucial for cactus rooting. A blend of potting soil, sand, and perlite works harmoniously.
- Containers: Choose small pots or trays with drainage holes to prevent waterlogging.
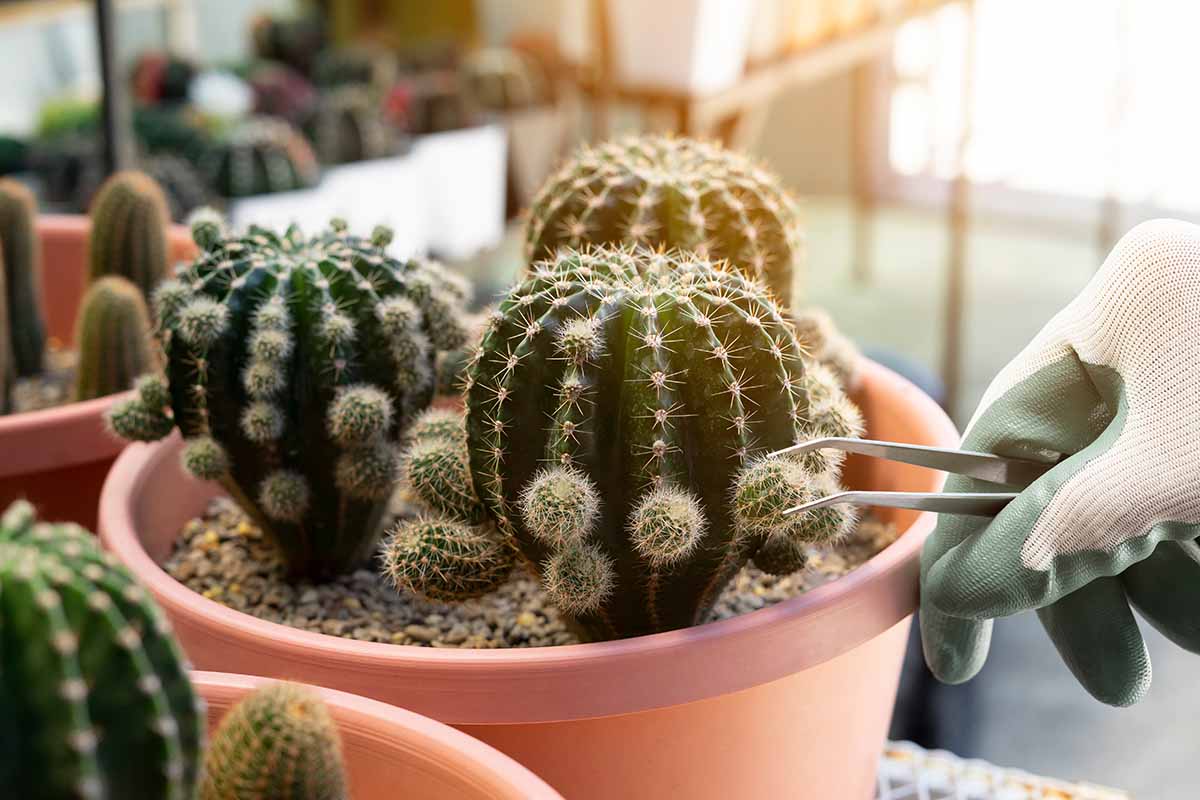
- Gloves: Protect your hands from the spines and potential irritation caused by certain cactus species.
- Rooting Hormone (Optional): While not necessary, rooting hormone can enhance root development, especially for slower-rooting species.
Now that the tools are ready, let’s proceed with the cutting process.
Step-by-Step Guide for Cutting a Cactus
Understanding the intricacies of cutting a cactus ensures a successful transition from a thriving plant to multiple healthy specimens. Follow these steps meticulously:
Selecting the Right Cactus:
Choose a robust, healthy cactus for cutting. Look for a species that is known to propagate well from cuttings, such as Opuntia (prickly pear) or Echinopsis. Make sure the plant exhibits vibrant color and lacks any signs of pest damage.
Making the Cut:
Using the sterilized knife, cut a segment from the cactus. The cutting should ideally be a minimum of 4-6 inches long, ensuring that it has several nodes. Make the cut at a 45-degree angle, as this increases surface area for rooting and prevents water accumulation at the open end.
Letting the Cutting Callous Over:
After cutting, allow the cactus segment to callous over for a few days in a warm, dry location. This process helps to prevent rot, as the wound will seal and dry out. A callous typically takes about 3-7 days, depending on humidity and temperature.
Preparing for Planting the Cutting
While waiting for the cutting to callous, prepare the planting medium and containers. Fill the pots with a suitable cactus potting mix, ensuring adequate aeration. If using rooting hormone, lightly dust the cut end of the cactus segment prior to planting.
Planting the Cutting:
Once the cutting has sufficiently calloused, gently plant it into the soil, burying it about one-third of its length. Firm the soil around the base of the cutting to provide stability. Place the pot in a bright location but avoid direct sunlight for a few weeks, as the cutting may need to acclimate.
Caring for Your New Cactus
Patience is key in the propagation process. Regularly check the soil moisture, making sure it’s dry before watering again. Overwatering is one of the leading causes of cutting failure. After a few weeks, you may notice new growth or roots emerging from the cutting, an encouraging sign of its successful propagation.
Transplanting and Future Growth:
Once the cactus cutting has established a healthy root system, usually after 4-6 weeks, it can be transplanted into a larger pot if desired. Continue to provide bright, indirect light, and follow a regular watering schedule appropriate for cacti. As the plant matures, you may wish to fertilize occasionally with a diluted cactus fertilizer during the growing season.
Navigating the Fascination of Cactus Propagation
Each step in the cutting and propagation process unveils the indomitable spirit of cacti. This method not only expands the cultivation but also deepens one’s appreciation for the botanical world. The resilience that these plants exhibit mirrors our own adaptability in facing adversity. The act of caring for cacti fosters a meaningful bond with nature, inviting gardeners to witness the beauty of growth and transformation.
By understanding the mechanics of cactus cutting, enthusiasts can contribute to sustainable gardening practices and preserve the splendid diversity of the plant kingdom. The journey of propagation extends beyond the tangible results; it symbolizes a dynamic relationship with the natural world, endlessly offering opportunities for exploration and discovery.


Leave a Comment