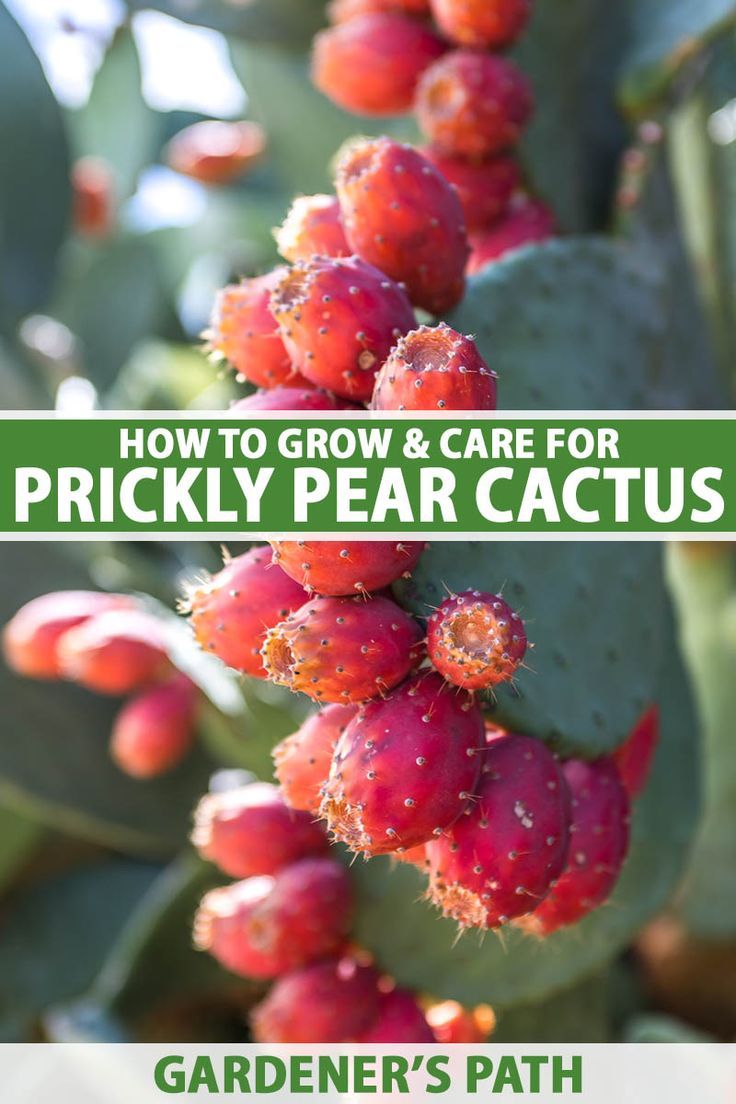
Prickly pear cacti, known for their vibrant pads and striking blossoms, offer a unique addition to any garden. Propagating these resilient plants through cuttings can be a rewarding venture for both novice and seasoned gardeners alike.
Understanding the Anatomy of a Prickly Pear Cactus
To effectively grow a prickly pear from a cutting, it is imperative to understand its unique anatomy. The pads, also referred to as “cladodes,” serve as both the main stem and the leaves of the cactus. These pads are typically flat and green, serving as photosynthesis sites. The glochids, tiny hair-like spines, are a noteworthy feature to consider. They can be irritating to the skin, requiring careful handling during propagation.
In addition to physical characteristics, it is essential to realize that prickly pears belong to the Opuntia genus. This diversity within the genus means that different species can vary significantly in size, color, and care requirements. Familiarizing yourself with your specific variety will enhance your success when propagating.
Preparing the Cutting for Propagation
Your journey begins with selecting a healthy pad from an existing prickly pear cactus. Aim for a pad that is free from blemishes, discoloration, or signs of disease. Use a clean, sharp knife or garden shears to make a precise cut, ensuring you leave a small section of the pad intact for better healing.
After cutting, the pad requires a crucial healing phase. Place the cutting in a dry, warm location, away from direct sunlight, for approximately a week. During this time, the cut end will develop a callous, which is essential for preventing rot once planted. This dormant phase allows the plant to prepare itself for its new life in soil.
Selecting the Right Soil and Potting
When potting your prickly pear cutting, the choice of soil is paramount. Utilize a well-draining cactus mix, or create your own by combining potting soil with sand or perlite at a ratio of about 2:1. This formulation will help provide the aeration and drainage that cacti crave, preventing waterlogged roots.
Choose a pot with drainage holes to facilitate proper water exit. Terracotta pots are an excellent choice as they absorb moisture and allow for quick drying, mimicking the natural desert environment of the prickly pear. Fill the pot with your soil mixture and create a small space for the cutting.
Planting the Cutting
Once the cutting has calloused, it’s time for planting. Gently push the cutting into the soil at the cut end, ensuring it’s positioned upright. The depth should be approximately one to two inches, depending on the size of the pad. Firm the soil around the base of the cutting, providing stability without compacting the soil excessively.
After planting, allow the cactus to settle in and avoid watering for a few weeks. This period enables the roots to establish in the dry soil without the risk of rot. Once new growth or roots are observed, it is safe to introduce a watering regimen.
Watering and Maintenance
Watering a prickly pear cactus requires a delicate balance. During the growing season, which typically spans spring through summer, water the cactus thoroughly but infrequently. Allow the soil to dry completely between watering sessions. In contrast, during the dormant season—fall and winter—reduce watering significantly, as the cactus requires less moisture.
Monitor your cactus for any signs of distress, such as wrinkling or discoloration, which may indicate either dehydration or overwatering. Adjust your watering schedule accordingly to maintain optimal health.
Providing Adequate Light
Lighting is another critical factor in the successful growth of a prickly pear cactus. These cacti thrive in full sun exposure, requiring at least six hours of direct sunlight daily. If grown indoors, place the cactus near a south-facing window to maximize light exposure. In cooler climates, outdoor placement on a patio or balcony can provide ample sunlight, just be cautious of sudden temperature fluctuations.
Fertilizing Your Cactus
While peculiarly resilient, prickly pears can benefit from a balanced fertilizer during the growing season. Use a diluted cactus fertilizer or a low-nitrogen option, applied every four to six weeks. This practice will enhance growth and flowering potential, ensuring a robust and healthy plant over time. Avoid fertilizing during the dormant phase, as this may lead to weak growth.
Conclusion: The Rewards of Growing Prickly Pear Cactus
Growing a prickly pear cactus from a cutting is a fulfilling endeavor that exemplifies the beauty of a resilient and resourceful plant. By understanding its anatomy, preparing appropriately, and providing the right conditions, you can cultivate a thriving cactus that contributes to the rich tapestry of any garden. With patience and care, your prickly pear will flourish, rewarding you with its charming presence and vibrant fruits for years to come.


Leave a Comment