Propagation of cacti is a rewarding endeavor that allows plant enthusiasts to expand their indoor gardens or create delightful gifts for friends and family. While many may perceive cactus propagation as a complex task, it can be relatively simple, especially when utilizing cuttings. This guide offers a comprehensive overview of how to successfully propagate cacti through cuttings, discussing techniques, preparation methods, and maintenance tips.
Understanding the nuances of cactus propagation not only enhances your gardening skills but also deepens your appreciation for these resilient plants. By mastering the art of cactus cuttings, you can turn a single cactus into a veritable collection, reveling in the beauty of diversity created from a single source.
Choose Your Cactus Wisely
The initial step in cactus propagation is selecting the right species for cuttings. Not all cacti propagate well through this method, so an informed choice is paramount. Consider these popular options:
Opuntia (Prickly Pear): This species is renowned for its flat pads, which serve as ideal candidates for cuttings. Their ability to root quickly makes them a favored choice among novice propagators.
Echinopsis: Commonly termed ‘Easter cactus’, Echinopsis offers vibrant blooms and plump, cylindrical stems that readily take to cutting propagation.
Gymnocalycium: This genus boasts striking rounded forms and flowers that are often spectacular. The ease with which Gymnocalycium can be propagated from cuttings renders it an excellent option.
By choosing from these adaptable and robust species, you set the stage for successful propagation.
Preparing the Cutting: A Step-by-Step Approach
Once you have selected the cactus to propagate, the next logical step is preparing the cutting. This process involves more than merely snipping off a section of the plant; attention to detail ensures optimal rooting.
Gather the Required Tools: Before commencing, assemble the necessary tools, including a clean, sharp knife or pruning shears, a pot with drainage holes, well-draining potting mix, and rooting hormone (optional but recommended).
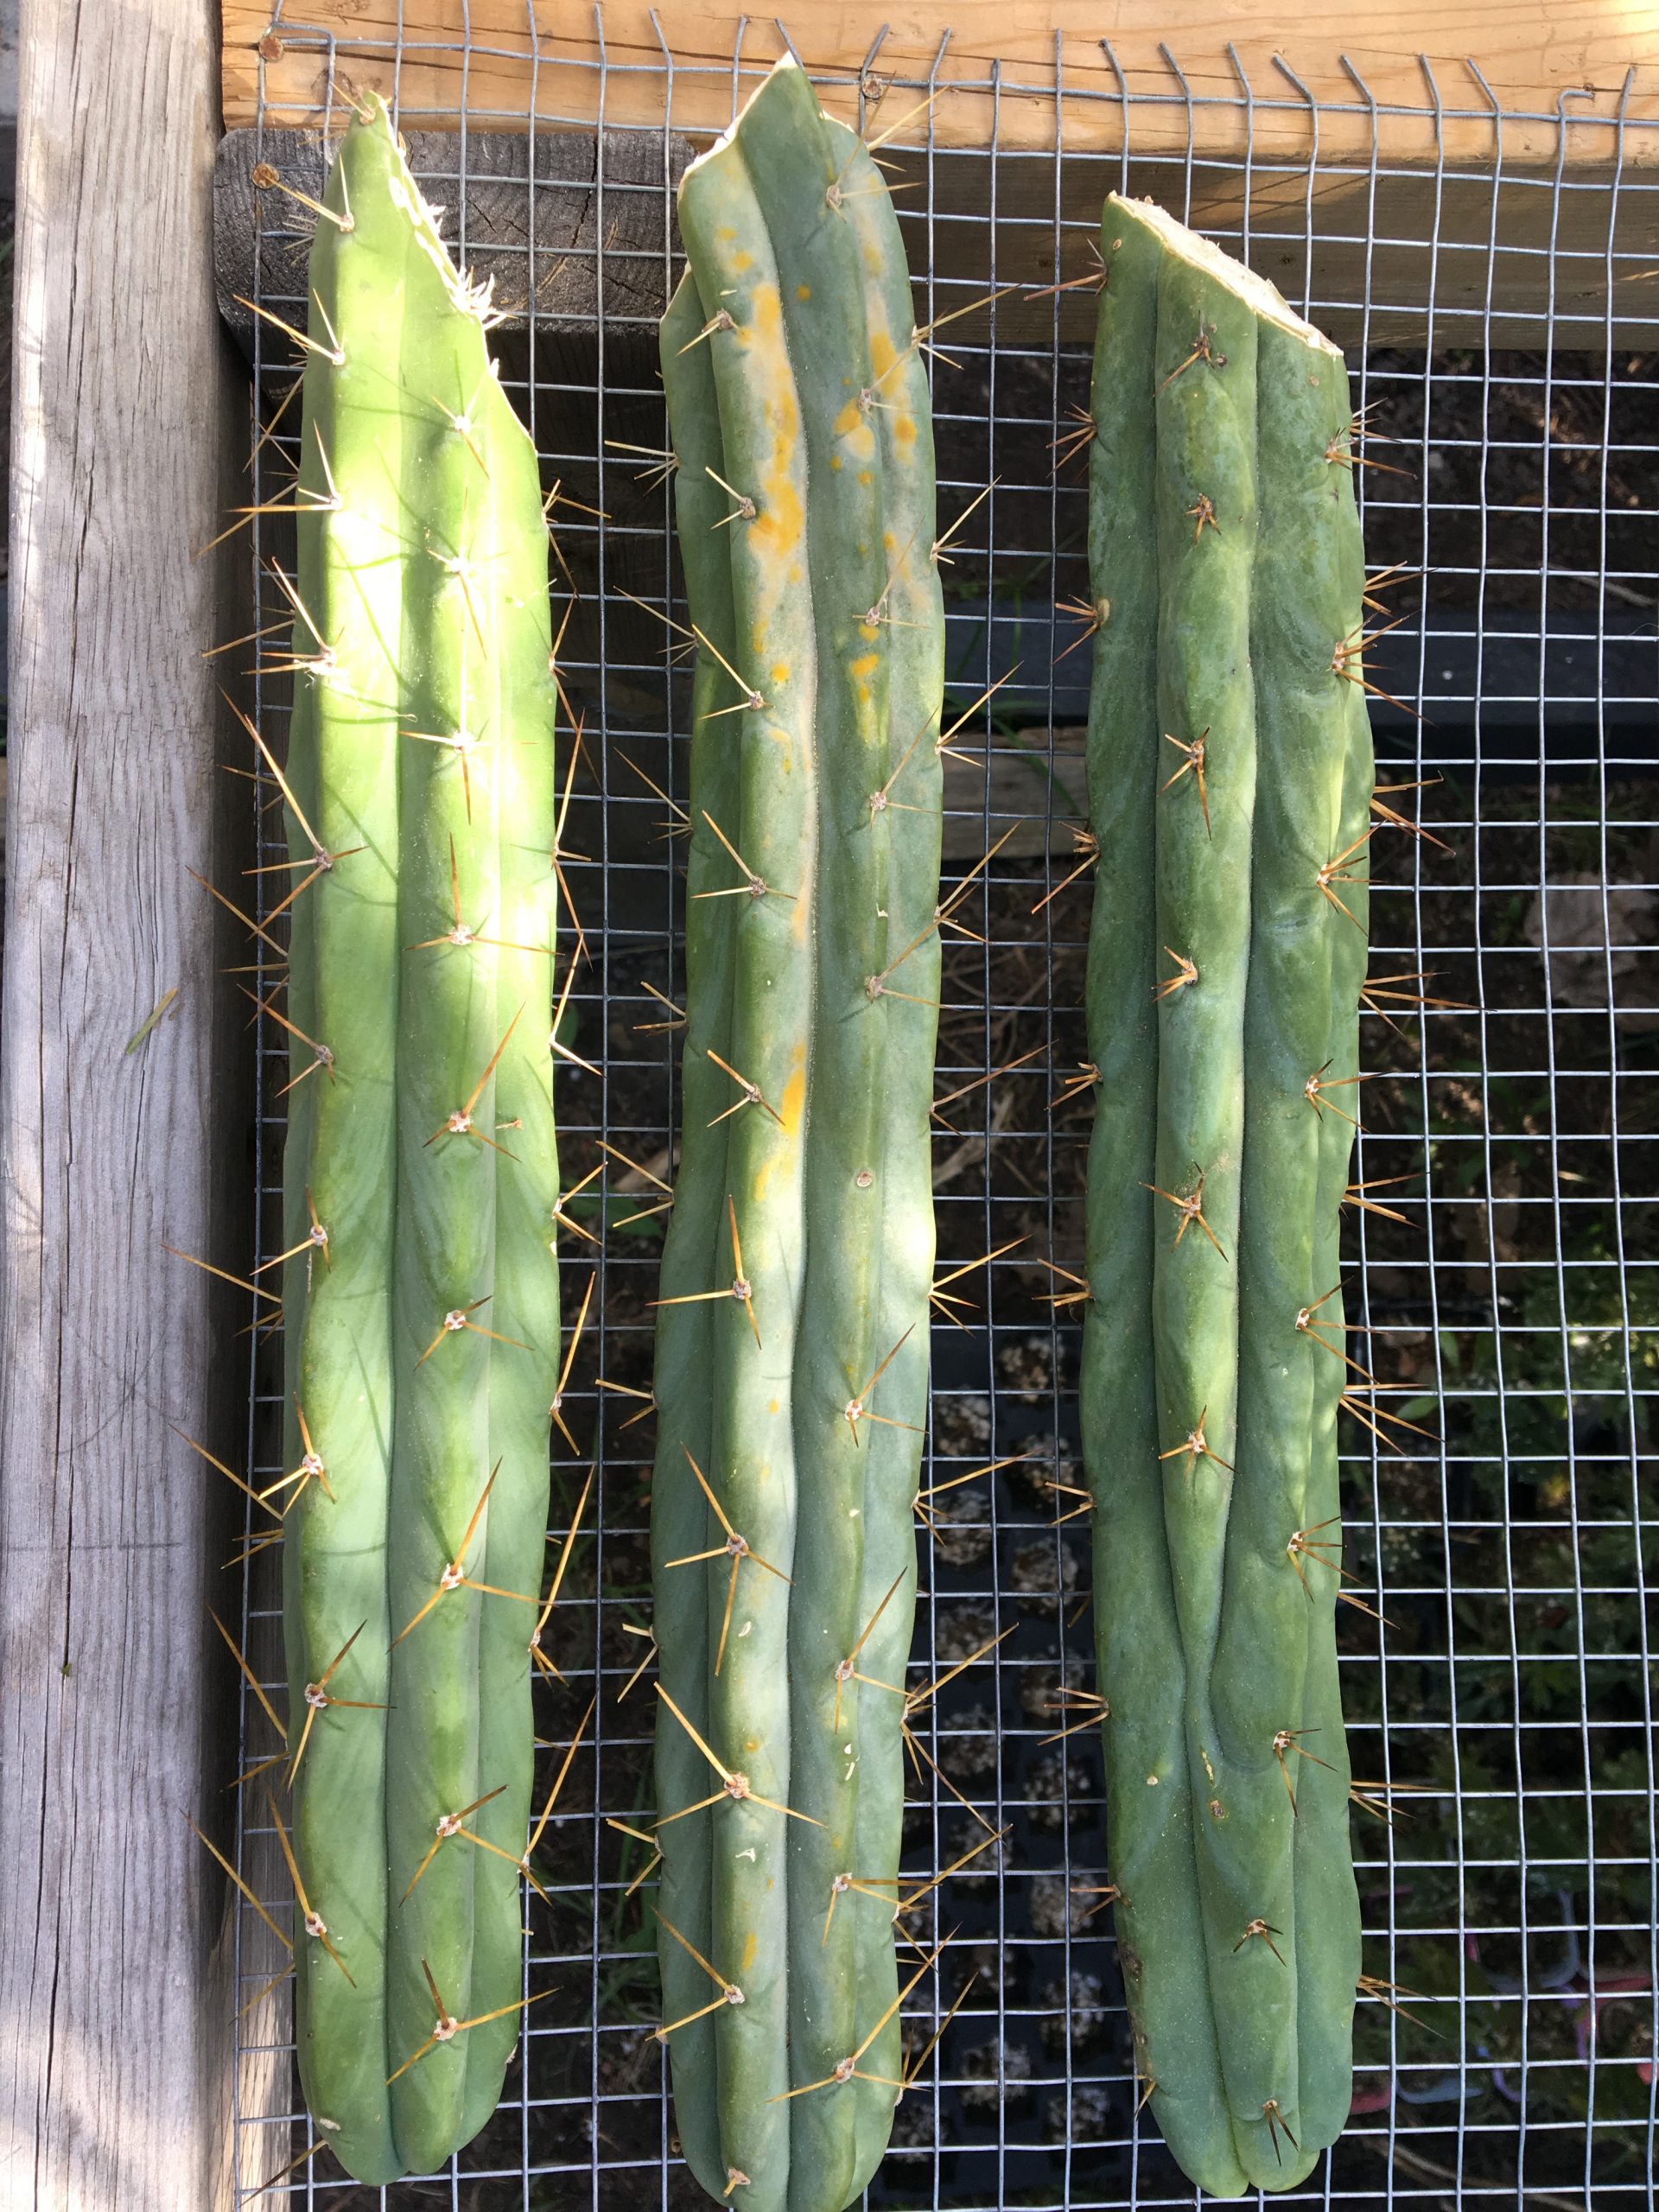
Make the Cut: Use the knife or shears to take a healthy segment from the parent plant. Aim for a cutting that is approximately 4 to 6 inches in length. Ideally, the cutting should include at least one or two areoles (the small bumps from which spines emerge). This aids in the development of new roots.
Allow the Cutting to Callous: After the cutting is made, the exposed end requires a period of drying. Place the cutting in a warm, dry location out of direct sunlight for a few days. This allows the wound to callous over, reducing the risk of rot once it is planted.
With preparation complete, you are ready to plant the cutting and watch as it embarks on its journey to root establishment.
Planting Your Cutting: Best Practices
Planting the cutting requires attention to the nuances of soil and moisture. Here’s how to facilitate a successful transition from cutting to flourishing plant.
Select the Right Soil: A proper soil mix is critical for the health of your cactus cutting. Opt for a commercial cactus mix or create your own by combining regular potting soil with perlite or coarse sand. This combination ensures excellent drainage, an essential factor for cactus health.
Plant the Cutting: Once the cutting has calloused, it’s time to plant. Insert the cutting into the prepared soil, burying the cut end approximately an inch deep. If using rooting hormone, dip the cut end into the hormone before planting to promote robust root development.
Watering Wisely: After planting, it’s crucial to adopt a conservative watering regimen. Initially, avoid saturating the soil. Wait a week or two before lightly misting the soil. This allows the cutting to acclimatize to its new environment without the risk of drowning.
Provide warm, stable temperatures during this rooting phase, ideally between 70°F and 85°F. Over time, new growth will indicate that roots are forming successfully.
Maintaining Your Cactus Cutting: Nurturing Growth
Post-planting care is critical to ensure that your cactus thrives. The following considerations will aid in maintaining the health of your newly propagated cactus.
Light Requirements: Cacti are sunlight lovers. However, newly planted cuttings should be shielded from direct sunlight for the first several weeks to minimize stress. Gradually introduce them to brighter conditions, ideally providing them with 4 to 6 hours of indirect sunlight daily.
Watering Technique: Establish a consistent watering schedule once the cactus starts developing roots. Allow the soil to dry out completely between watering sessions. Cacti are adapted to arid conditions and thrive in dry environments. Overwatering is one of the most common causes of cactus failure.
Fertilization: Once the cactus demonstrates healthy growth, occasional feeding with a diluted cactus fertilizer can promote vitality. Fertilize during the active growing season, typically spring through early fall, and avoid feeding during the dormant winter months.
With the right care, what began as a simple cutting can transform into a thriving cactus ready to be admired or shared. Take the time to learn about each species’ specific needs and conditions to refine your propagation skills further.
Propagation through cuttings offers a fulfilling way to engage with the gardening world, especially for those enamored with cacti. It opens doors to various creative opportunities, allowing for the proliferation of these stunning, drought-tolerant plants. As each cutting develops into a unique specimen, gardeners gain not only a collection but also a deeper connection to the natural beauty these extraordinary plants offer.


Leave a Comment