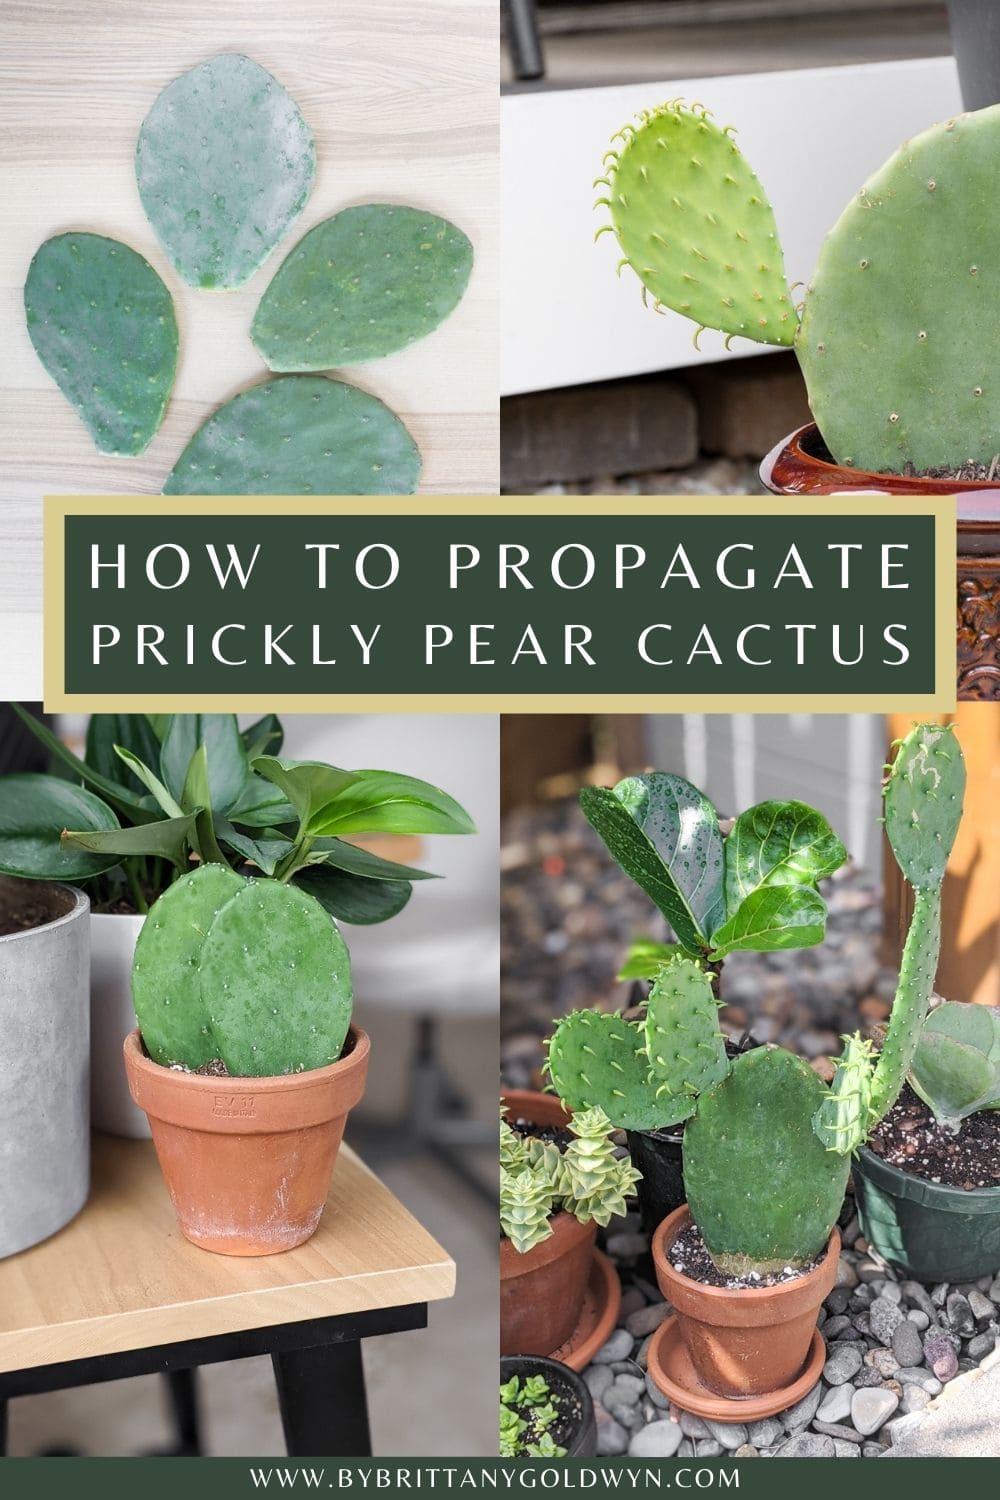
Prickly pear, a remarkable succulent native to the Americas, is a beloved choice for both horticultural enthusiasts and casual gardeners alike. With its striking pads, brilliant blooms, and edible fruits, this versatile cactus species offers a plethora of benefits. Propagating prickly pear can seem daunting at first, but with the right techniques and meticulous care, anyone can cultivate these enchanting plants. This guide delves into the easy and effective methods for propagating prickly pear cactus through its pads, ensuring you can expand your collection or share with friends.
Understanding the Basics of Prickly Pear Propagation
Before diving into the propagation process, it is crucial to grasp the anatomy and growth patterns of the prickly pear cactus. This succulent thrives in arid environments and has adapted to conserve water efficiently. The pads, or cladodes, are not only the primary photosynthetic organs of the cactus but also serve as its means for reproduction. Each pad is capable of developing roots and new pads when conditions are optimal.
Timing is vital when propagating prickly pear. The best time to take cuttings is during the spring or early summer, when temperatures are warm and the cactus is actively growing. During this period, the healing process for the cut pads occurs more swiftly, promoting successful root formation.
Gathering Materials for Propagation
To ensure a successful propagation endeavor, prepare the following materials:
- Sharp, clean knife or garden shears
- Gloves (to protect hands from spines)
- Succulent or cactus soil mix
- Shallow pots or containers with drainage holes
- Watering can or spray bottle
With these tools on hand, you are ready to embark on your propagation journey.
Step-by-Step Guide to Propagating Prickly Pear
Transferring a prickly pear pad into a new environment involves a few simple yet crucial steps:
Choosing the Right Pad
Selection of a healthy pad is paramount. Look for pads that are firm, vibrant in color, and free from blemishes or signs of rot. Young, mature pads are ideal for propagation. Older pads may be less vigorous and have diminished capability for rooting.
Removing the Pad
Put on gloves to protect your hands from the prickly spines. Using a sharp knife or garden shears, carefully detach the chosen pad from the mother plant. Make a clean cut at the base of the pad, ensuring that there are no jagged edges, which can hinder the healing process.
Healing the Cut Surface
Grasp the cut pad by holding it at the edges and allow it to callus for a few days. Place the pad in a dry, shaded area where the cut surface can heal and scab over. This step is integral, as it prevents excess moisture from causing rot when the pad is placed in the soil.
Planting the Pad
After a few days, the pad should have formed a callus. Prepare your potting mix by filling a shallow container with a well-draining cactus soil blend. Lightly moisten the soil, but be careful not to saturate it. Insert the calloused end of the pad into the soil, burying it just enough to provide stability. Ensure the pad is standing upright.
Watering and Providing Adequate Environment
Introduce your newly planted pad to its new home gradually. Initial watering should be minimal, typically a light misting or thorough soaking of the soil to eliminate air pockets around the pad. Allow the soil to dry out completely before the next watering, as prickly pear is susceptible to overwatering.
Place the pot in a location that receives plenty of filtered sunlight. Direct, intense sunlight can scorch the pad. A south or west-facing window is often ideal, as it provides ample light without overwhelming the plant.
Patience During the Rooting Process
Rooting may take several weeks, and it’s important to remain patient during this period. Monitor your pad for signs of growth, such as new pad formation or root development. Avoid disturbing the plant during this time, as it may interrupt the rooting process.
Caring for Your New Prickly Pear
Once your pad has successfully rooted and new growth begins to emerge, it is time to shift your focus to care and maintenance. Adapt your watering routine based on climatic conditions. During the warm months, watering every two weeks is ideal, while in the dormant winter season, allow the soil to dry out more thoroughly between waterings.
Fertilizing your prickly pear during the growing season can promote robust growth. Use a balanced cactus fertilizer every four to six weeks, ensuring that you dilute it according to package instructions to avoid nutrient burn.
Exploring the Benefits of Prickly Pear
In addition to its aesthetic appeal, prickly pear cactus is a treasure trove of benefits. The fruits, known as “tunas,” are rich in vitamins and antioxidants, offering numerous health benefits. They can be eaten raw, made into jams, or used in beverages. Additionally, prickly pear pads are edible and can be grilled, sautéed, or incorporated into dishes for an exotic flair.
Furthermore, prickly pear cacti are drought-tolerant and require minimal maintenance, making them an ideal choice for xeriscaping or low-water gardens. Their striking appearance adds visual interest, while their fruits attract wildlife, promoting biodiversity in your garden.
In conclusion, propagating prickly pear cactus is a rewarding and straightforward process that opens a world of possibilities for plant enthusiasts. With careful attention to the details and following the outlined steps, anyone can successfully cultivate these resilient and enchanting cacti. Embrace the journey of propagation, and enjoy the myriad benefits this remarkable plant has to offer.


Leave a Comment