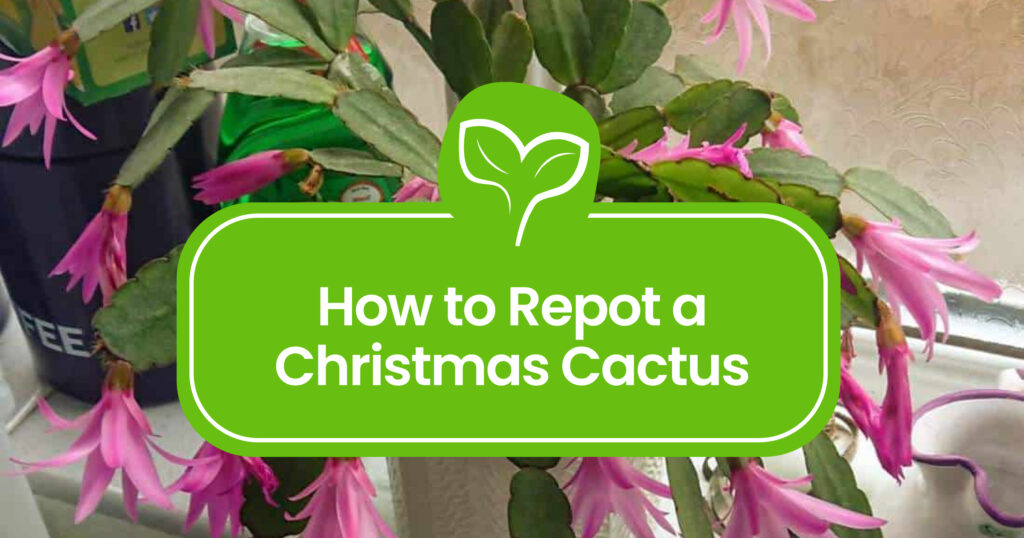
When it comes to nurturing a Christmas cactus (Schlumbergera), understanding the significance of repotting is crucial. Repotting is not merely a routine chore; it is a fundamental aspect of ensuring robust growth, vibrant blooms, and overall plant longevity. Yet, repotting can elicit stress in many cacti, particularly if not approached with care. Here’s a comprehensive guide on how to repot your Christmas cactus plant without inflicting undue stress.
Before diving into the nitty-gritty, it’s essential to know when the right time to repot should be considered. Timing plays a pivotal role in the health of your plant.
The Optimal Time for Repotting
The best period for repotting a Christmas cactus is during its dormant phase, which typically occurs in late winter or early spring. This timing allows the plant to acclimatize to its new environment before the growth spurt stimulated by warmer weather. If you opt to repot while the plant is blooming, it may shed its gorgeous flowers and experience shock.
In addition, monitor the plant’s root system. If you notice roots protruding from the drainage holes or a stunted growth pattern, it is a clear indication your cactus is root-bound and requires a new home.
Choosing the Right Container
Repotting involves more than merely transferring the plant from one pot to another. The choice of container is paramount. Select a pot that is only slightly larger than the current one—typically one to two inches in diameter more. A pot that is too large can retain excessive moisture, leading to root rot.
Consider using terracotta pots, as they allow for ventilated root growth, providing a balance of moisture retention and drainage. Ensure the pot chosen has adequate drainage holes since effective drainage is critical for the health of your Christmas cactus.
The Ideal Soil Mix
The next consideration in this process is the soil mix. Christmas cacti thrive in a well-draining medium rich in organic matter. A commercial cactus mix can work, but you can easily craft your own blend. Combine equal parts potting soil, perlite, and orchid bark for optimal aeration and drainage. This concoction allows water to flow through freely while offering the nutrients necessary for growth.
Preparation: Setting Up for Success
Before starting the repotting process, it’s crucial to prepare. Gather your materials beforehand: the new pot, soil mix, a small trowel, pruning shears, and gloves. Preparing your workspace will make the repotting go smoothly and help minimize stress for both you and your plant.
Once you have everything ready, water your Christmas cactus a few days before repotting. This practice helps soften the soil and reduce stress on the roots during the transplantation process.
Step-by-Step Repotting Procedure
With preparations in place, you’re ready to embark on the repotting process. Follow these steps to ensure a seamless transition:
1. Remove the Plant from the Current Pot
Gently tip the pot on its side, tapping the base softly to loosen the root ball. Do not yank the plant, as this can cause damage. If the roots are tightly bound, use your fingers to gently tease them apart. This will encourage growth in the new pot.
2. Inspect and Prune the Roots
After removing the plant from its pot, take a close look at the roots. Trim away any dead or rotten roots using sterilized pruning shears. Healthy roots should appear white and firm; brown or mushy roots need to be removed to prevent fungal problems.
3. Place in the New Pot
Pour a layer of your soil mix into the bottom of the new pot. Position your cactus in the center and fill in the sides with soil. Make sure the top of the root ball is slightly below the rim of the pot to facilitate watering. Press the soil gently but firmly to eliminate air pockets without compacting it too much, which could inhibit drainage.
4. Watering Post-Repotting
After repotting, refrain from watering immediately. Allow the plant to acclimatize for a week before introducing water. This pause helps to avoid root rot. Once you do resume watering, ensure that the topsoil dries out almost completely between waterings to prevent stress and over-saturation.
Aftercare: Nurturing Your Christmas Cactus
With your cactus successfully repotted, attention to aftercare is vital. Place the plant in a location that offers bright, indirect light. Avoid direct sunlight, which may scorch the delicate foliage. Monitor the moisture levels in the soil and adjust your watering schedule as the weather changes.
A weekly inspection of your plant for signs of stress, such as wilting or discoloration, is advisable. This vigilance allows for prompt action should any issues arise.
Conclusion
Repotting a Christmas cactus doesn’t need to be a laborious task fraught with complications. With the right timing, careful selection of containers and soil, and proper aftercare, the repotting process can foster a healthful environment for your cherished plant. By following these guidelines, you can confidently provide the best care for your Christmas cactus, ensuring it continues to thrive and produce its extraordinary blooms for years to come.


Leave a Comment