Aloe Vera, a succulent revered for its myriad health benefits, is not only a valuable plant for home remedies but also a delightful addition to any indoor garden. Rooting Aloe Vera from cuttings is a feasible endeavor that allows enthusiasts to propagate their plants easily. In this guide, we will delve into a comprehensive exploration of the process, highlighting techniques, tips, and best practices to ensure successful rooting of Aloe Vera cuttings.
Before embarking on this propagation journey, it is helpful to familiarize oneself with the plant itself. Aloe Vera belongs to the Asphodelaceae family and is native to the Arabian Peninsula, although it now grows in many tropical and subtropical regions around the world. Its thick, fleshy leaves contain a gel that is prized for medicinal applications. Moreover, propagating Aloe Vera can be highly rewarding, as the plant is not only resilient but also thrives with minimal care.
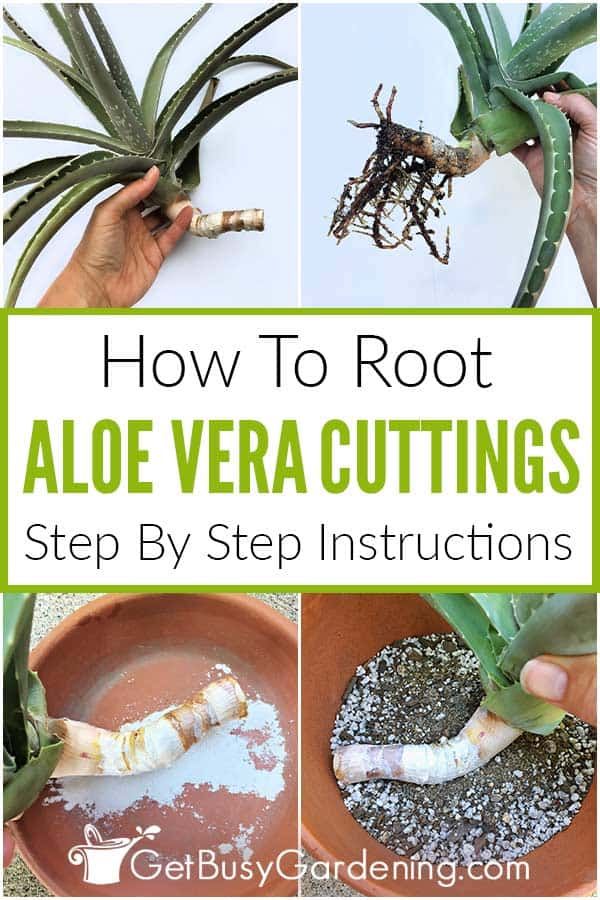
When it comes to propagating Aloe Vera, cuttings serve as the primary method. This guide will walk you through the intricate yet straightforward steps necessary to produce healthy new plants from cuttings.
Understanding the Ideal Cuttings
Before beginning the propagation process, it is crucial to understand the ideal cuttings to use. Ideally, select a mature plant that is at least a year old, as younger plants may not have developed sufficient roots. Look for offsets, commonly referred to as ‘pups,’ which are smaller plants growing at the base of the main plant.
Ensure the chosen offsets are at least three inches tall with healthy green leaves. Avoid any pups showing signs of disease or damage. Harvesting healthy cuttings is pivotal, as their future growth relies on this initial selection.
Tools Needed for Cutting Rooting
Preparation is paramount. Collect the necessary tools before starting the rooting process. The following items will facilitate a smooth experience:
- Sharp, sterile knife or gardening shears
- Small planting pots or containers with drainage holes
- Well-draining potting mix, ideally a cactus blend
- Rooting hormone (optional but can enhance root development)
- Watering can or spray bottle for misting
By assembling these tools beforehand, you streamline the process and minimize disruptions.
Step-by-Step Guide to Root Aloe Vera Cuttings
Now, let’s dive into the intricacies of rooting Aloe Vera from cuttings. This guide presents a step-by-step approach that will ensure optimal results.
Preparation of the Cutting
Start by using your sterile knife or shears to detach the offset from the main plant. Make a clean cut at the base, ensuring not to damage the roots (if present) or the main plant. After cutting, allow the offset to dry for several hours or overnight in a dry, shaded area. This drying period is essential as it facilitates the formation of a callus over the cut end, which diminishes the risk of rot when planted.
Potting the Cutting
Once the offset has had time to callus, prepare your small pot with the well-draining potting mix. If you have rooting hormone, dip the callused end of the cutting into the powder before placing it in the soil. This hormone accelerates root development but is not strictly necessary. Create a small hole in the potting mix and insert the cutting, ensuring it is planted upright and at least one inch deep for stability.
Watering the Cutting
After potting, lightly water the soil around the cutting to settle it in place. Avoid saturating the soil; Aloe Vera prefers drier conditions. Instead of watering from above, consider using a misting technique or watering from the bottom to avoid disrupting the cutting. Following this, place the pot in a location with filtered sunlight. Direct sunlight may scorch the cutting, hindering its growth.
Monitoring Growth and Maintenance
Consistent monitoring is key during the rooting process. As the cutting begins to establish roots, leaves will start to show signs of growth. This phase may take anywhere from a few weeks to a few months. During this time, it is essential to maintain a balance between moisture and drainage. Water the plant lightly once the top inch of soil feels dry to the touch, ensuring it never sits in waterlogged soil. This balance is critical; too much moisture will lead to root rot, while too little can desiccate the cutting.
Transitioning to Independence
Once the Aloe Vera cutting has developed a robust root system, which can be indicated by new leaf growth or resistance when gently tugged, it is time to transition the young plant into a bigger pot if desired. Choose a container that allows for further growth as the plant matures.
As the Aloe Vera grows, provide it with adequate care, including periodic repotting as necessary. Aloe Vera thrives in bright, indirect light and benefits from occasional fertilization during the growing season with a half-strength, balanced fertilizer.
Conclusion: The Beauty of Aloe Vera Propagation
Rooting Aloe Vera cuttings is a gratifying process that requires patience and care. With the right techniques and attention, you can cultivate this resilient plant, enriching your indoor landscape and potentially benefiting from its therapeutic attributes. By following this step-by-step guide, you are well on your way to becoming proficient in Aloe Vera propagation. So grab your tools, nurture your cuttings, and enjoy the satisfaction that comes from watching new life emerge from a simple plant cutting.


Leave a Comment