Aloe vera, often dubbed as the ‘plant of immortality’, has captivated the hearts of gardeners and healers alike for centuries. Its succulent leaves not only boast impressive health benefits but also offer a fascinating opportunity for propagation through cuttings. This guide delineates the process of rooting an aloe vera cutting, transforming a seemingly simple task into an engaging exploration of botanical growth.
Understanding the anatomy of aloe vera is critical for successful propagation. The plant typically grows in rosettes, and its fleshy leaves can be harvested with care. But before delving into the steps, let’s discuss some essential preliminary considerations for successful rooting, highlighting the appeal of nurturing a plant from mere fragments.
Equip Yourself with the Right Tools
Before embarking on your aloe vera propagation journey, assemble a toolkit to ensure an efficient process. You will need:
- Sharp Knife or Shears: A sterile cutting instrument is crucial for clean cuts that minimize damage to the plant.
- Potting Soil: A well-draining, cactus-specific soil blend is ideal for aloe vera, preventing root rot.
- Small Pots: Opt for pots with drainage holes; terra-cotta pots are ideal for succulents, providing breathability.
- Rooting Hormone (Optional): Although not necessary, using rooting hormone can help expedite the growth process.
- Watering Can or Spray Bottle: For gentle watering without oversaturation.
With these tools at your disposal, you’re ready to engage in the practical aspects of aloe vera propagation. The serene act of cutting is both transformative and rewarding. It beckons a new beginning from a simple snip.
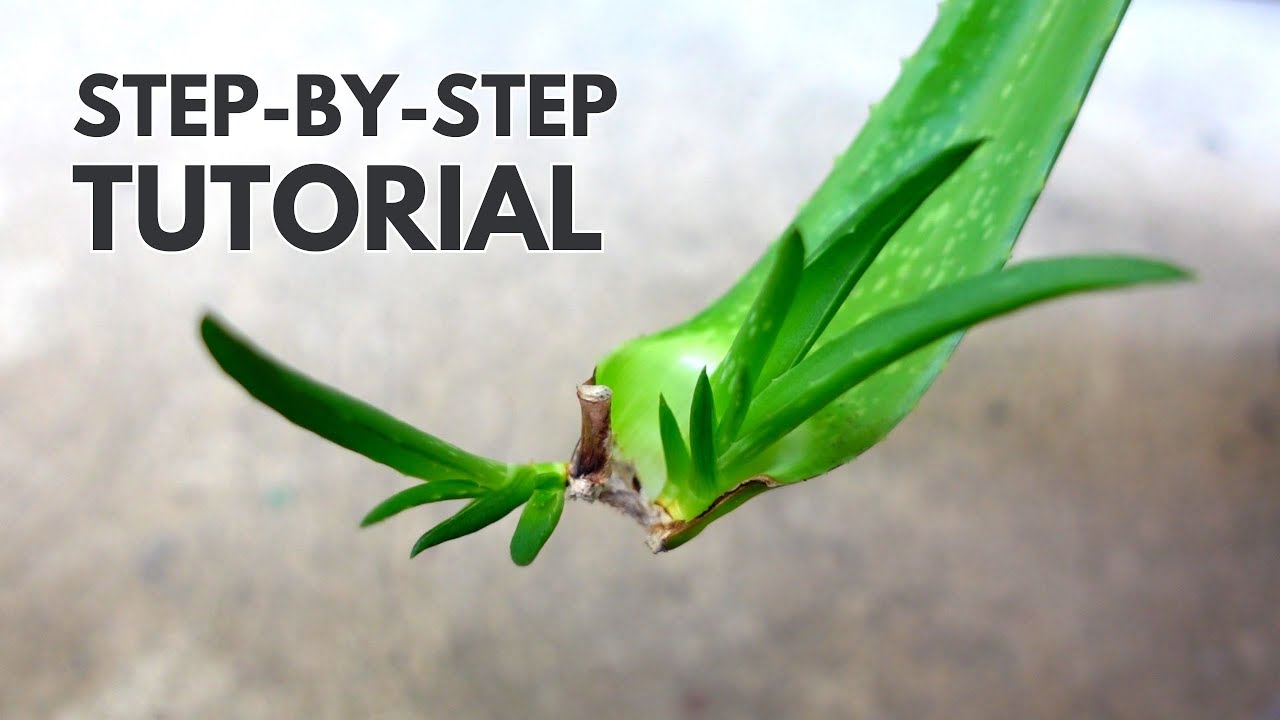
Choosing the Perfect Cutting
The quality of your cutting is paramount. Look for a healthy aloe vera plant, one that exhibits vibrant green leaves without any signs of damage or disease. When selecting your cutting, consider the following:
- Length and Thickness: Aim for a leaf that is at least 4-6 inches long; a thicker leaf will have more moisture to sustain itself as it develops roots.
- Older Leaves: Preferably, select leaves that are older and lower on the plant, as these are more mature and will root more readily.
- Clean Cuts: Make a clean diagonal cut near the base of the leaf. This angle increases surface area for rooting and prevents water accumulation.
Once you’ve made your cutting, it’s crucial to allow it to callous over. This step is often overlooked but is vital for preventing rot. Set the cutting in a dry, shaded spot for about three to five days. The cut end should develop a protective layer, ensuring that your cutting can withstand the rigors of root establishment.
Planting Your Aloe Vera Cutting
With your cutting prepared, it’s time to plant it. The methodology here is both straightforward and rewarding.
- Prepare the Pot: Fill your small pot with the cactus potting soil, leaving enough space at the top to accommodate the cutting without compressing the soil.
- Insert the Cutting: Once the cutting has calloused, insert the cut end into the soil to a depth of about 2-3 inches. Ensure that the cutting stands upright, providing a sturdy position for future growth.
- Water Sparingly: Lightly moisten the soil after planting, but avoid excessive watering. The soil should remain on the drier side, as aloe vera is susceptible to rot.
- Optimal Environment: Place the potted cutting in a warm, bright location, but be wary of direct sunlight initially, as this can cause stress. A temperature between 70°F and 80°F is ideal.
Patience is key in the rooting process. Over the next few weeks, avoid digging up the cutting to check for root development, as this can hinder growth. Instead, monitor the moisture levels of the soil and maintain a soft balance between too dry and too wet. As the weeks pass, the anticipation of new growth heightens the connection to the plant.
Encouraging Growth and Future Care
As roots begin to establish, signs of growth will eventually emerge. Look for new leaf development, which signals that the cutting has successfully taken root. When this happens, you can gradually acclimate your plant to more sunlight, transitioning it to a bright spot with indirect light.
Ongoing care involves:
- Watering Schedule: During the growing season (spring and summer), water the plant every two to three weeks, allowing the soil to dry out completely between waterings.
- Fertilization: Use a diluted, balanced succulent fertilizer every six to eight weeks during the growing season to promote robust growth.
- Seasonal Adjustments: In the colder months, reduce watering even further as the plant enters dormancy.
Successfully rooting an aloe vera cutting not only expands your plant collection but also fosters a deeper appreciation for the resilience and beauty of this remarkable succulent. As you nurture it through its growth phases, enjoy the satisfaction derived from each leaf that unfurls–a testament to your patience and dedication.
As time progresses, your aloe vera can flourish, ultimately offering its myriad benefits. Let this journey of propagation shift your perspective, fueling curiosity about the intricate processes of plant life and inviting you to explore the lushness of cultivation.


Leave a Comment