Starting your journey into the world of cactus propagation can be a rewarding and delightful experience. Cacti are hardy plants known for their unique adaptations to arid environments, and propagating them from cuttings is one of the most accessible methods for expanding your collection. This comprehensive guide delves into the best practices for propagating cactus cuttings to ensure successful growth and thriving plants.
Understanding the Basics of Cactus Propagation
Cactus propagation involves taking a healthy cutting from an existing cactus and nurturing it until it establishes roots and grows into a new plant. This method is particularly favorable due to its simplicity and efficacy, allowing for the rapid onset of new plants without needing to start from seeds, which can take longer and require specific conditions for germination. When considering cactus propagation, it’s crucial to understand the inherent characteristics of cacti, such as their water storage abilities and resilience against environmental stressors.
Choosing the Right Type of Cactus for Propagation
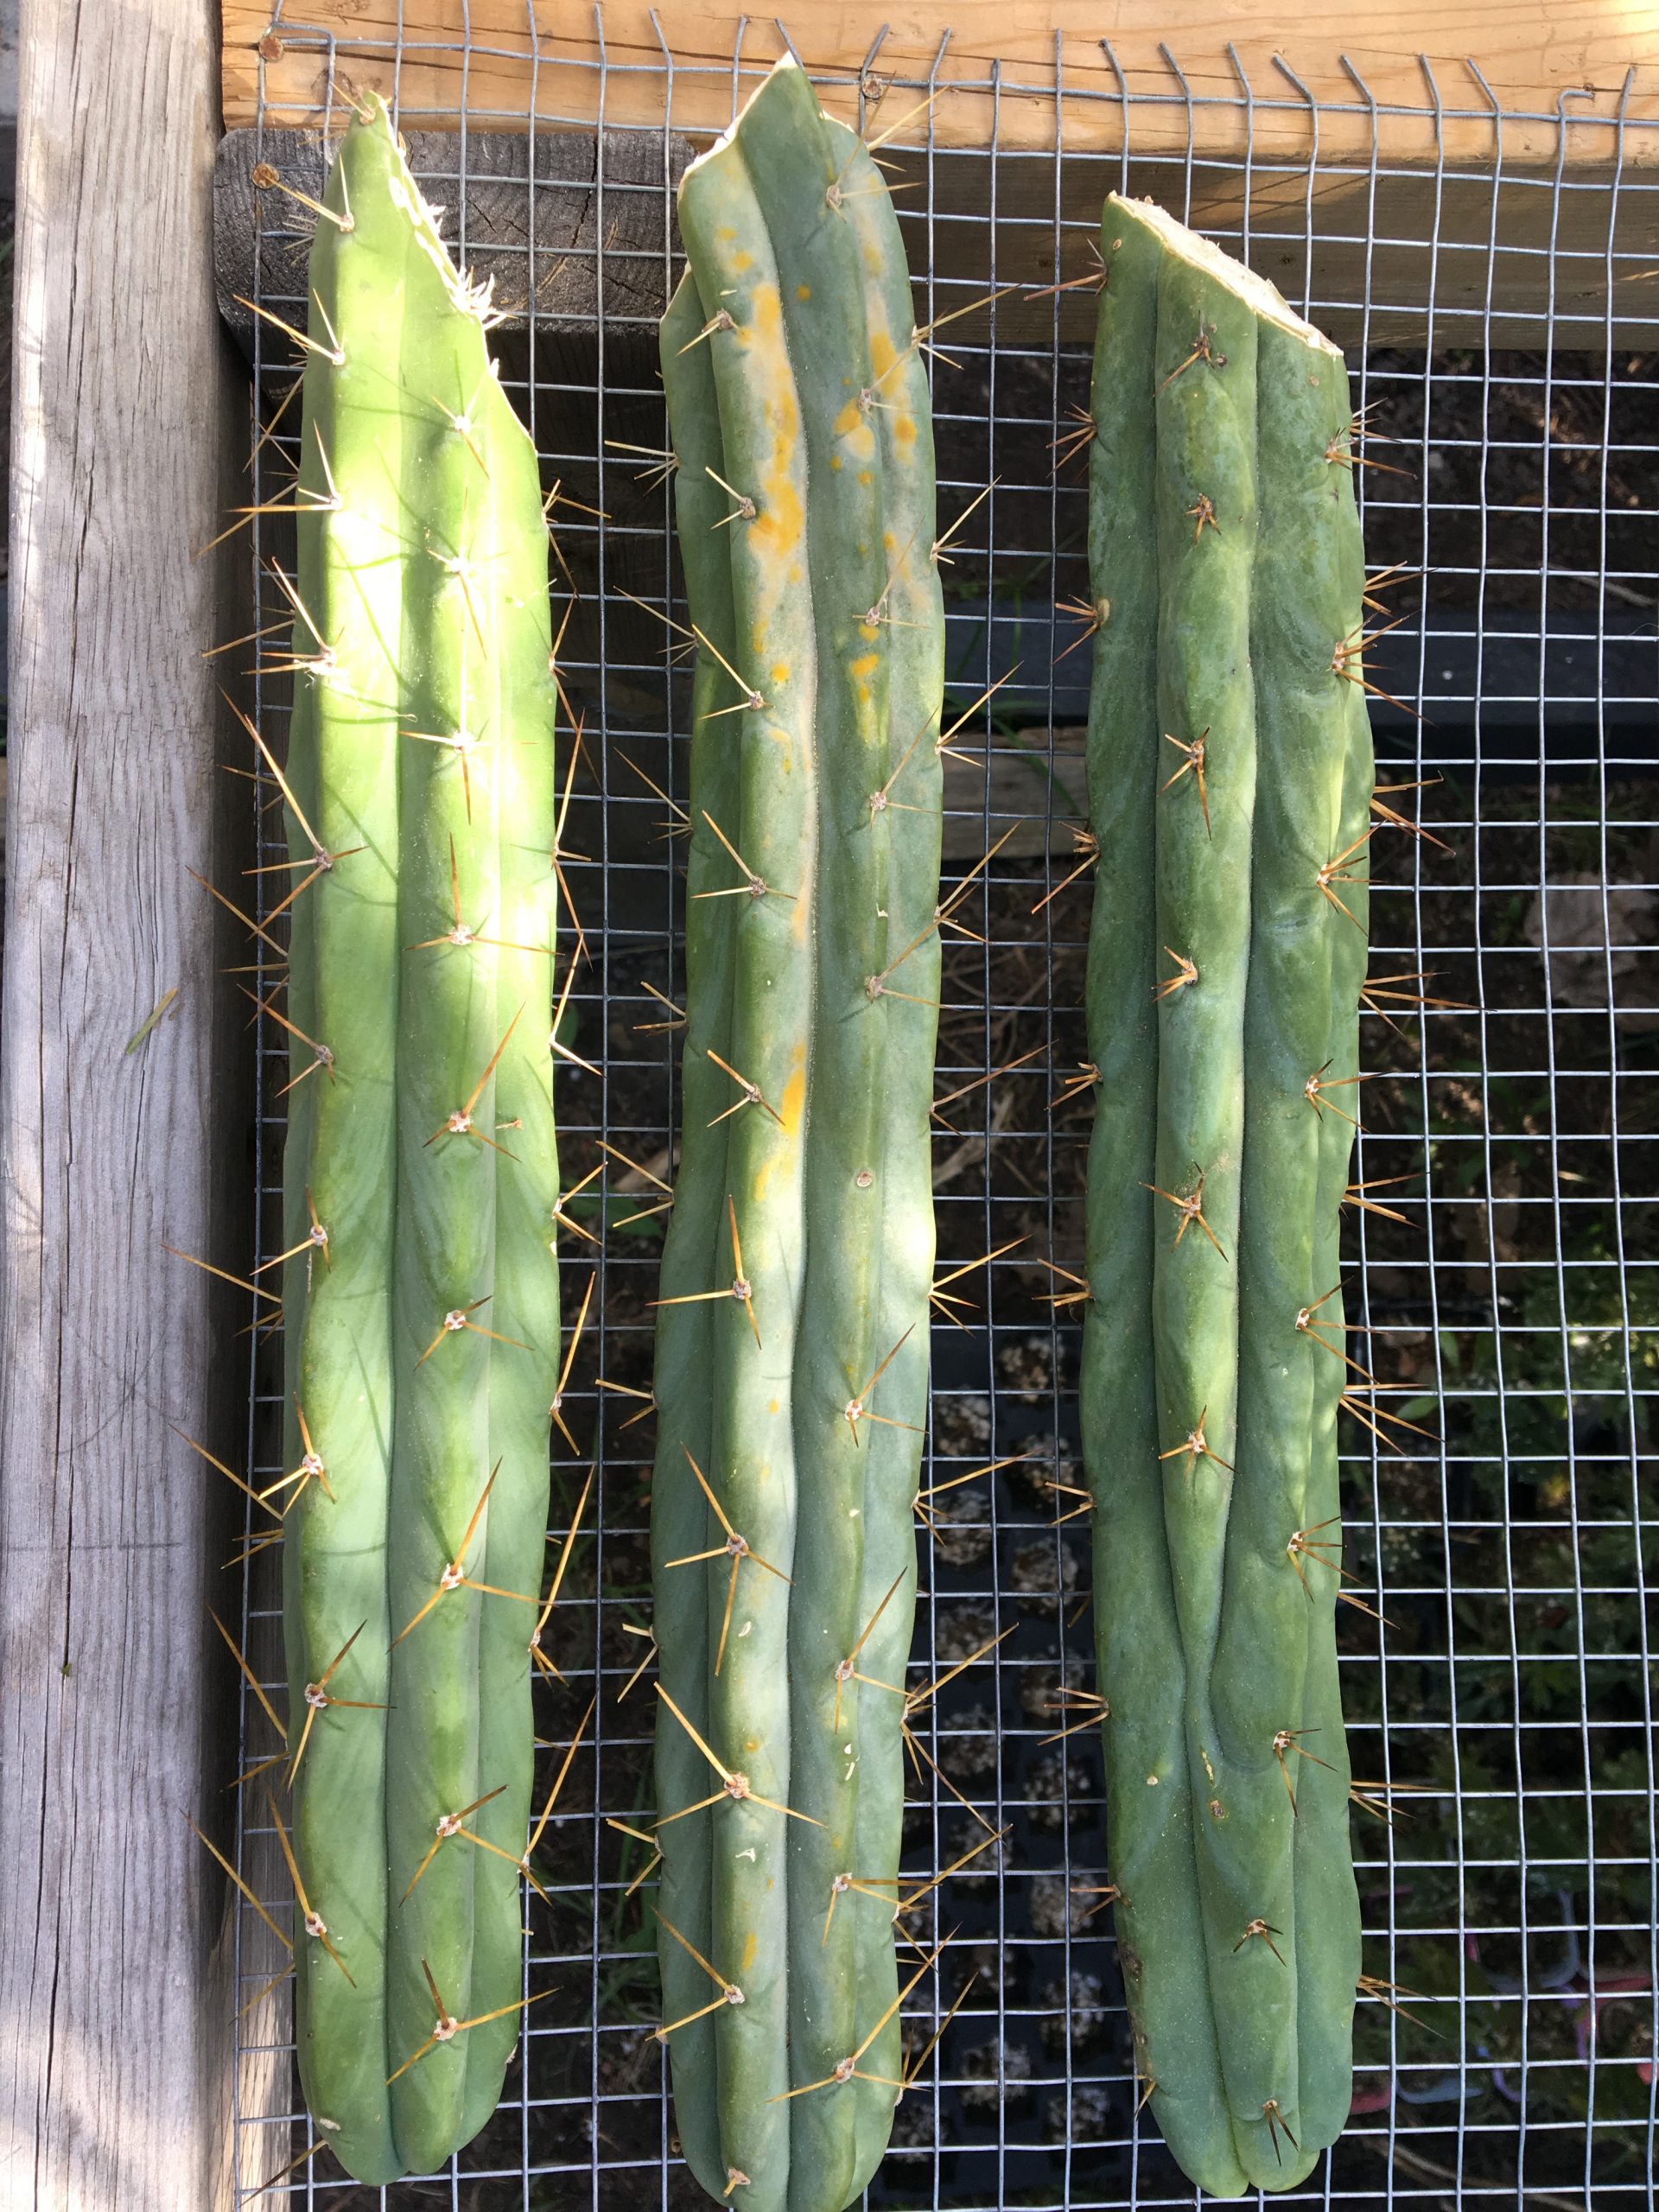
Not all cacti are ideal for propagation through cuttings. Some species lend themselves better to this method than others. For instance, Opuntia (commonly known as prickly pear) and Echinopsis varieties are widely favored for their ease of propagating from cuttings. When selecting a cactus for propagation, choose one that is healthy, disease-free, and robust. Look for a healthy stock that shows signs of new growth, as this is usually an indicator of vitality.
The best time to take cuttings is during the growing season, typically spring through early summer, when the plant is actively photosynthesizing and more likely to root successfully.
Preparing Your Cutting: The Art of Detachment
Once you have selected the cactus, it’s essential to make a clean, precise cut. Using a sharp, sterile knife or gardening shears will minimize damage and reduce the risk of pathogens infiltrating the plant. Aim for a segment that is at least three inches long, allowing for ample material to develop roots. After cutting, let the cutting dry for a few days in a well-ventilated area, allowing the cut surface to callous over. This process is crucial as it helps prevent rot when the cutting is placed in soil.
Optimal Medium for Planting Cactus Cuttings
Choosing the right medium is pivotal for successful rooting. A well-draining soil mix is essential for cacti, as they are susceptible to root rot in overly damp conditions. Commercial cactus soil blends are widely available, containing a mix of potting soil, sand, and perlite. Alternatively, you can create your own by combining equal parts of sand, perlite, and potting soil. This blend ensures that moisture drains rapidly while providing adequate aeration for the delicate roots.
Planting Your Cutting: The Technique That Counts
After the cutting has dried and the soil mix is prepared, it’s time to plant your cutting. Fill a small pot with the prepared soil mixture, tapping it down gently to remove any air pockets. Create a small hole in the center using your fingers or a stick and place the cutting upright in the hole, ensuring that at least one node is buried in the soil. It’s crucial that the cutting stands upright, as this will help it to absorb water and nutrients efficiently.
Watering and Care: Creating the Optimal Growth Environment
While cactus cuttings require minimal water compared to most plants, establishing a consistent but measured watering schedule is vital during the rooting phase. Water lightly, only enough to moisten the soil without oversaturating it. Allow the top inch of soil to dry out completely before watering again. Overwatering can easily lead to rot, a significant concern for new propagators.
Temperature and humidity play critical roles in successful propagation. Cacti thrive in warm, dry conditions, so placing your pot in an area with good indirect sunlight can promote healthy growth. Consider using a plastic bag or a propagating dome to create humidity around the cutting, but ensure there is adequate ventilation to prevent fungal infections.
Signs of Successful Rooting: What to Look For
Determining whether your cactus cutting has rooted can take time, often several weeks to a few months, depending on the species and environmental conditions. Signs of successful rooting include new growth at the base of the cutting and a firm, perky appearance. Gently tugging at the cutting can also indicate root development; if there is resistance, roots have likely formed.
Transplanting: Moving to a Larger Home
Once your cactus cutting has established roots and exhibits healthy growth, it may be time to transplant it into a larger pot. Choose a pot that allows room for growth, ensuring it has drainage holes. Follow the same procedures for preparing the soil and watering, and gradually acclimatize your cactus to more direct sunlight if it demonstrates healthy growth.
Conclusion: Enjoying the Fruits of Your Labor
Successfully propagating cactus cuttings can be an incredibly fulfilling endeavor. With patience, mindfulness, and proper techniques, you can expand your collection of these fascinating plants. As you navigate the wonderful world of cactus propagation, remember to consult various cactus species for the best practices suited to each type. Armed with knowledge and care, you’ll be well on your way to cultivating a thriving cactus garden.


Leave a Comment