Starting an aloe vera plant can be a delightful endeavor for both seasoned gardeners and beginners alike. Are you ready for some green-thumb fun? Let’s explore the easy steps to cultivate this resilient succulent. However, beware of the challenges that may arise. Will you be patient enough to watch your new plant thrive or will you be tempted to rush the process?
The aloe vera plant, admired for its fleshy, lance-shaped leaves and remarkable healing properties, is not only a stylish addition to any indoor or outdoor space, but also a natural remedy for skin ailments. Let’s delve into how you can successfully propagate and plant your own aloe vera.
First, let’s find the perfect starter plant. You can either cultivate your aloe vera from seeds or cuttings from an existing plant. While seeds may sound appealing, they tend to require more time and patience. Opting for cuttings is often the more efficient route, especially for beginners. The challenge lies in sourcing a healthy, vibrant cutting. Would you rather spend hours scouring for seeds or simply snip a healthy leaf from a friend’s plant?
Understand that choosing the optimal cutting is crucial. Look for a leaf that is thick, plump, and free from discoloration or blemishes. The base of the leaf should hug the stem. Cutting an aloe leaf will necessitate precision; use a sanitized, sharp knife to avoid any contamination. Clean any potential pathogens from the cut end by allowing it to callous for a few hours before planting. This process is essential in preventing rot when planted.
Next, select an appropriate container for your aloe plant. A pot with drainage holes is imperative, as aloe veras detest soggy roots. Consider using a terracotta pot, which is not only aesthetically pleasing but also allows for breathable roots. Are you pondering how big your container should be? Remember, a pot that is too large can retain excessive moisture, leading to root rot, so it’s best to choose one that’s slightly bigger than the cutting’s base.
Now, let’s talk about soil. Aloe vera thrives in a well-draining potting mix. Look for a blend designed specifically for succulents or create your own by mixing potting soil with sand or perlite in equal parts. This concoction will facilitate the quick drainage that aloe veras crave. Should you consider augmenting your mix with fertilizers? It’s generally unnecessary when the plant is young; too many nutrients can burn its tender roots.
Time to plant! Gently position your cutting in the center of the prepared pot, ensuring that at least the bottom few inches are buried beneath the soil. Firm the soil around the base of the cutting, providing support, while also avoiding excessive pressure that could hinder growth. You might be eager to water your new plant, but hold your horses! Aloe vera is drought-resistant and prefers to remain dry. Watering should only commence after the soil has completely dried out—typically about 2-3 weeks after planting.
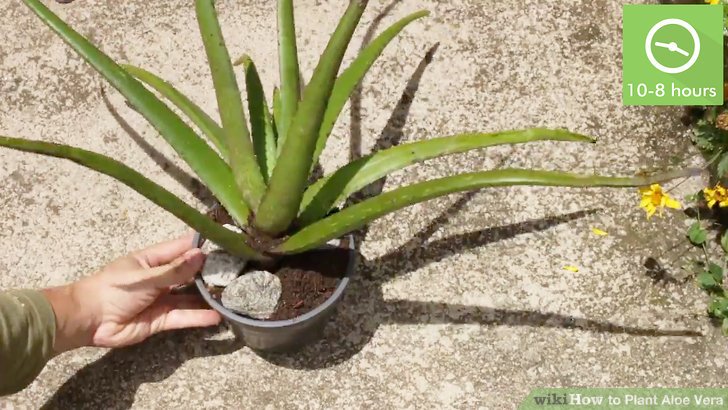
Now, let’s shift our focus to the environmental conditions necessary for your aloe vera plant to flourish. Aloe veras thrive in bright, indirect sunlight. Maintaining a room temperature between 60°F and 75°F is ideal. If you notice the leaves stretching towards the light, your plant may be in search of more sunshine. Conversely, if the leaves start to brown, it might be getting too much light. It can be a balancing act—will you keep a vigilant eye on its condition?
Another potential challenge arises when it comes to watering. The adage “less is more” applies perfectly here. Overwatering is the Achilles’ heel of any succulent, and aloe vera is no exception. Watering schedules can vary depending on the season—more frequent in the summer and less during the colder months. An easy rule of thumb is to water every three weeks during growing seasons, and scale it back in winter. Do you have the discipline to resist the urge to douse your plant after a week of dry soil?
As time progresses, your aloe vera plant will demand attention in the form of repotting. When the roots begin to escape the pot, or the plant appears to have outgrown its container, it’s time to provide it with some room to spread. This usually occurs every 1-2 years. By carefully removing the plant—roots and all—from its pot, you can place it in a larger one and refresh the soil. Will you commit to this necessity? Regular maintenance ensures longevity and continued health of your succulent.
As your aloe vera flourishes, it will start to produce offsets, or pups. These small offshoots can be removed and planted in their own pots once they reach a few inches in height. It can be tempting to have a small colony of aloe veras, but remember to share your bounty with friends and family after you’ve nurtured these cuttings to maturity. How rewarding is it to give the gift of plant knowledge and care?
In conclusion, starting an aloe vera plant is a journey filled with learning, nurturing, and perhaps a few hiccups along the way. With the right tools and a little patience, you’ll be witnessing the growth of a stunning plant that not only beautifies your space but also serves as a practical remedy. Are you ready to embark on this green thumb journey?


Leave a Comment