Short Answer
Have you ever wondered if you could coax a prickly piece of nature into blossoming life? Cylindropuntia, commonly known as cholla cactus, presents an intriguing propagation puzzle. Can these spiny succulents, often seen as a challenge due to their formidable exterior, be successfully grown from cuttings? Let’s embark on a verdant venture into the world of cholla propagation and unveil the secrets that lie within their segmented stems.
Understanding Cylindropuntia: Nature’s Spiny Marvels
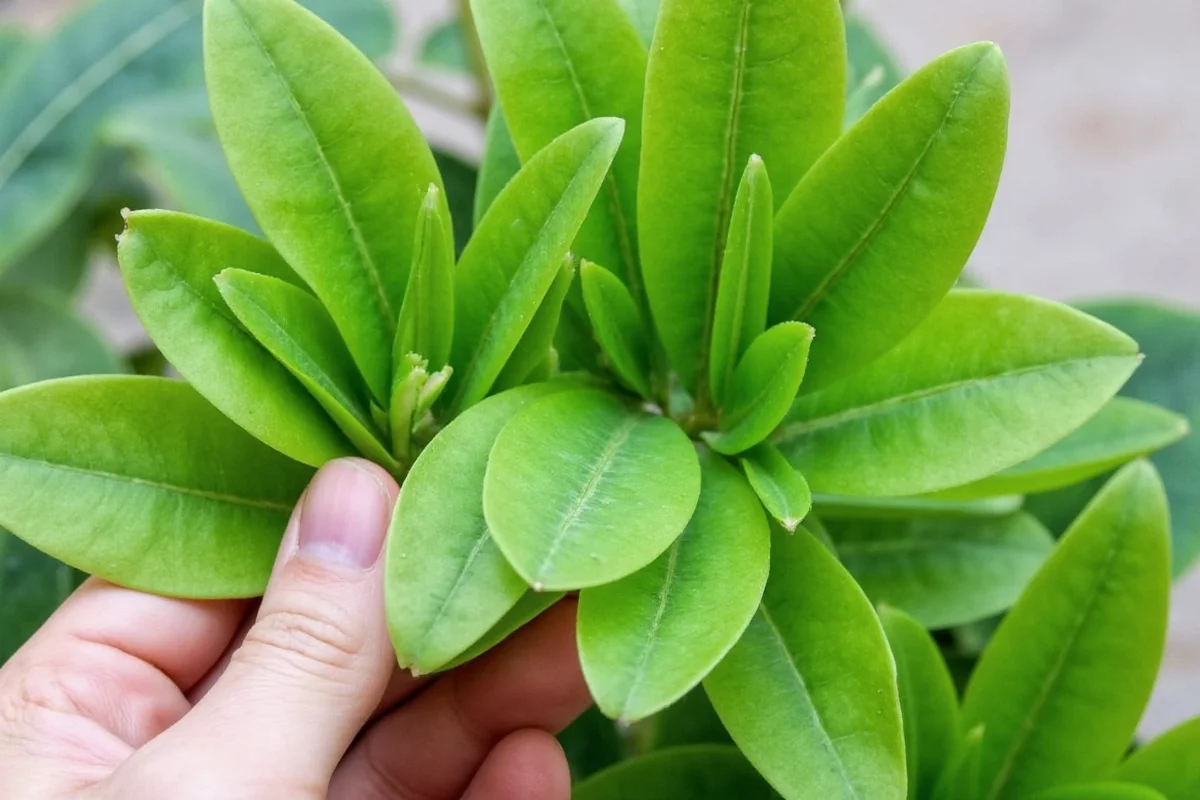
Cylindropuntia species boast an otherworldly charm with their cylindrical, jointed pads adorned with sharp spines. These desert dwellers have adapted to harsh environments, thriving on minimal water and relentless sun. Their segmented structure is not just a defensive quirk but a biological marvel that facilitates growth and survival. Each segment can serve as a potential starting point for new life, making propagation by cuttings a particularly practical and popular method among succulent enthusiasts.

The Playful Challenge: Can You Handle the Spines?
Before plunging into the propagation process, one must consider the spines—those daunting, needle-like appendages that can inject a bit of pain along with admiration. Handling Cylindropuntia cuttings requires care, protective gloves, and patience. But here lies the playful question: are the rewards worth the prickly challenge? For gardeners and hobbyists who relish a tactile experience and the thrill of nurturing life from a formidable fragment, the answer is a resounding yes.
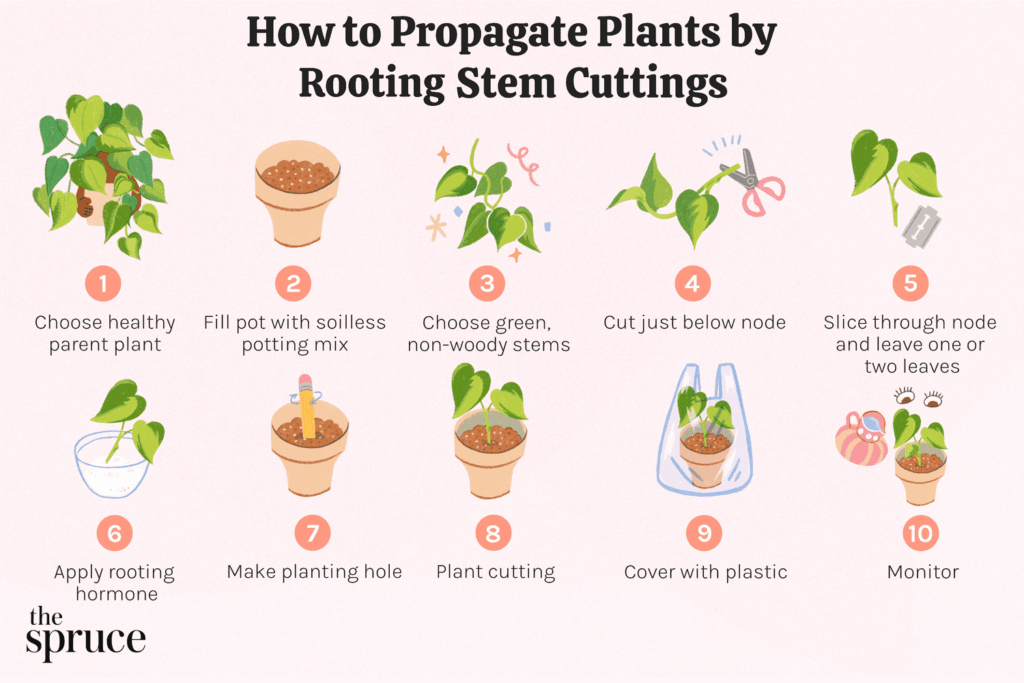
Choosing the Perfect Cutting: Timing and Technique
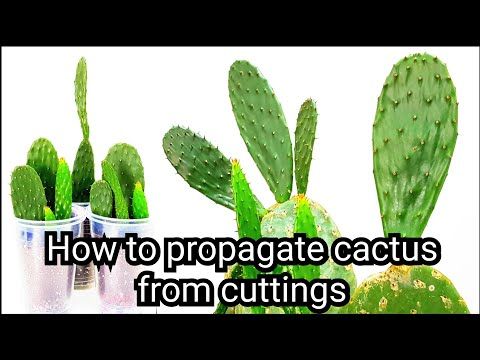
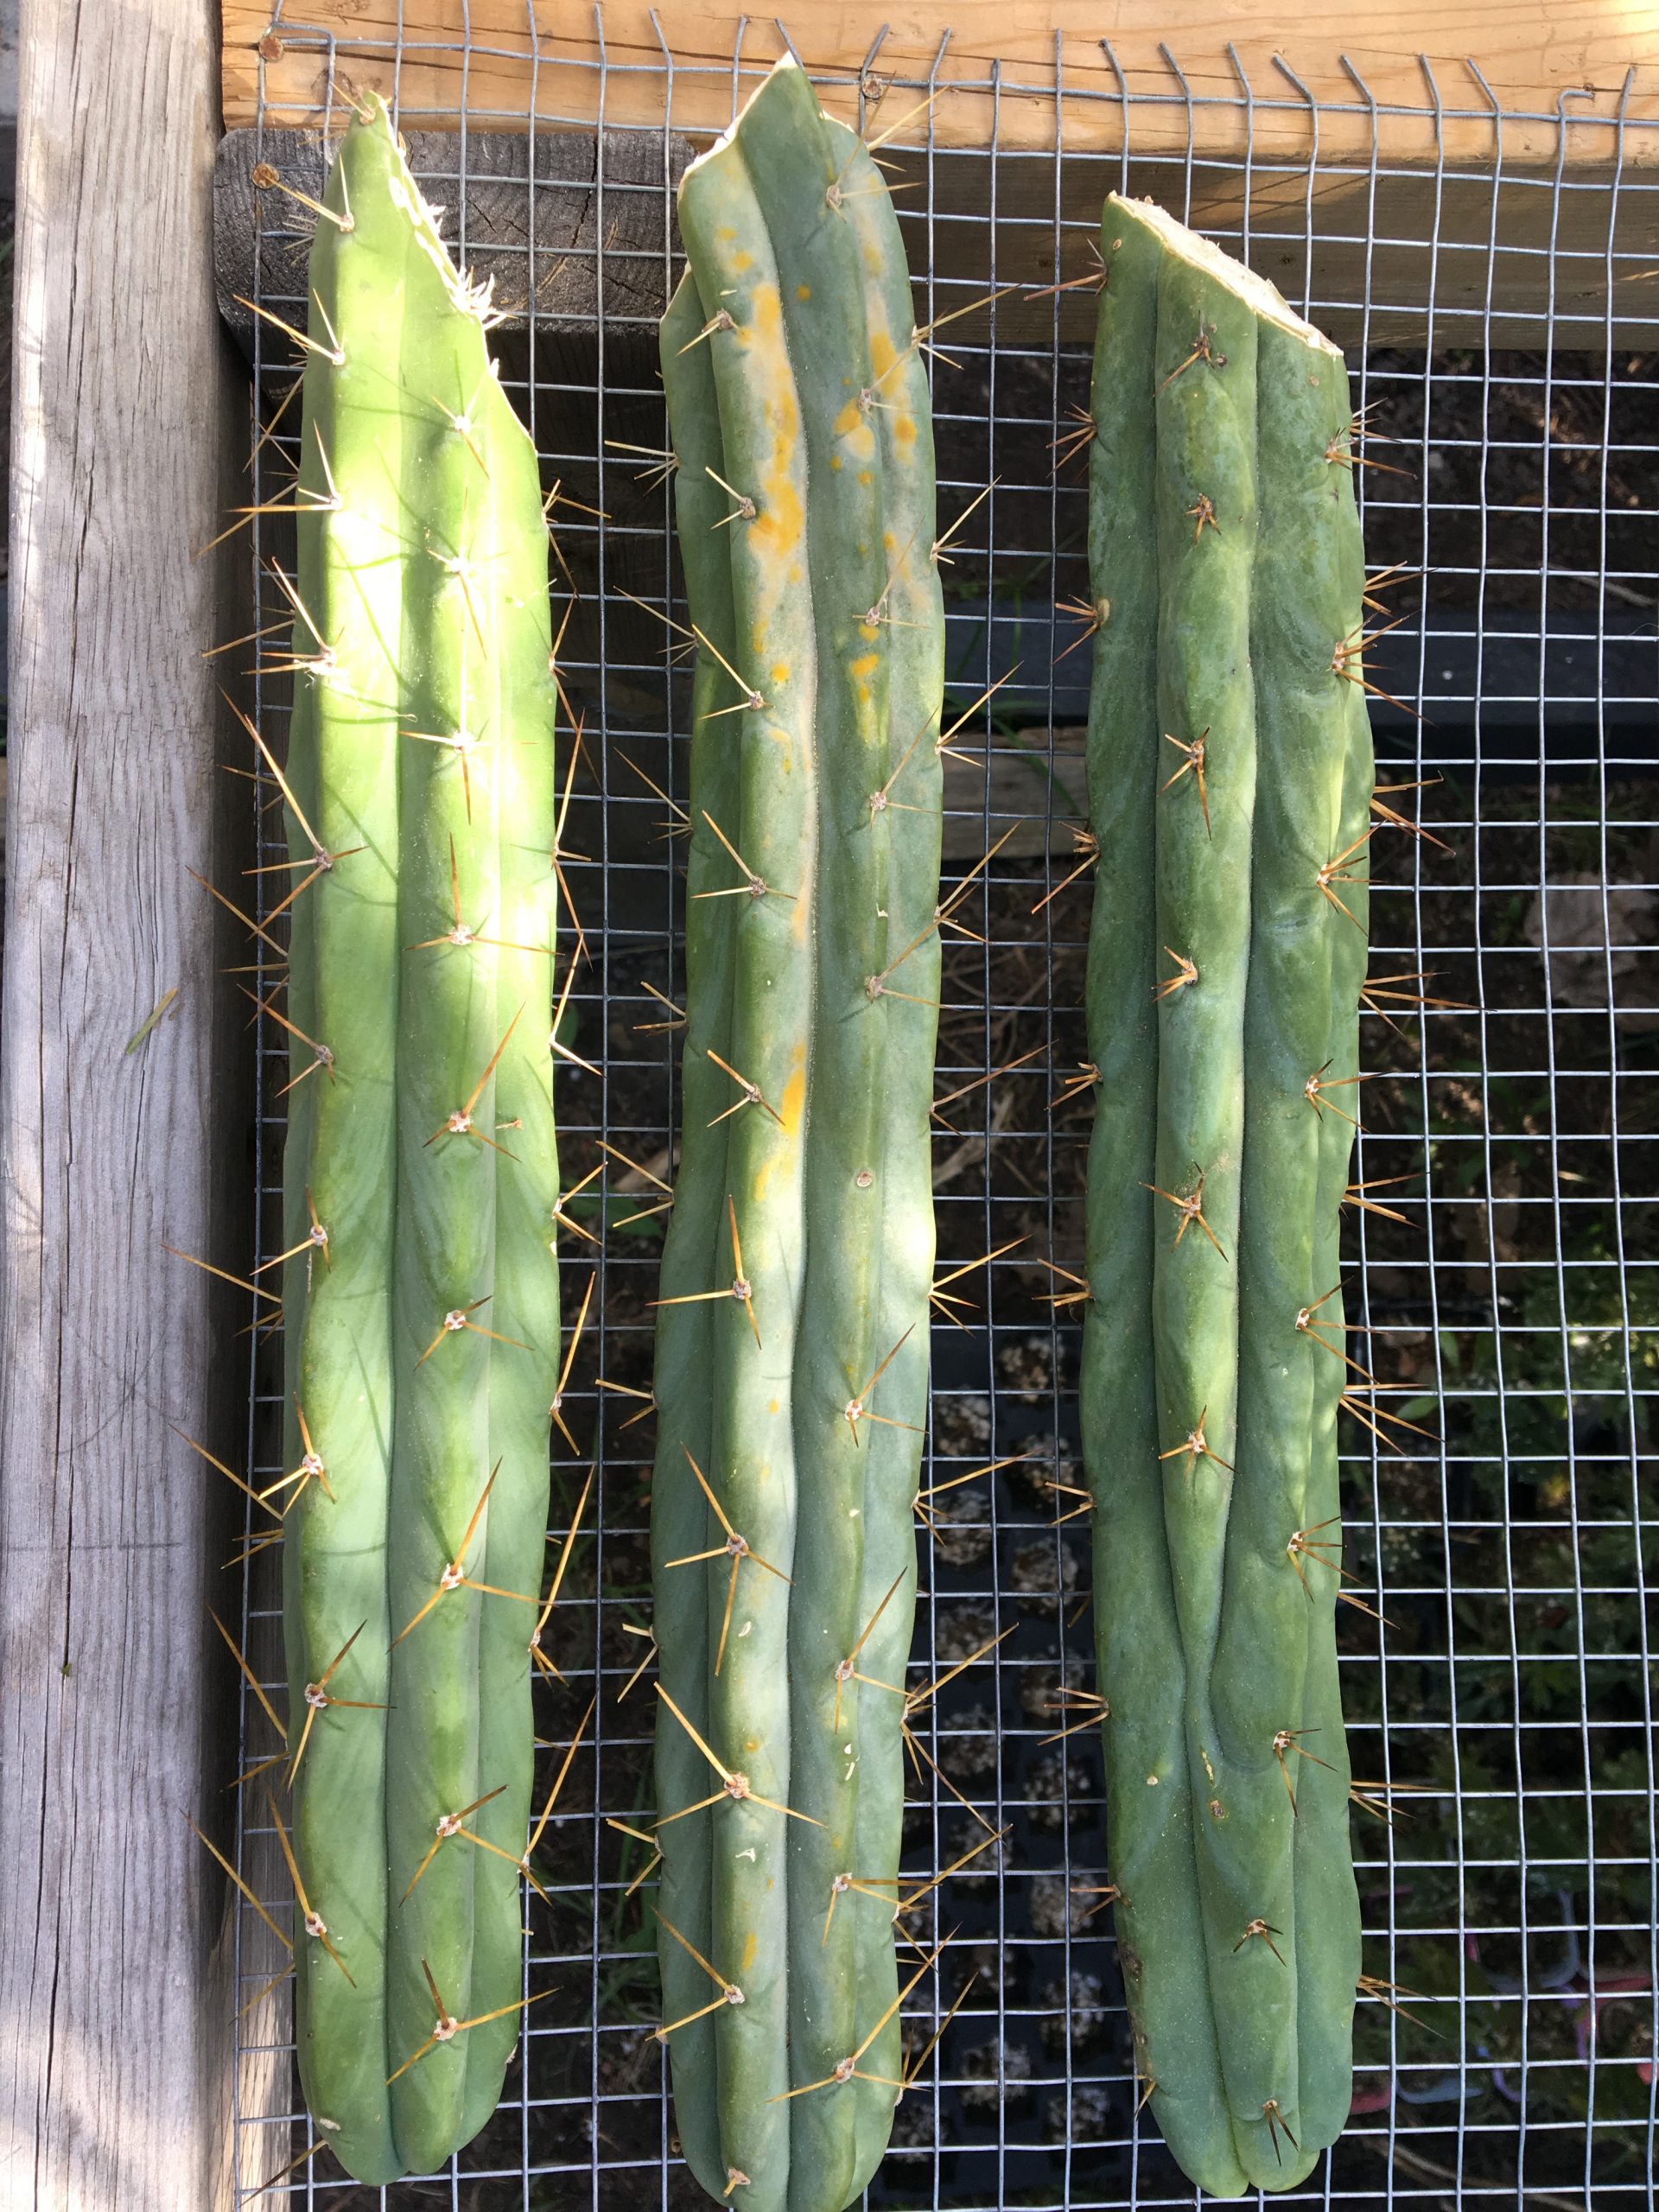
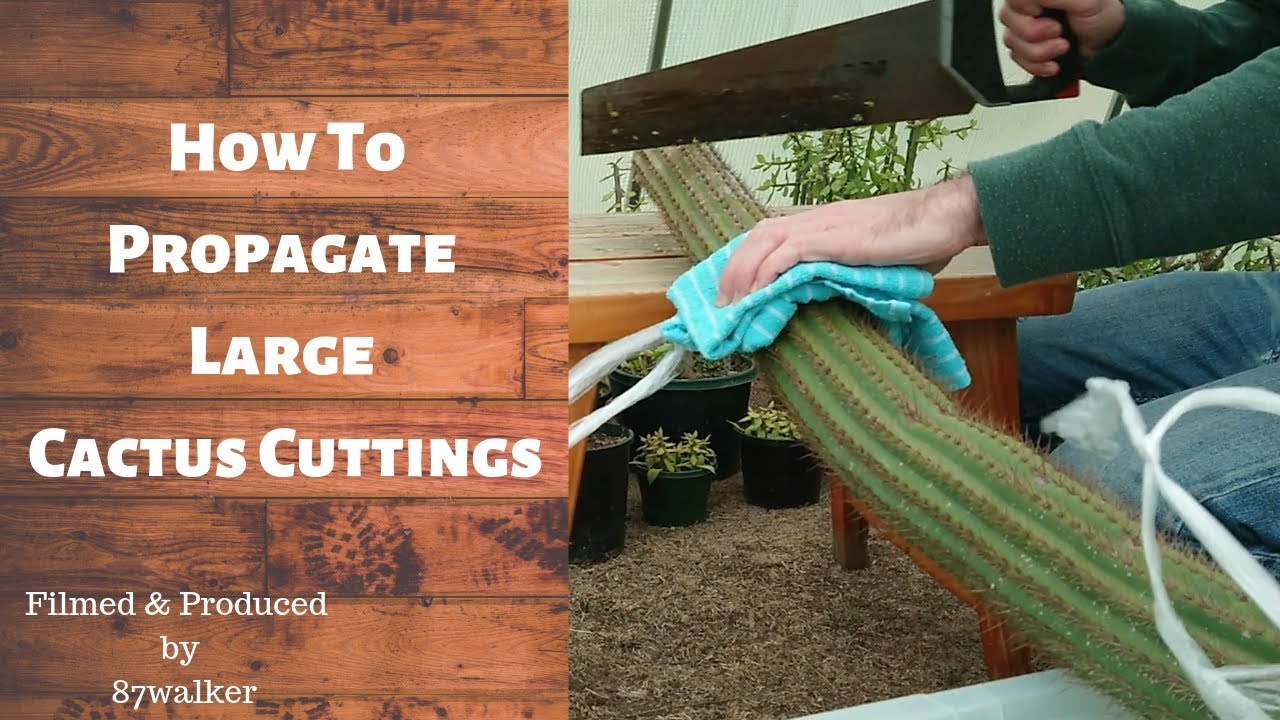
Obtaining healthy cuttings is pivotal for successful propagation. Early summer through late fall offers the optimal window when growth is active yet the plant is hardened off enough to resist rot. Select segments that are firm, plump, and free from blemishes or pests. Typically, a 4 to 6-inch segment is ideal. Using sterilized, sharp secateurs or a knife, make a clean break at the joint—clean cuts prevent infection and expedite callousing.
Preparing the Cutting: The Art of Callousing
Once harvested, the cutting requires a dedicated period to callous over. This natural scab formation is essential to prevent rot when the cutting is introduced to soil. Place the segment in a warm, shaded location with good air circulation. Depending on humidity and temperature, callousing can take from a few days up to two weeks. The surface should become dry and slightlly hardened, signaling readiness for planting.
Planting the Cutting: Soil and Environment Essentials
The medium in which the cutting is planted plays a decisive role. Cylindropuntia thrives in porous, well-draining soils that mimic its native habitat. A mixture of cactus potting soil combined with coarse sand or perlite ensures drainage and prevents waterlogging. Position the cutting vertically, just deep enough for it to stand stable. Light watering after initial planting can aid root formation, but beware of excess—overwatering is a frequent cause of failure.
Environmental Factors: Lighting, Temperature, and Humidity
While the cholla cactus can tolerate high sun exposure, young cuttings are more susceptible to stress. Begin propagation in an area with filtered sunlight or partial shade. Gradually acclimate the cutting to increased light as roots develop. Ideal temperatures range between 70°F and 85°F during the day, with slightly cooler nights enhancing growth quality. Low humidity environments are best, as excessive moisture can introduce fungal pathogens.
Monitoring Root Development: Patience Pays Off
Roots can take anywhere from a few weeks to a couple of months to develop fully. Monitor the cutting for signs of vitality, such as the emergence of new buds or an increase in firmness. Gentle tug tests can reveal root establishment—if the cutting resists movement, it is likely anchored. Avoid disturbing the cutting unnecessarily; patience is the gardener’s greatest ally in this slow process.
Common Challenges and Troubleshooting
Propagation isn’t always straightforward. Rot remains the most notorious enemy, often triggered by excess moisture or poor aeration. Yellowing or shriveling pads may indicate fungal infection or dehydration. To mitigate these issues, establish stringent watering schedules, improve ventilation, and ensure the use of sterile tools during harvesting. Insect infestations, though uncommon during propagation, should be managed promptly with suitable insecticidal soaps or natural deterrents.
Aftercare: Cultivating a Thriving Cholla
Once rooted, the cutting transitions into vigorous growth. Gradually increase exposure to direct sunlight to harden off the plant. Feeding with a diluted cactus fertilizer during the growing season encourages robust development. Repotting may be necessary as the plant enlarges, giving roots more room to explore and secure stability. With consistent care, these propagated plants can mature into impressive specimens, offering architectural interest and ecological value.
Why Propagate Cylindropuntia? The Ecological and Aesthetic Appeal
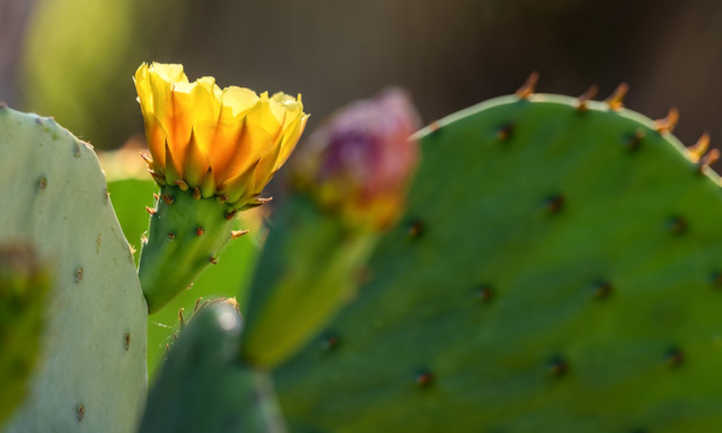
Beyond the thrill of nurturing life from a prickly cutting, propagating Cylindropuntia serves ecological purposes. They provide critical habitat and food sources for desert fauna, including birds and insects. Their spiny arms deter herbivores, ensuring resilience in arid landscapes. Aesthetically, these cacti lend dramatic texture and form to xeriscapes and succulent collections alike, capturing the essence of desert beauty.
Embarking on the journey of Cylindropuntia propagation is more than a horticultural task—it’s an adventure into the resilience and artistry of desert flora. With thoughtful preparation, protective mettle, and a dash of patience, the once intimidating spiny segments transform into verdant beacons of life. So, are you ready to take on the playful challenge and harness the enduring spirit of the cholla cactus?
FAQ
What is the best time to take Cylindropuntia cuttings?
The best time is from early summer through late fall when the plant is actively growing but hardened off enough to resist rot.
How do I prepare Cylindropuntia cuttings for planting?
Allow the cuttings to callous over in a warm, shaded place with good air circulation for several days to two weeks before planting.
What watering practices should be followed after planting cuttings?
Water lightly after initial planting to encourage rooting but avoid overwatering to prevent rot.
How can I protect myself from the spines when handling Cylindropuntia?
Wear protective gloves and handle with care to avoid injury from the sharp spines.
Leave a Reply