
Short Answer
In a world where sustainability meets creativity, crafting your own cactus paper emerges as a delightful fusion of artistry and eco-consciousness. This DIY endeavor not only transforms everyday materials into something extraordinary but also invites you to explore textures, colors, and forms that echo the rugged beauty of desert landscapes. Whether you’re a seasoned crafter or a novice with a penchant for hands-on projects, this guide will walk you through the enchanting process of making cactus paper—where each sheet tells a story of patience, innovation, and the quiet resilience of nature.
The Allure of Cactus Paper: Why It Captivates the Imagination
Cactus paper isn’t just another crafting trend; it’s a testament to the ingenuity of repurposing natural elements into something both functional and visually striking. Unlike conventional paper, which often relies on wood pulp, cactus paper harnesses the fibrous essence of agave or prickly pear plants, lending it a unique texture that’s both tactile and visually intriguing. The result? Sheets that whisper of sun-baked landscapes, with subtle variations in hue and a slightly rough, organic feel that mass-produced paper simply can’t replicate. For those who adore the tactile experience of handmade goods, cactus paper offers an unparalleled sensory journey—one that bridges the gap between the wild and the refined.
Gathering Your Arsenal: Essential Materials for the Craft
Before diving into the creative process, assembling the right materials is paramount. Start with the star of the show: cactus fibers. These can be sourced from agave leaves, prickly pear pads, or even dried cactus skeletons, depending on availability. You’ll also need a blender or food processor to break down the fibers into a pulp, along with a fine mesh screen or an old picture frame with window screening to form the sheets. Don’t overlook the basics—water, a large tub, and towels for pressing and drying. For those seeking to infuse color, natural dyes from beetroot, turmeric, or even coffee grounds can transform your paper into a vibrant canvas. And of course, a dash of patience is non-negotiable; cactus paper demands time to dry and cure properly, rewarding your diligence with a product that’s as durable as it is beautiful.
Preparing the Cactus Fibers: From Prickly to Pliable
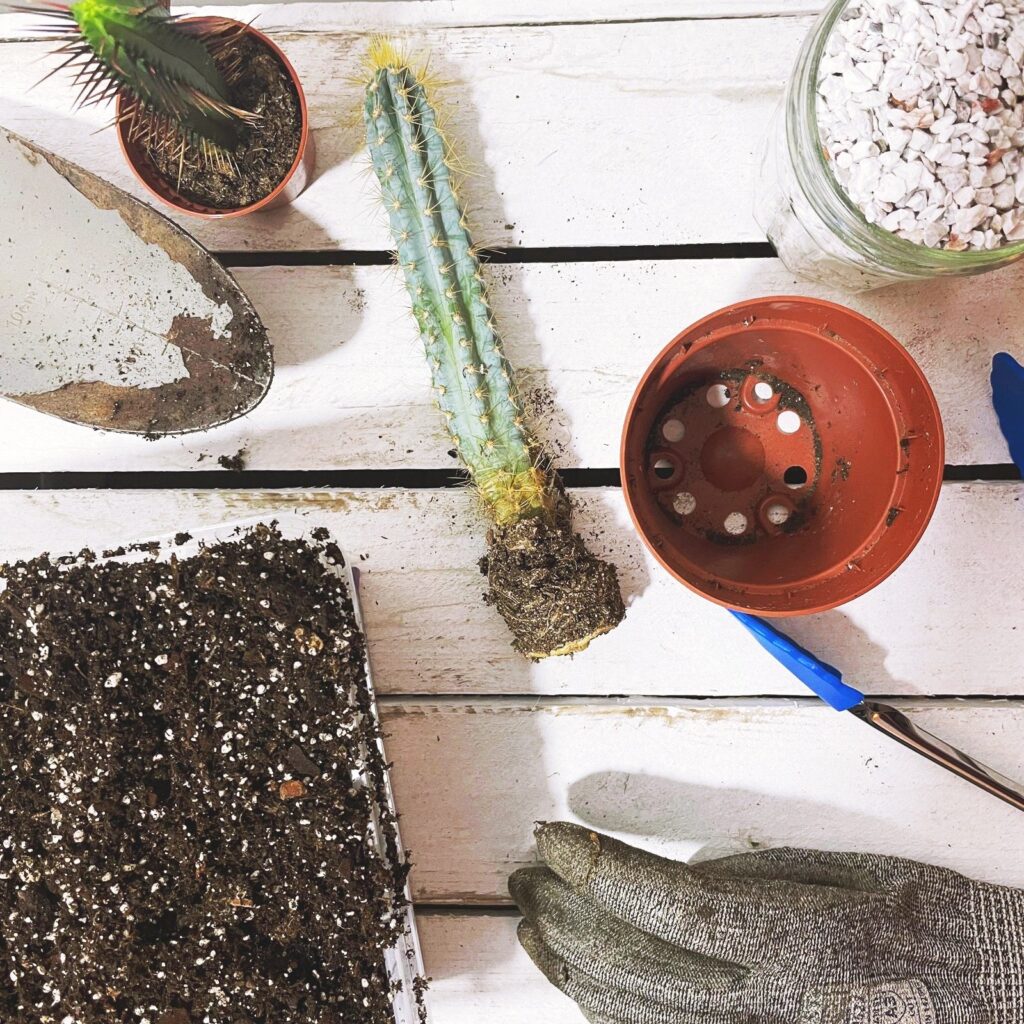
The journey from spiky plant to silky pulp begins with careful preparation. If using fresh agave or prickly pear, don your gloves and carefully remove the spines with a knife or peeler. Slice the leaves or pads into manageable chunks, then boil them in water for about 30 minutes to soften the fibers and remove any residual sap. This step is crucial—it breaks down the plant’s natural gums, making the fibers easier to blend. Once boiled, rinse the chunks thoroughly to eliminate any bitterness or stickiness. Now, the magic happens: blend the softened pieces with water until you achieve a smooth, creamy consistency, akin to a thick smoothie. The finer the pulp, the smoother your final paper will be, so take your time to achieve the perfect blend.
Crafting the Pulp Mixture: Customizing Texture and Hue
With your base pulp ready, the real fun begins—customization. Here, you’re not just making paper; you’re curating an experience. Stir in additional fibers for texture—think shredded cotton lint, dried flower petals, or even thin strips of recycled fabric—to create a paper that’s uniquely yours. For color, experiment with natural dyes. A handful of hibiscus flowers will gift your paper a blush of pink, while spirulina powder lends an earthy green. Mix these into the pulp, adjusting the ratios until you achieve the desired shade. Remember, the color will deepen slightly as the paper dries, so err on the side of subtlety if you prefer a muted palette. The pulp mixture is your playground; don’t be afraid to play with contrasts and layers, blending textures and hues until your vision takes shape.
The Art of Sheet Formation: Techniques for Flawless Results
Forming the sheets is where the alchemy of cactus paper truly shines. Pour your pulp mixture into a large tub filled with water, diluting it until it resembles a thin, milky broth. Submerge your mesh screen and lift it horizontally, allowing the water to drain while the fibers settle into a uniform layer. For thicker paper, repeat the process, layering additional pulp. To create marbled effects, gently swirl different colored pulps together before lifting the screen. The key here is patience—let the water drain completely, then press the screen against a towel to remove excess moisture. Flip the wet sheet onto a flat surface (a piece of felt or a smooth stone works wonders) and carefully peel away the screen. The first few attempts might feel like a high-wire act, but with practice, you’ll develop a rhythm, coaxing sheets that are as even as they are expressive.
Drying and Finishing: Patience Rewarded with Durability
Drying is where many crafters falter, but resist the urge to rush. Lay your freshly formed sheets on a flat, non-stick surface—parchment paper or a silicone mat are ideal—and allow them to air-dry in a well-ventilated space. Avoid direct sunlight, which can cause uneven drying and warping. Depending on humidity, this process can take anywhere from 24 to 48 hours. Once dry, your paper will be delicate but surprisingly sturdy. For added resilience, consider pressing the sheets under a heavy book for a day or two. If you’ve incorporated natural dyes, the colors may deepen further during drying, revealing their true vibrancy. The final step? Sanding the edges lightly with fine-grit sandpaper to achieve a polished finish. Your cactus paper is now ready to be transformed into journals, greeting cards, or even framed art—each piece a testament to your creativity and craftsmanship.
Beyond the Basics: Innovative Applications for Cactus Paper
The versatility of cactus paper knows no bounds. Beyond traditional uses, consider pressing dried flowers or leaves into the wet sheets to create botanical art. Or, cut the paper into strips and weave them into baskets or coasters, infusing your home decor with a touch of desert charm. For the eco-conscious writer, cactus paper makes for exquisite journals, its textured surface lending an organic feel to handwritten words. Adventurous crafters might even experiment with embedding seeds into the pulp, crafting paper that can be planted after use—a whimsical nod to sustainability. The possibilities are as limitless as your imagination, inviting you to push the boundaries of what cactus paper can become.
Embracing the Imperfections: The Beauty of Handmade Art
In a world dominated by uniformity, cactus paper celebrates the imperfect, the organic, and the handcrafted. Each sheet will bear its own idiosyncrasies—subtle variations in thickness, flecks of undissolved fiber, or uneven edges—all of which contribute to its charm. These so-called flaws are not mistakes but rather signatures of the process, each one telling a story of experimentation and growth. Embrace them. Let your paper be a reflection of your journey, a tangible reminder that beauty often lies in the unrefined and the unexpected. After all, the most captivating art is rarely flawless—it’s alive, evolving, and deeply personal.
FAQ
What materials do I need to make cactus paper?
You will need cactus fibers, a blender, a fine mesh screen, water, and optional natural dyes.
How long does it take to dry cactus paper?
Cactus paper typically takes 24 to 48 hours to dry, depending on humidity.
Can cactus paper be used for other crafts?
Yes, cactus paper can be used for journals, greeting cards, and even botanical art.




Leave a Reply