Short Answer
Imagine a plant so resilient it thrives where others wither, so versatile it adorns deserts and dinner plates alike, and so prolific it can be propagated with nothing more than a fallen pad and a sprinkle of patience. The Opuntia cactus—commonly known as prickly pear or nopal—is more than a survivor; it’s a living testament to nature’s ingenuity. Propagating cacti from pads isn’t just a gardening hack; it’s an act of alchemy, transforming a humble segment into a self-sustaining botanical marvel. Whether you’re a seasoned green thumb or a curious novice, this guide will unravel the secrets of cactus propagation, revealing how to coax life from the most unexpected places.
The Anatomy of a Cactus Pad: Understanding Your Starting Material
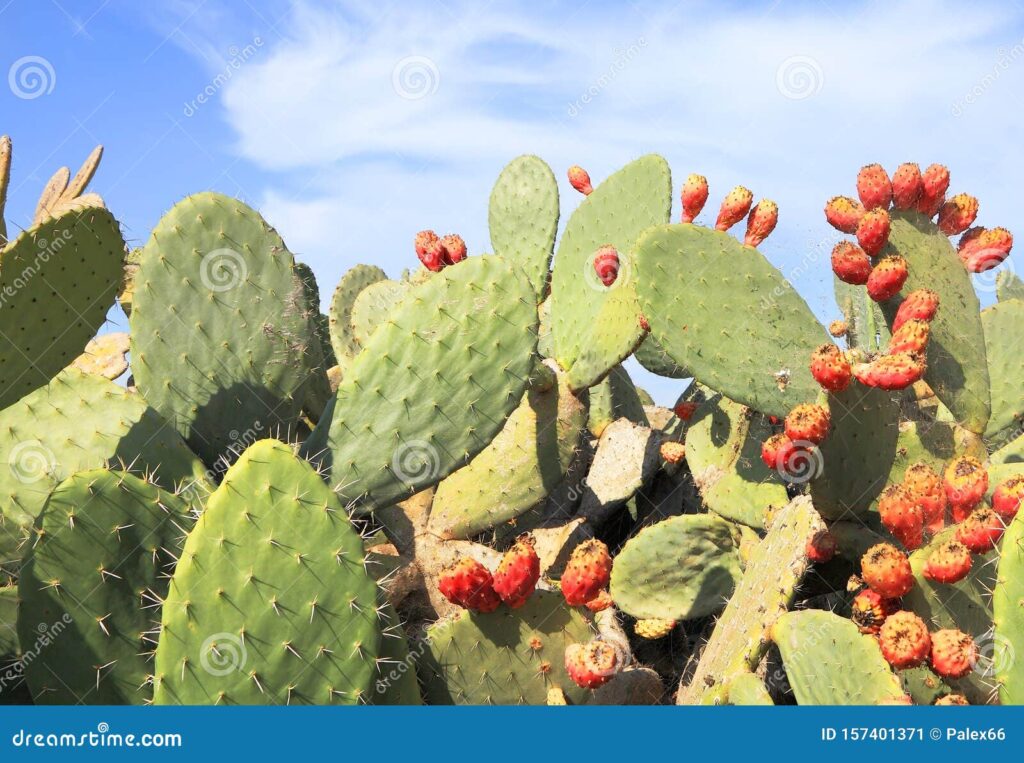
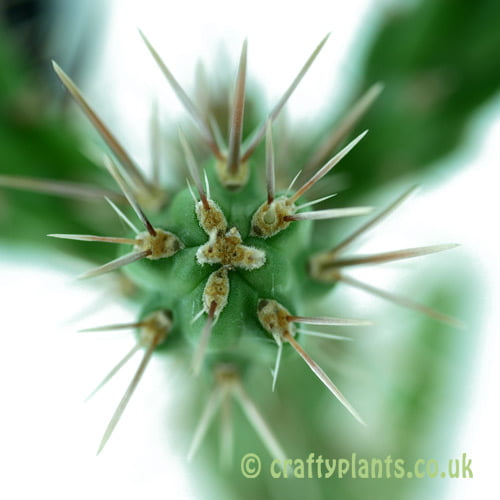
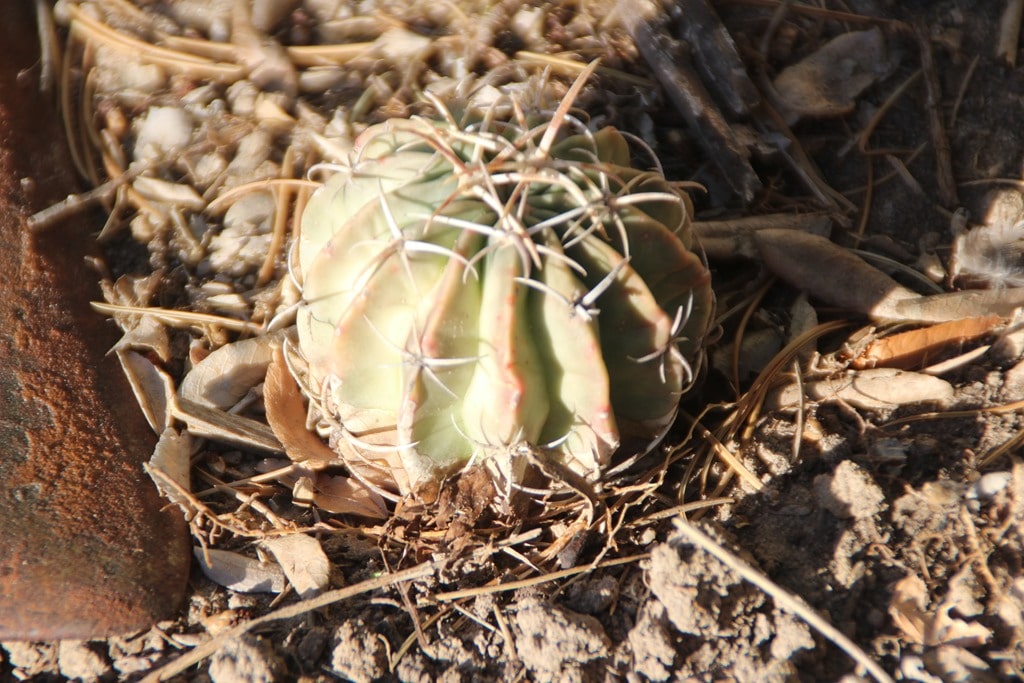
A cactus pad, or cladode, is far more than a flat, fleshy disc—it’s a self-contained ecosystem. Each pad is a modified stem, brimming with chlorophyll and designed to store water, a trait that allows Opuntia to endure prolonged droughts. The surface is dotted with areoles, those tiny, woolly cushions from which spines, flowers, and new growth emerge. When selecting a pad for propagation, seek one that’s plump, firm, and free of soft spots or discoloration. A healthy pad will feel heavy for its size, a sign of its water-rich composition. Avoid pads that appear shriveled or wrinkled; these are already depleting their reserves. The ideal candidate is a mature pad, typically from the previous year’s growth, as younger pads lack the stamina to root successfully.
Timing is Everything: When to Harvest and Plant Your Pad
Propagation isn’t a year-round endeavor; it thrives on seasonal precision. The best time to harvest a pad is in late spring or early summer, when the cactus is in its active growth phase. This is when the plant’s energy is directed toward new development, and the pad you remove will recover more swiftly. Avoid harvesting during the dormant winter months, when the cactus is conserving energy and less likely to heal from the wound. Once harvested, allow the pad to callus over—a process that typically takes one to two weeks. This critical step prevents rot by sealing the cut surface, creating a barrier against moisture and pathogens. Place the pad in a dry, shaded spot, and resist the urge to water it; excess moisture during this phase is the enemy of propagation.
The Art of Detachment: Harvesting Your Pad with Care
Detaching a pad from its parent plant requires a gentle touch and a sharp implement. Use a clean knife or pruning shears, sterilized with rubbing alcohol to ward off infections. Position the blade at the base of the pad, where it meets the stem, and apply steady pressure. A clean cut minimizes damage to both the parent plant and the harvested pad. If the pad resists, don’t force it—wiggle it slightly to loosen the connective tissue before applying more pressure. Once detached, handle the pad with care; its spines may be small, but they’re formidable. Wear gloves or use tongs to avoid pricks, and place the pad on a flat surface to begin the callusing process. Remember, the way you harvest sets the stage for the pad’s future—treat it with respect, and it will reward you with roots.
Patience in the Potting: Choosing the Right Medium and Container
The medium you choose for propagation is the bedrock of success. Opuntia demands a soil mix that mimics its native arid environment—well-draining, gritty, and lean. A blend of one part potting soil, one part coarse sand, and one part perlite or pumice will provide the aeration and drainage necessary to prevent rot. Avoid heavy, moisture-retentive soils, which can suffocate the pad before it has a chance to root. As for the container, opt for a shallow tray or pot with ample drainage holes. Terracotta is ideal, as its porous nature wicks away excess moisture and promotes airflow. The container should be just large enough to accommodate the pad without overwhelming it—think of it as a cozy nest rather than a sprawling estate. Overpotting can lead to stagnation, while a snug fit encourages the pad to focus its energy on root development.
The Rooting Ritual: Planting Your Pad for Maximum Success
Planting your callused pad is where the magic begins. Lay the pad on the soil surface, allowing the callused end to touch the medium lightly. Resist the urge to bury it; Opuntia pads root from the callus, not the entire surface. Press the pad gently into the soil, ensuring it makes contact but doesn’t sink. If the pad is top-heavy, you can prop it up with a small rock or a bit of soil to keep it stable. Water sparingly—just enough to moisten the soil without saturating it. Overwatering is the fastest route to failure, as it encourages rot and stifles root growth. Place the container in a bright, indirect light location, such as a windowsill with filtered sunlight. Direct sun can scorch the pad before it roots, while too little light will weaken its resolve. The pad may appear lifeless at first, but beneath the surface, roots are beginning to stir.
The Waiting Game: Signs of Progress and Common Pitfalls
Propagation is a test of patience, and the first signs of progress can be subtle. After a few weeks, you may notice a slight firmness in the pad, a hint that it’s drawing moisture from the soil. By the six-week mark, tiny bumps may appear along the callused edge—these are the nascent roots, pushing their way into the medium. If the pad begins to wrinkle, it’s a sign of dehydration; give it a light mist to revive it. Conversely, if the pad turns mushy or discolored, it’s succumbing to rot. In this case, remove it from the soil, allow it to dry further, and try again with fresh medium. Other common pitfalls include overwatering, which drowns the pad in its own juices, and insufficient light, which stunts growth and weakens the plant. Stay vigilant, but don’t micromanage—roots will emerge in their own time, and when they do, it’s a cause for celebration.
Transplanting and Beyond: Nurturing Your New Cactus
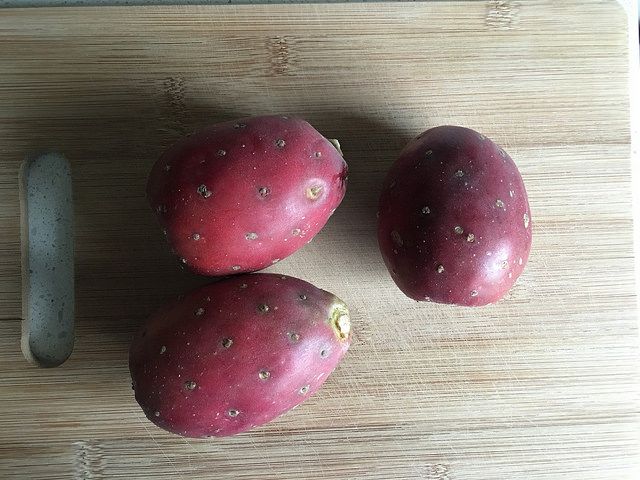
Once your pad has developed a robust root system—typically after three to six months—it’s time to transplant it into its permanent home. Choose a pot that’s slightly larger than the root ball, and use the same well-draining soil mix. Handle the pad gently, as the roots are delicate at this stage. Water lightly after transplanting to help the soil settle, but avoid the temptation to overindulge. Your new cactus is still acclimating to its surroundings and needs time to establish itself. Place it in a location with ample sunlight, gradually increasing exposure to prevent sunburn. As the cactus matures, it will reward your patience with vibrant blooms and, in some cases, edible fruit. The Opuntia’s resilience is infectious—once you’ve mastered propagation, you’ll find yourself eyeing every fallen pad with newfound potential.
The Ripple Effect: Why Propagating Cacti Matters
Beyond the practical rewards, propagating cacti from pads is a quiet act of rebellion against a disposable culture. In a world where instant gratification often trumps sustainability, growing a cactus from a single pad is a defiant embrace of slowness and stewardship. It’s a reminder that life can emerge from the most unassuming fragments, given the right conditions. Opuntia cacti are also champions of biodiversity, providing food and shelter for pollinators and wildlife in harsh environments. By propagating these plants, you’re not just expanding your garden—you’re contributing to a larger ecosystem. And let’s not forget the sheer joy of watching a lifeless pad transform into a thriving, spiny sentinel. It’s a lesson in resilience, a masterclass in patience, and a testament to the power of small beginnings.
Leave a Reply