Short Answer
Repotting a cactus isn’t just a gardening chore—it’s a delicate dance between nurturing growth and respecting the plant’s prickly defenses. Whether you’re a seasoned green thumb or a cautious beginner, the process demands patience, precision, and a dash of courage. After all, no one wants to end up with a spiky souvenir embedded in their fingertip. But fear not: with the right tools, techniques, and a sprinkle of know-how, you can give your spiky companion a fresh lease on life without a single ouch. Let’s dive into the art and science of repotting cacti, where every spine tells a story and every repotting session is a step toward flourishing greenery.
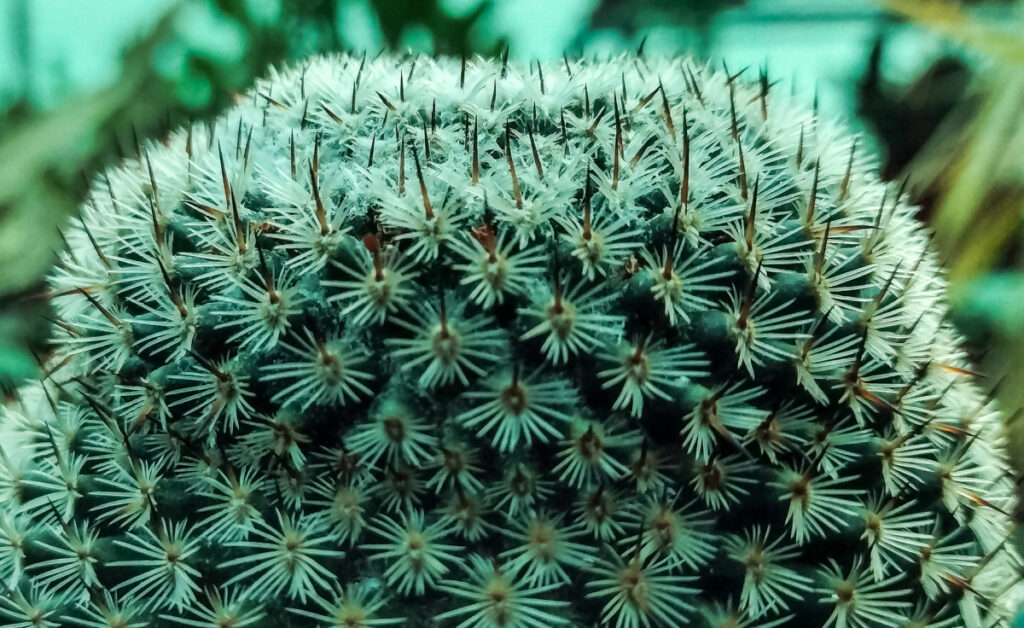
The Anatomy of a Cactus: Understanding Your Spiky Friend
Before you even think about touching the soil, acquaint yourself with your cactus’s unique architecture. Cacti aren’t just prickly decorations; they’re marvels of evolutionary adaptation, with features designed to thrive in harsh conditions. The areoles—those tiny, fuzzy spots from which spines, flowers, and new growth emerge—are the plant’s command centers. Some cacti, like the Saguaro, boast formidable ribs that expand and contract with water storage, while others, such as the Hedgehog Cactus, rely on dense clusters of spines for protection. Recognizing these traits helps you handle your plant with the care it deserves. A cactus’s spines aren’t just for show; they’re a defense mechanism, a water-conservation tool, and sometimes even a home for tiny creatures. Treat them with respect, and your repotting experience will be far smoother.

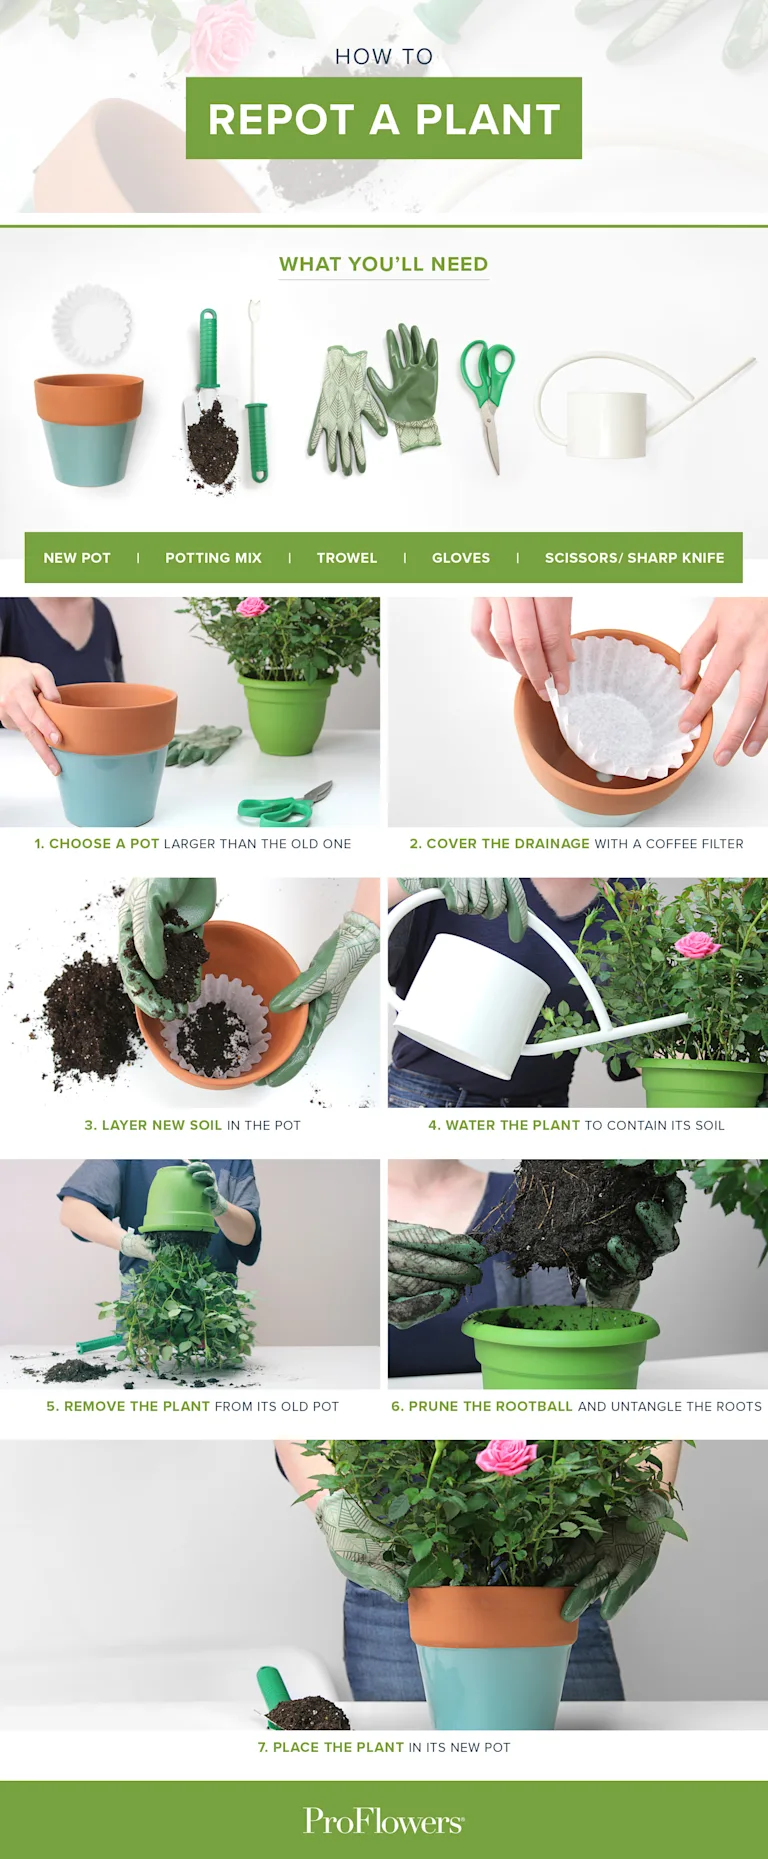
Gearing Up: Essential Tools for a Pain-Free Repotting Session
Imagine trying to bake a soufflé without a whisk or a whisk without a bowl—it’s a recipe for disaster. The same logic applies to repotting cacti. Your tools are your allies in this prickly endeavor. Start with a pair of thick, sturdy gloves, preferably made of leather or heavy-duty gardening fabric. These aren’t just for show; they’re your first line of defense against those unruly spines. Next, arm yourself with a long-handled spoon or trowel—ideal for loosening soil without getting too close to the spines. A pair of tongs can be a game-changer for handling smaller cacti or removing debris. Don’t forget a new pot with adequate drainage holes and a well-draining cactus mix, which you can either buy or concoct yourself with sand, perlite, and a dash of compost. And if you’re dealing with a particularly sizable specimen, a foldable cactus carrier or a burlap wrap can save your back (and your dignity). With the right gear, you’re not just repotting a cactus—you’re conducting a symphony of precision.
Timing Is Everything: When to Repot Your Cactus
Repotting isn’t something you do on a whim, like deciding to reorganize your sock drawer at 2 AM. Timing is critical, and the best seasons for repotting are spring and early summer, when your cactus is in its active growth phase. During these months, the plant is primed to recover from the shock of transplantation, sending out new roots and shoots with vigor. Avoid repotting in the dead of winter or the scorching heat of summer, as your cactus will be in a state of dormancy or stress, making it far more susceptible to damage. Another telltale sign it’s time to repot? Roots peeking out of the drainage holes like overzealous party guests refusing to leave. If your cactus is toppling over in its pot or the soil has turned into a compacted brick, it’s a clear SOS signal. Listen to your plant—it’s speaking to you in the only language it knows: spines and all.
The Gentle Extraction: Removing Your Cactus from Its Old Home
Here’s where the real fun begins. Gently cradle your cactus in your gloved hands, or if it’s a behemoth, use your tongs or a folded newspaper to grip it securely. Tap the sides of the pot to loosen the soil, then tilt it at a 45-degree angle. With a firm but steady grip, ease the cactus out, coaxing it free like a stubborn jar lid. If the roots are stubbornly clinging to the pot, run a thin tool—like a butter knife or a palette knife—along the inner edges to break the bond. For particularly stubborn cases, you might need to cut the pot itself (yes, plastic pots are expendable in this scenario). Once free, lay the cactus on a flat surface covered with newspaper or a towel. Take a deep breath. You’ve just survived the most precarious part of the process.
Root Inspection: Diagnosing and Treating Common Issues
Now that your cactus is out in the open, it’s time for a root checkup. Healthy roots should be firm and white or light tan, while dark, mushy, or foul-smelling roots signal root rot—a cactus’s worst enemy. If you spot rot, don’t panic. Grab a pair of sterilized scissors and snip away the damaged sections, leaving only the healthy tissue. For pests like mealybugs or scale, a dab of rubbing alcohol on a cotton swab can evict them without harming your plant. If the roots are circling the pot like a labyrinth, it’s a sign your cactus is root-bound and craving more space. Trim any excessively long roots to encourage outward growth. Remember, this isn’t a haircut—be judicious. Your goal is to give your cactus a fresh start, not a severe pruning.
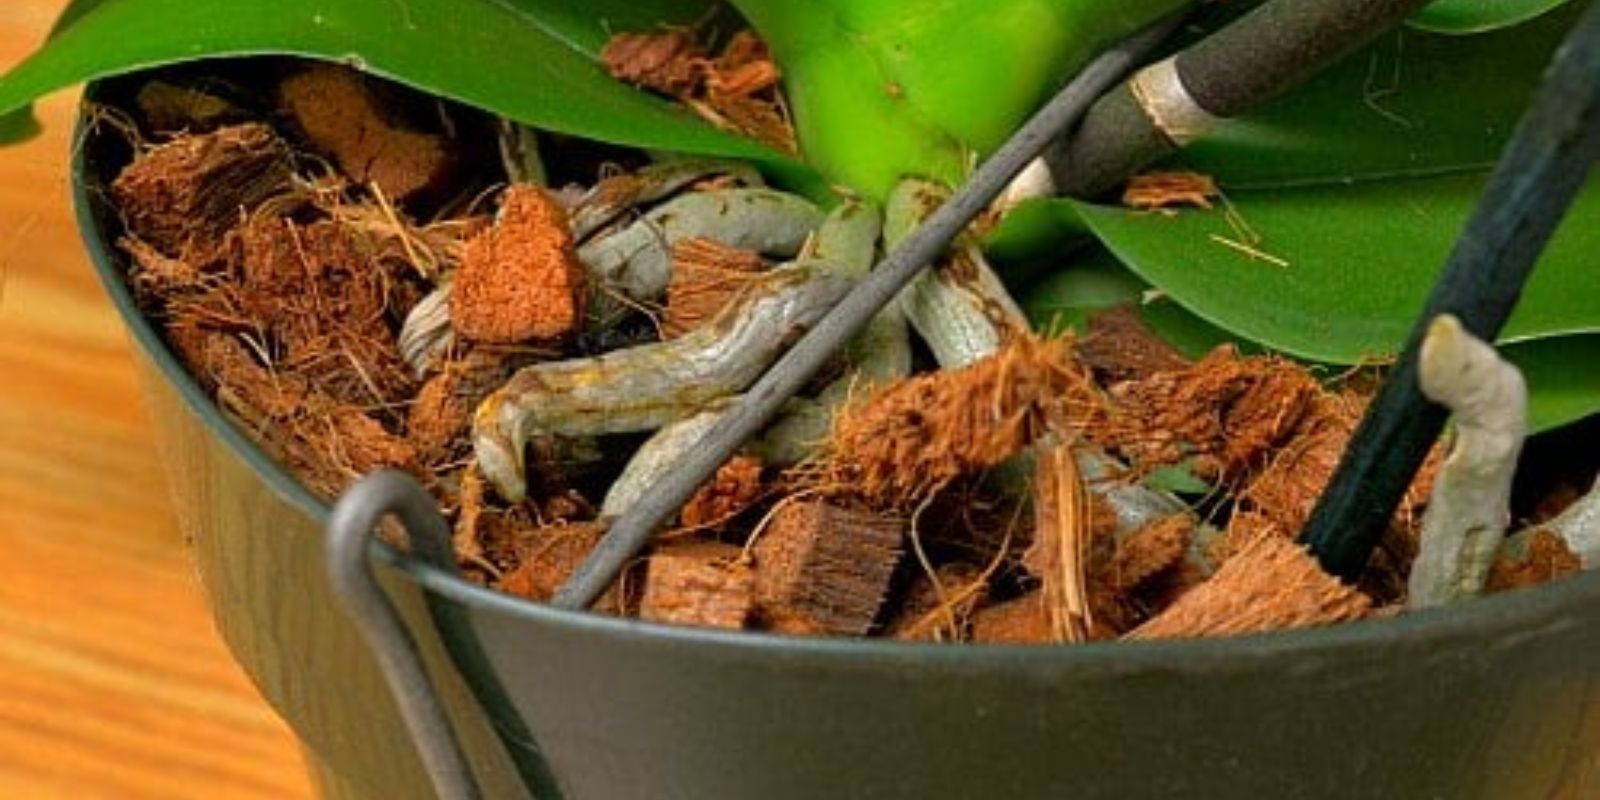
Potting Perfection: Choosing the Right Container and Soil
The pot you choose is more than just a vessel—it’s a foundation for your cactus’s future. Opt for a container that’s slightly larger than the current one, giving your plant room to grow without drowning in excess soil. Terracotta pots are ideal for their breathability, but plastic works in a pinch. Ensure the pot has drainage holes—no exceptions. A cactus’s worst nightmare is soggy soil, which leads to root rot faster than you can say “spiny succulent.” As for soil, a fast-draining cactus mix is non-negotiable. You can buy pre-made blends, but for the adventurous, a DIY mix of 50% potting soil, 30% perlite or pumice, and 20% coarse sand creates the perfect aerated environment. Before adding the soil, layer the bottom of the pot with a gravel or pebble bed to enhance drainage and prevent soil compaction.
The Art of Transplantation: Placing Your Cactus in Its New Home
With your pot prepped and your cactus inspected, it’s time for the grand finale. Position your cactus in the center of the pot, ensuring it sits at the same depth as before. If it’s sinking too low, add a bit more soil underneath. For top-heavy cacti, a layer of pebbles or decorative stones on the soil surface can provide stability and add a touch of flair. Once positioned, fill in the gaps with your cactus mix, gently pressing it down to eliminate air pockets. Avoid compacting the soil too tightly—cacti need room to breathe, just like you after a big meal. Water sparingly at first, allowing the soil to settle naturally. Over the next few weeks, monitor your cactus for signs of stress, such as wilting or discoloration. If all goes well, you’ll soon see new growth, a testament to your careful handling.
Post-Repotting Care: Nurturing Your Cactus Back to Health
Repotting is just the beginning. Now, your cactus needs time to acclimate to its new environment. Place it in a bright, indirect light spot—direct sunlight can scorch a freshly repotted cactus, while too little light stunts its recovery. Hold off on watering for about a week to allow any disturbed roots to heal. When you do water, do so thoroughly but infrequently, letting the soil dry out completely between sessions. This mimics the cactus’s natural desert habitat and prevents overwatering. Keep an eye out for pests or signs of stress, and resist the urge to fertilize immediately. Your cactus is in recovery mode, and fertilizer is like caffeine to a sleep-deprived person—best saved for later. With patience and attentive care, your spiky friend will thrive, rewarding you with blooms and new growth.
Troubleshooting: When Repotting Goes Awry
Even the most meticulous gardeners encounter hiccups. If your cactus starts leaning like the Tower of Pisa, it’s a sign of instability. Stake it gently with a chopstick or a small stick until it regains its footing. Yellowing or wrinkled stems? This could indicate overwatering or root rot—adjust your watering schedule and inspect the roots. If your cactus refuses to root in its new home, it might be due to shock or improper soil moisture. Give it time, and avoid moving it around too much. And if you accidentally break a spine or two? Don’t fret. Cacti are resilient, and new spines will grow in time. Every repotting session is a learning experience, and even the missteps teach you something valuable about your plant’s needs.
The Reward: A Thriving Cactus and a Sense of Accomplishment
There’s a quiet joy in watching a cactus flourish after a successful repotting. The spines that once bristled with defiance now stand taller, the soil breathes easier, and your plant radiates health. More than just a gardening task, repotting is an act of stewardship—a way to deepen your connection with these fascinating desert dwellers. Whether you’re growing a towering Barrel Cactus or a delicate Mammillaria, the process reminds you that even the prickliest of plants deserve care and respect. So the next time your cactus outgrows its pot, don’t hesitate. Arm yourself with gloves, gather your tools, and approach the task with confidence. After all, every spine you avoid is a spine you won’t have to explain to your friends.
FAQ
When should I repot my cactus?
Repot your cactus during the spring or early summer when it is actively growing, or when roots are visible through drainage holes or the plant is top-heavy.
What is the best soil for repotting cacti?
A fast-draining cactus soil mix, ideally homemade with 50% potting soil, 30% perlite or pumice, and 20% coarse sand, is best to prevent root rot.
How do I protect myself from cactus spines when repotting?
Wear thick leather or heavy-duty gardening gloves and use tools like tongs or folded newspaper to handle the cactus without injury.
How often should I water after repotting?
Wait about one week after repotting before watering to allow roots to heal, then water sparingly and only when the soil is dry.
What should I do if I find root rot during repotting?
Trim away the affected roots with sterilized scissors and allow the cactus to dry before repotting to prevent further infection.


Leave a Reply