
Short Answer
Have you ever encountered a prickly pear cactus pad lying innocuously on the ground and wondered if it’s possible to coax that seemingly lifeless piece into a thriving, verdant plant? The idea sounds deceptively simple, but cultivating a cactus from a pad presents a delightful blend of artistry and patience. This journey tests your green-thumb prowess and challenges your understanding of nature’s resilience. So, are you ready to embark on this prickly adventure and transform a humble pad into a majestic desert beauty?
Selecting the Perfect Pad: The First Step in Your Cactus Quest
Before diving into the cultivation process, it’s crucial to select a healthy and mature prickly pear pad, also known as a cladode. Look for pads that are firm, free from blemishes, and about 6 to 8 inches long. Avoid pads with any sign of disease or rot—those will only diminish your chances of successful rooting. The pad should ideally be harvested in the early summer when it is fresh, plump, and at the peak of its vitality.
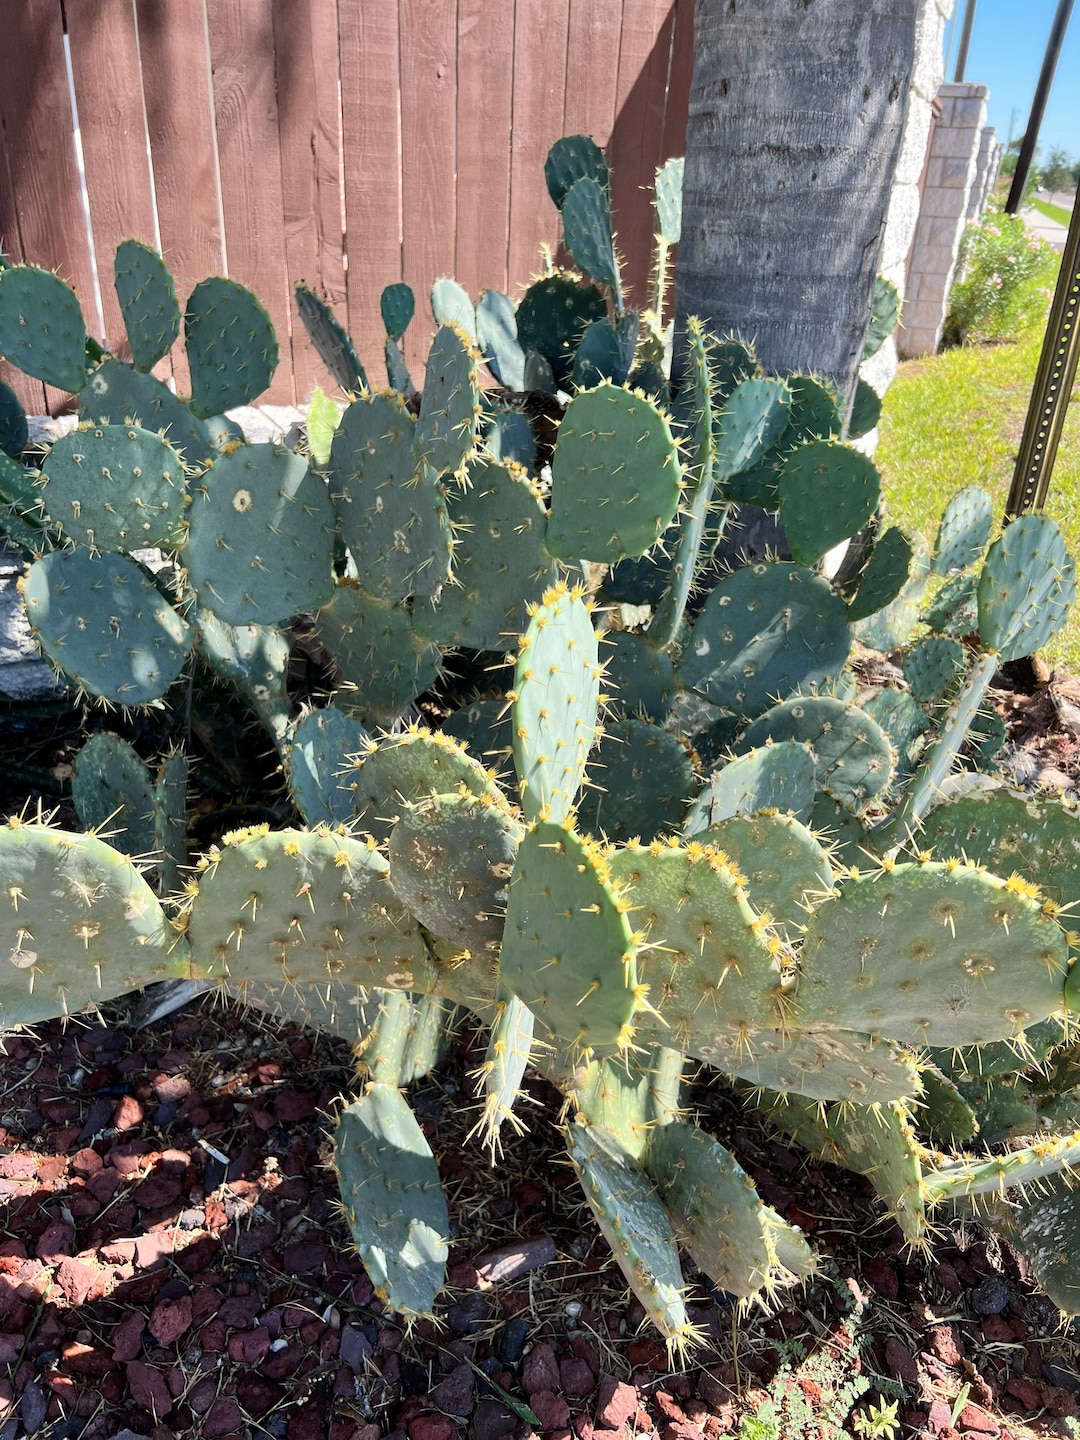
Choosing a pad with well-developed fleshy tissue is paramount because this will supply the necessary moisture and nutrients during the rooting phase. The pads almost seem to whisper stories of endurance, designed to thrive in arid landscapes, but they can be surprisingly vulnerable when severed from the parent plant.
Preparing the Pad: To Callous or Not to Callous?
Here lies a subtle but essential challenge: Should you plant the pad immediately or let it callous first? Calling the pad is the process where the cut surface is allowed to dry and form a protective barrier. This step prevents rot and fungal infections once planted.
Gently clean the pad with a cloth to remove visible dirt or residue, then set it aside in a warm, dry location with indirect sunlight. Typically, a period of 5 to 10 days is sufficient for the cut end to form a tough callous. This wait requires patience. Impatience here can lead to soggy, decayed cuts and failure.
Soil Matters: Crafting the Ideal Medium for Rooting
Prickly pears come from regions where the soil is gritty and well-draining. Replicating this environment is pivotal. Use a specially formulated cactus soil mix or create your own blend with two parts coarse sand or perlite and one part potting soil.
This concoction mimics their native habitat’s arid conditions, preventing waterlogging and promoting aeration. Water stagnation is the existential enemy of cactus roots. By giving your pad a well-ventilated bed, you create a sanctuary where roots can sprout unhindered.
Planting the Pad: Position and Depth Precision
Planting isn’t just a matter of shoving the pad into soil. It’s a delicate operation that requires positioning the pad upright with the calloused end inserted about one to two inches into the substrate. Make sure the pad stands firm but not deeply buried.
Too shallow, and it will topple over, too deep, and the cutting may suffocate or rot. Stabilize the pad gently by surrounding it with soil that offers firm but gentle support. The pad begins its slow metamorphosis from dormant tissue to a bustling node of growth through the development of roots.
Watering Wisdom: Balancing Moisture Without Drowning
Watering a newly planted prickly pear pad can feel like navigating a narrow tightrope. The general rule is sparing and strategic hydration. At first, refrain from watering for about a week to allow deeper callousing and ignition of root primordia beneath the surface.
When watering begins, use a light mist or small amounts of water, ensuring the soil remains lightly moist but never saturated. Overwatering is an insidious killer — it invites root rot and fungal adversaries. The pad’s succulent tissues store water efficiently, so less is almost always more.
Lighting Conditions: Let There Be Sunlight
Light is the lifeblood for any cactus, and prickly pears thrive under bright, direct sunlight. However, immediately after planting, harsh afternoon sun might be too intense and stress the forming roots.
Place the pot or planted pad in an area with plenty of indirect sunlight, gradually increasing exposure as the plant establishes itself. As the roots settle and growth spikes, demand for direct sunlight intensifies, fostering vibrant, hardy pads and eventually flowers.
Monitoring Growth: Patience and Signs of Success
Root development can feel like an invisible process, but subtle signs reveal that life is stirring beneath the surface. In a few weeks, you may notice tiny new pads or a slight upward swelling at the base, signaling successful rooting.
Growth can be slow initially—temper your anticipation. Be vigilant for any signs of rot, such as discoloration or mushiness, and remove affected portions promptly. The slow but steady advent of new spines or glochids (the tiny, hair-like spines) is a celebratory marker indicating your cactus is thriving.
Transplanting and Long-Term Care: From Pad to Prickly Personality
Once your cactus pad has firmly anchored itself and displays robust growth, it’s time to think about transplantation to a larger pot or even an outdoor garden bed in temperate climates. Choose well-draining soil enriched with organic matter. This supports sustained growth and flower production.
Feeding is minimal but beneficial. Use diluted cactus fertilizer during the growing season, roughly every four to six weeks. Avoid overfertilization, which can encourage leggy, weak growth devoid of the characteristic tough resilience.
Flowering and Propagation: The Ultimate Reward
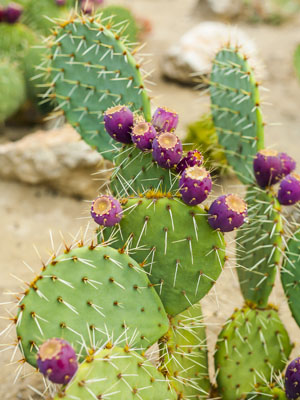
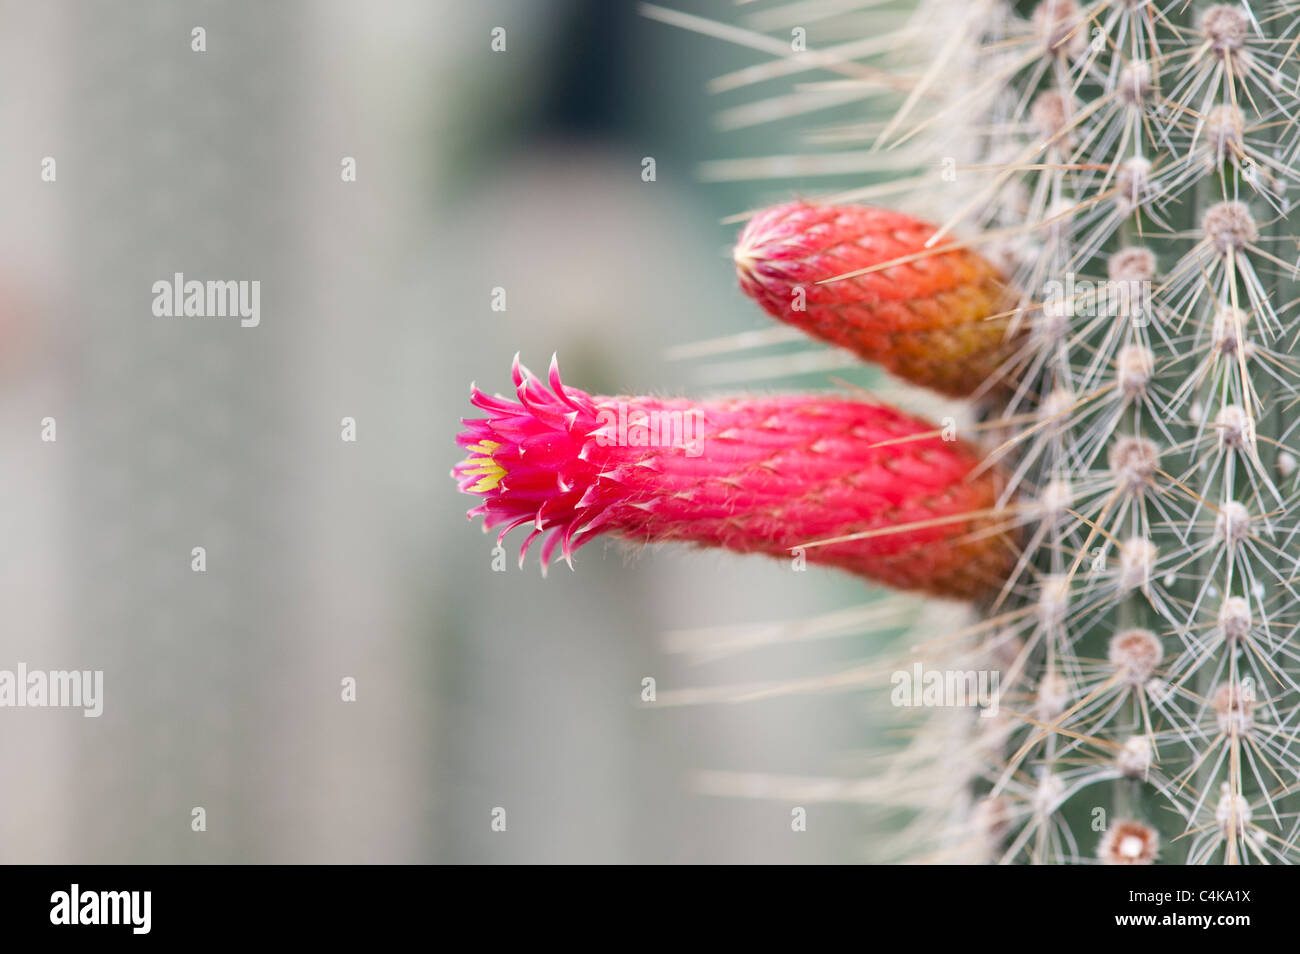
The culmination of your care may materialize in the form of stunning yellow, red, or pink flowers that blossom seasonally. Flowering is a rewarding milestone that showcases the cactus’s health and vitality. From these blooms, fruits—often called “tunas”—may develop, which provide new opportunities to harvest seeds or pads for propagation.
Propagating from pads is a cyclical celebration of nature, revitalizing life from clipped cactus leaves and extending your prickly pear collection endlessly if tended with love and attentiveness.
Growing a prickly pear cactus from a pad perfectly marries challenge with reward. It engages an intricate dance between environmental mimicry and gentle coaxing, inviting patience and care. Each stage, from selection to flowering, tells a tale of perseverance and natural wonder. So, take up the challenge, nurture your cactus, and watch how a simple pad can flourish into a magnificent testament to nature’s stubborn beauty.
FAQ
How long does it take for a prickly pear pad to root?
Root development can take several weeks, but you may start to see signs of growth within 3 to 4 weeks.
Can I grow a prickly pear cactus indoors?
Yes, prickly pear cacti can be grown indoors as long as they receive enough sunlight.

Leave a Reply