
Short Answer
Have you ever found yourself admiring a cactus’s quirky charm and wondered, “Could I make a whole collection from just one little piece?” It sounds like a botanical magic trick—and in a way, it is! Propagating cactus from cuttings can transform a simple garden hobby into a rewarding adventure. Yet, it’s not without its quirks and challenges. How do you coax a prickly, resilient plant to multiply like that? Grab your gloves and your curiosity, because we’re about to delve into an exhilarating step-by-step journey to expand your cactus family effortlessly and with flair.
Choosing the Perfect Cutting: It’s More Than Just a Snip
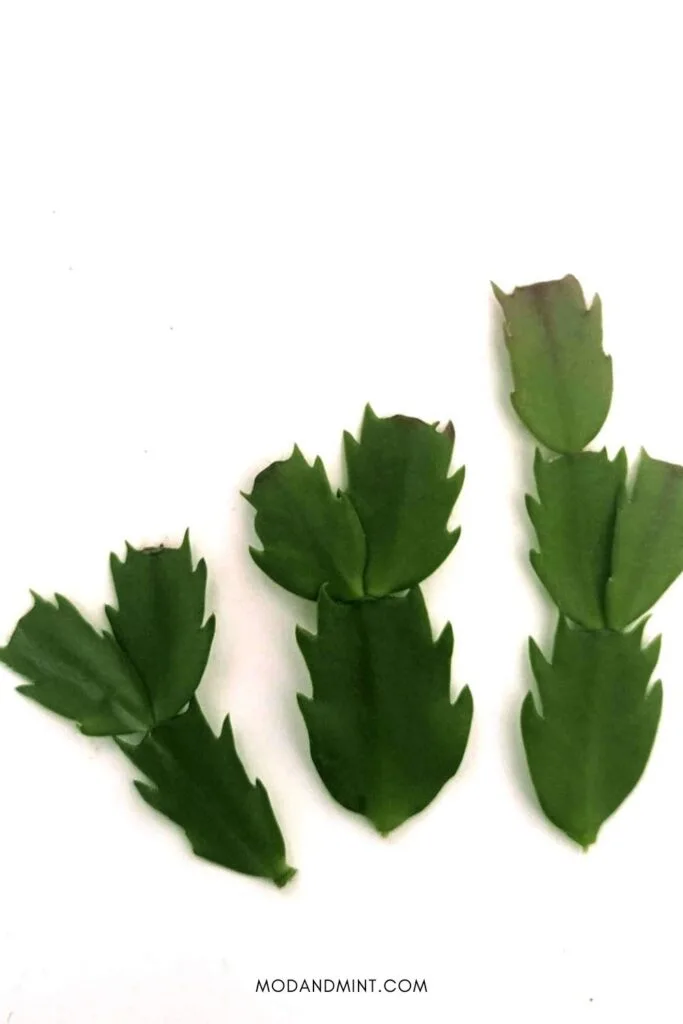
The adventure begins with selecting the ideal segment from your cactus. The first challenge? Not all cuttings are created equal. Depending on the species—whether a Christmas cactus with its flattened leaves or a barrel cactus with stout, rounded pads—the cutting should be healthy, free from signs of disease, and mature enough to root. Avoid younger, flimsy growths; instead, opt for robust segments that promise stamina.
When choosing, inspect the cactus for vibrant, firm flesh and unblemished skin. Sometimes, patience is essential—the best cuttings come after the plant has had time to stabilize during its growth cycle, often post-flowering. The chosen section should be about three to six inches long for optimal propagation success.

Preparing Your Tools and Work Area: Precision Meets Cleanliness
Next, let’s address an often overlooked yet critical step: preparation. How do you prevent turning your propagation project into a breeding ground for rot and infection? Sterilization is your secret weapon. Use a sharp, clean knife, surgical scissors, or pruning shears—then sanitize them thoroughly with rubbing alcohol or a flame to guarantee a pristine cut.
Create a dedicated workspace with minimal clutter to avoid cross-contamination. Handling cactus cuttings carefully also means protecting yourself; wear thick gloves to avoid pricks. Setting up newspaper, paper towels, or a soft cloth can cushion the fragile succulent tissue during preparation.
The Art of Cutting: A Delicate Balance Between Strength and Tenderness
How do you know exactly where and how to cut? The goal is a clean break that preserves the vitality of the stem. For columnar cacti, slice between joints to encourage easy rooting. In segmented or leaf-like cacti, cut just beneath the joint or pad base.
Make a swift, confident cut to minimize trauma to the plant tissue. If the cutting includes spines, be mindful to avoid damaging the spines’ bases, as these contain important tissue. After cutting, trim any damaged or diseased parts. A neat incision promotes quicker healing and reduces infection risk.
Callusing: The Secret Phase Before Rooting Begins
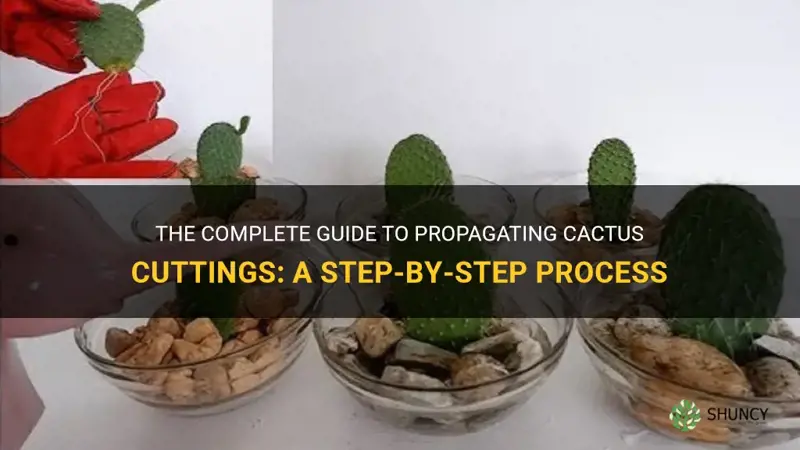
Here’s a fascinating but essential challenge: before planting, your cutting must form a callus—a dry, tough layer over the cut surface. Why? This barrier helps prevent fungal infections and rot when the cutting hits moist soil. Skipping this phase is a common pitfall that leads to soggy, unsuccessful cuttings.
Place your cutting in a cool, shaded, and airy spot for several days to up to two weeks, depending on the cactus type and climate conditions. Resist the urge to rush! You’ll know callusing is complete when the cut end is dry, slightly shriveled, and firm to the touch.
Choosing the Right Medium: A Silken Bed for Your New Plant
What soil will best cradle your cactus cutting? The key is a mix that promotes excellent drainage and prevents excess moisture. Cacti are desert creatures at heart, so their propagation medium must mimic arid conditions. A blend of coarse sand, perlite, and potting soil is ideal.
Alternatively, use commercial cactus or succulent potting mixes. Avoid heavy garden soils or mixes rich in organic matter, as they retain too much water and can rot tender new roots. Consider a shallow container with drainage holes to further reduce water retention risks.
Planting the Cutting: Handling Your New Desert Survivor
Planting isn’t just about putting the cutting into the soil—it’s about carefully encouraging the plant’s natural resilience. Gently insert the callused end into the soil just enough to keep it upright. Too deep, and the cutting may struggle to breathe; too shallow, and it won’t root properly.
Stabilize the cutting using small stones or toothpicks if it wobbles. This stage requires patience and gentleness, as the new roots are just beginning their secret work underground. After planting, avoid watering immediately. Wait approximately a week to allow the cutting to adjust without risk of rot.
Watering and Care: The Delicate Dance of Moisture and Dryness
The question on many minds is straightforward: how often should you water? The answer is a subtle balance. Overwatering is the nemesis of cactus propagation, while under-watering stalls root growth. After the initial waiting period, begin watering sparingly—drenched is never better.
Use a spray bottle or a small watering can to moisten the soil lightly, allowing it to dry completely between waterings. Bright, indirect sunlight helps keep the cutting nourished without scorching delicate tissues. Monitor temperature and humidity closely; ideal conditions often range from 65-75°F (18-24°C).
Recognizing Successful Rooting and Troubleshooting Common Setbacks
How do you know if your patience is paying off? Rooting signs manifest subtly: new growth, slight swelling at the base, or a gentle, resilient firmness when gently tugged. Sometimes roots form slowly, and it may take weeks or even months depending on species and environment.
If signs of rot (mushy stems, brown or black spots) appear, act swiftly by removing the affected parts or starting anew. Yellowing may indicate too much water or insufficient lighting. Learn to read your cactus’s silent cues—this skill draws you closer to the rhythms of nature.
Ready for Repotting: From Propagation to Thriving Growth
After successful rooting, the time comes to transplant your cactus into a permanent home. Choose a slightly larger pot with adequate drainage, and use fresh, well-draining soil. Gentle handling is paramount; avoid disturbing the new root system.
Gradually acclimate your young cactus to more sunlight, especially direct rays, if appropriate for the species. This transition nurtures fuller, stronger growth and sets the stage for vibrant blooms and a long-lived companion.
FAQ
How long does it take for cactus cuttings to root?
Rooting time can vary by species and conditions, ranging from weeks to months.
What is the best soil for cactus propagation?
A well-draining mix of coarse sand, perlite, and potting soil is ideal for cactus cuttings.
Should I water my cactus cutting immediately after planting?
No, it’s best to wait about a week before watering to prevent rot.

Leave a Reply