
Short Answer
Repotting a Ferocactus is a delicate dance between horticultural care and personal safety—a task that demands both reverence for these spiny sentinels and a strategic approach to their formidable defenses. Known for their vibrant, often fiery-hued flowers and formidable, hooked spines, Ferocacti are not your average houseplants. They are rugged denizens of arid landscapes, evolved to deter predators with a botanical arsenal that can make even the most seasoned plant enthusiast pause. But with the right knowledge, the right tools, and a dash of audacity, repotting one of these botanical titans can be a deeply rewarding experience. Whether you’re a seasoned cactophile or a novice eager to embrace the challenge, this guide will walk you through every critical step, ensuring that both you and your spiky charge emerge unscathed and thriving.
The Art of Preparation: Tools and Environment
Before you even consider touching your Ferocactus, preparation is paramount. These plants are not merely decorative; they are living sculptures of resilience, and they deserve an environment that respects their nature. Start by selecting a workspace that is well-ventilated and free of clutter—perhaps a sturdy workbench or a spacious table draped with an old towel to cushion any accidental drops. The towel also serves as a makeshift barrier against stray spines, which have a habit of ricocheting unpredictably.
Your toolkit should include thick, puncture-resistant gloves (preferably leather gauntlets designed for gardening), long-handled tongs or tweezers for precise adjustments, and a pair of heavy-duty pruners or a serrated knife for severing stubborn roots. A spray bottle filled with water can be invaluable for dampening the soil, making it easier to manipulate without sending clouds of dust into the air. And let’s not forget the most crucial tool of all: patience. Rushing this process is a surefire way to end up with a spine in your finger—or worse, a toppled cactus.
Understanding the Ferocactus: Anatomy and Behavior
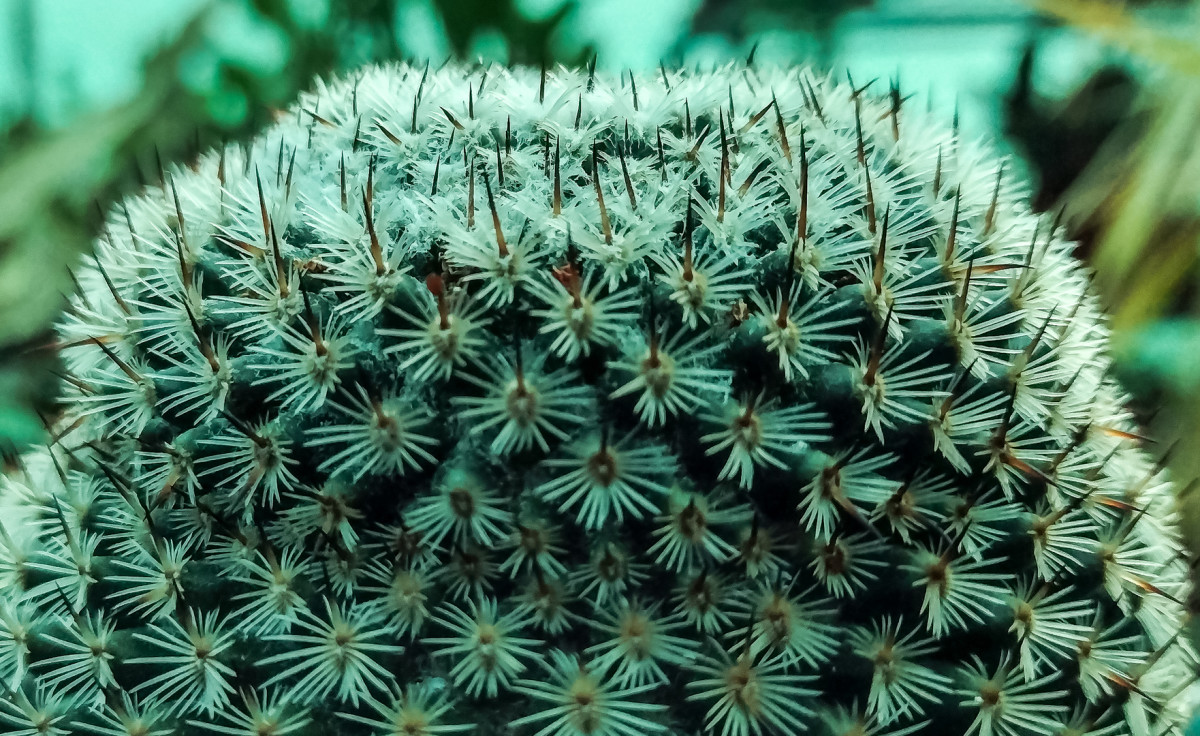
To repot a Ferocactus with finesse, you must first understand its architecture. These cacti are not just spines and stems; they are complex organisms with distinct growth patterns and defense mechanisms. The ribs, for instance, are not merely decorative—they are structural marvels that expand and contract with water intake, allowing the plant to store moisture in the harshest conditions. The spines themselves come in two primary types: radial spines, which radiate outward like the spokes of a wheel, and central spines, which are often longer, stouter, and hooked at the tips. These central spines are the plant’s primary deterrent, designed to snag and deter would-be grazers.
Ferocacti also possess a unique root system that is surprisingly shallow but widespread, adapted to absorb water quickly after rare desert rains. When repotting, you’ll need to respect this root structure, avoiding unnecessary disturbance that could lead to rot or stunted growth. Observe your cactus in the days leading up to repotting. Is it showing signs of new growth? Is the soil bone-dry? These clues will inform your timing and approach, ensuring that the plant is in the optimal state for transplantation.
Timing is Everything: When to Repot Your Ferocactus
Timing in the world of Ferocactus repotting is less about the season and more about the plant’s life cycle. The ideal window is during the late winter or early spring, just as the cactus is emerging from its dormant phase but before the frenetic growth of summer. This is when the plant is most resilient, with energy reserves to spare for recovery. Avoid repotting in the heat of summer or the depths of winter, as extreme temperatures can stress the plant and hinder root establishment.
Another critical factor is the moisture level of the soil. A bone-dry root ball is far easier to handle than a damp one, as wet soil clings stubbornly to spines and roots alike. If your Ferocactus has been watered recently, allow the soil to dry out completely before attempting repotting. This reduces the risk of soil-borne pathogens entering fresh wounds and also makes the process less messy. Think of it as preparing a canvas before painting—clean lines and a clear surface make all the difference.
The Delicate Extraction: Removing the Cactus from Its Pot
Here is where many well-intentioned plant lovers meet their match. The extraction process is less about brute force and more about finesse. Start by gently tapping the sides of the pot to loosen the soil, working your way around the perimeter. If the cactus is stubbornly lodged, run a thin-bladed knife along the inner edge of the pot to break the soil’s grip. Never pull from the spines—this is a recipe for disaster. Instead, grasp the base of the plant, using your gloved hands or tongs to cradle the lower ribs.
If the cactus is particularly large or densely spined, enlist the help of a second person. One person can steady the pot while the other supports the plant, ensuring a smooth transition. For those with a particularly recalcitrant Ferocactus, consider wrapping the plant in several layers of newspaper or bubble wrap to create a protective cocoon. This not only shields you from spines but also provides a firm surface to grip. Remember, the goal is to minimize stress on the plant while maximizing safety for yourself.
Root Inspection and Pruning: A Surgical Approach
Once the Ferocactus is free from its pot, resist the urge to immediately transfer it to its new home. Instead, take a moment to inspect the root system. Healthy roots should be firm and white or light tan, while dark, mushy roots indicate rot—a silent killer that must be addressed promptly. Use your pruners to snip away any compromised roots, sterilizing the blades between cuts to prevent the spread of disease. This is also an opportunity to trim any excessively long or tangled roots, encouraging a more compact and efficient root system.
If the root ball is excessively dense, you can gently tease apart the roots with your fingers or a root hook, promoting outward growth in the new pot. However, avoid over-pruning, as this can shock the plant. The key is balance—restoring the root system to a healthy state without stripping the cactus of its lifeline. Think of it as a haircut: just enough to refresh, but never enough to leave the plant bare.
Choosing the Right Pot and Soil: A Foundation for Success
The vessel you choose for your Ferocactus is more than a container—it’s a foundation for its future. Opt for a pot that is slightly larger than the root ball, with ample drainage holes to prevent waterlogging. Terracotta pots are ideal, as their porous nature allows excess moisture to evaporate, mimicking the arid conditions of the cactus’s native habitat. Avoid plastic pots, which retain moisture and can lead to root rot.
When it comes to soil, Ferocacti demand a gritty, well-draining mix that mimics their natural environment. A blend of cactus-specific soil, perlite, and coarse sand (in a ratio of roughly 2:1:1) provides the perfect balance of aeration and moisture retention. Avoid peat-heavy mixes, which compact over time and suffocate roots. If you’re feeling adventurous, you can even incorporate a small amount of crushed granite or pumice for added texture and drainage. The goal is to create a substrate that allows water to flow through quickly while still providing enough structure to support the plant.
The Transplant: A Gentle Rehoming
With your pot and soil ready, it’s time to give your Ferocactus a new lease on life. Begin by adding a layer of fresh soil to the bottom of the pot, creating a gentle mound that will support the root ball. Place the cactus in the center, ensuring it sits at the same depth as it did in its previous pot. This is critical—planting too deeply can lead to stem rot, while too shallow can leave roots exposed and vulnerable.
Fill in the gaps with your soil mix, pressing gently to eliminate air pockets but avoiding compaction. Water sparingly at first, just enough to settle the soil without soaking it. Over the next few weeks, monitor the plant closely, keeping it in a bright, warm location but avoiding direct sunlight until it has fully acclimated. The first few days are the most critical, as the cactus adjusts to its new environment. Resist the urge to fuss over it—sometimes, the best care is the least intrusive.
Post-Repotting Care: Nurturing Recovery
In the days following repotting, your Ferocactus may exhibit signs of stress, such as slight wilting or a change in spine color. This is normal and not cause for alarm. The key is to provide stable conditions: consistent warmth, indirect light, and minimal water. Wait at least a week before resuming your regular watering schedule, and then only water when the soil is completely dry. Overwatering is the fastest way to undo all your hard work.
Keep an eye out for pests, such as mealybugs or scale, which may take advantage of a weakened plant. If you notice any unwelcome visitors, treat them promptly with a gentle insecticidal soap or neem oil solution. And remember, patience is your greatest ally. Ferocacti are slow growers, and it may take months for your plant to fully recover and begin producing new growth. But when those vibrant flowers finally emerge, you’ll know that your efforts were worth every spine.
Final Thoughts: Embracing the Spine
Repotting a Ferocactus is not for the faint of heart, but it is a testament to the bond between plant and gardener. These plants, with their defiant spines and delicate blooms, remind us that beauty and danger often walk hand in hand. By approaching the task with preparation, respect, and a touch of audacity, you can transform a daunting chore into a deeply satisfying ritual. So don your gloves, steady your nerves, and embrace the challenge. Your Ferocactus—and your green thumb—will thank you.
FAQ
When is the best time to repot a Ferocactus?
The optimal time to repot a Ferocactus is in late winter or early spring, just as the cactus emerges from dormancy and before active summer growth begins.
What tools are recommended for safely repotting a Ferocactus?
Use thick, puncture-resistant gloves, long-handled tongs or tweezers, heavy-duty pruners or a serrated knife, and a spray bottle with water to dampen soil.
Why should I avoid repotting a Ferocactus in summer or winter?
Extreme heat or cold can stress the plant and inhibit root establishment, making these seasons less ideal for repotting.
What kind of soil is best for Ferocactus repotting?
A gritty, well-draining mix composed of cactus soil, perlite, and coarse sand in approximately a 2:1:1 ratio is ideal.
How should I handle the root system during repotting?
Inspect for rot, prune unhealthy roots with sterilized tools, and gently tease apart dense roots without over-pruning to avoid shock.

Leave a Reply