
Short Answer
Cacti, with their striking silhouettes and resilient nature, are a beloved addition to any plant collection. Yet, even these desert denizens face challenges—whether from environmental stressors, pests, or the occasional mishap. Among the most common issues is the dreaded withering or damage to their pads, particularly in the case of Opuntia species, where the pads are both the plant’s glory and its vulnerability. Removing dead or damaged pads isn’t just about aesthetics; it’s a vital act of preservation, ensuring your cactus thrives rather than merely survives. Whether you’re a seasoned succulent enthusiast or a novice green thumb, mastering this skill will elevate your plant care game to new heights.
The Anatomy of an Opuntia Pad: Why It Matters
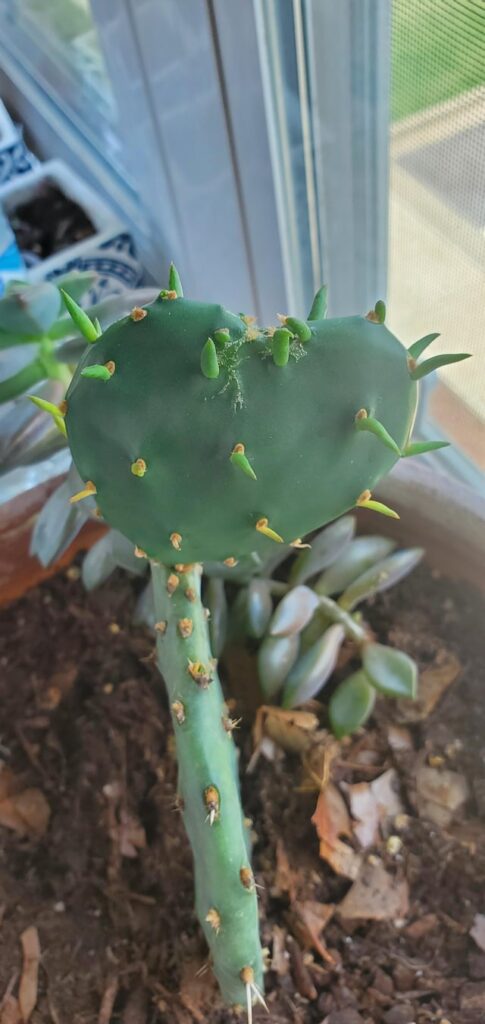
Before wielding your pruning shears, it’s essential to understand the structure you’re dealing with. An Opuntia pad, or cladode, is more than just a flat, paddle-like appendage—it’s a highly specialized organ. Composed of a thick, water-storing epidermis and a spongy interior packed with chlorophyll, these pads are the plant’s lifeline. They photosynthesize, store moisture, and even propagate new plants. When a pad begins to shrivel or shows signs of decay, it’s often a symptom of deeper issues, such as overwatering, pest infestations, or fungal infections. Recognizing the early signs—yellowing, softness, or discoloration—can mean the difference between a quick fix and a full-blown crisis. Think of it as a medical triage: the sooner you diagnose the problem, the easier the remedy.

Tools of the Trade: What You’ll Need for a Pristine Pruning
Pruning cacti isn’t like trimming a hedge—it requires precision, patience, and the right tools. A dull knife or scissors can crush the delicate tissue, inviting rot or disease. Instead, arm yourself with a pair of sterilized, sharp pruning shears or a clean razor blade. For larger pads, a serrated knife works wonders, slicing through the fibrous tissue with ease. Don’t underestimate the power of protection: thick gardening gloves or tongs will shield your hands from the cactus’s formidable spines. A pair of tweezers can be a lifesaver for removing stubborn debris or isolating pests. And remember, cleanliness is next to cactus-ness—always sterilize your tools with rubbing alcohol before and after use to prevent cross-contamination. This isn’t just about neatness; it’s about safeguarding your plant’s health.
Step-by-Step: The Art of Removing Damaged Pads
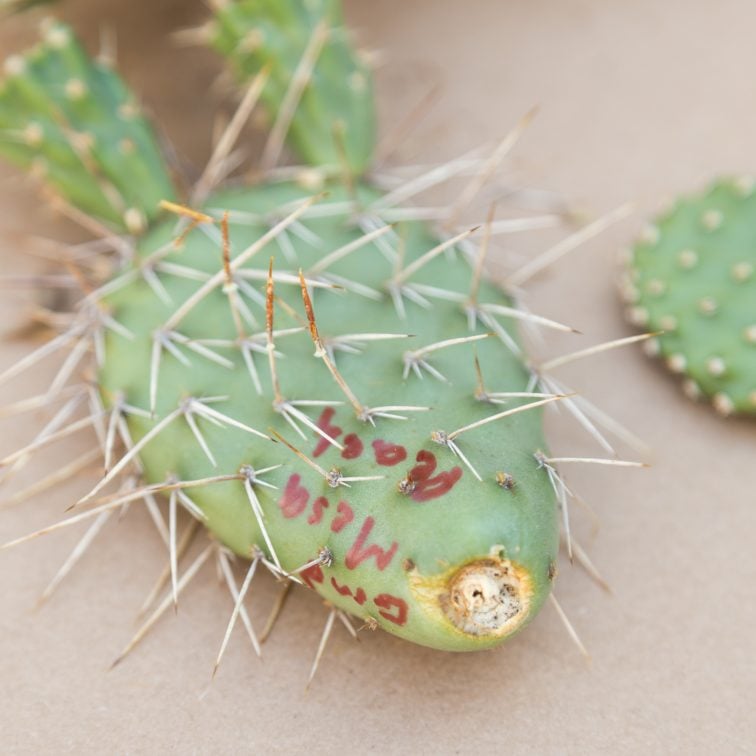
The process of removing a dead or damaged pad is straightforward, but it demands a methodical approach. Start by identifying the pad that needs attention. If it’s completely desiccated, it’s a goner; if it’s merely soft or discolored, it might still have life left in it. Gently grasp the pad near its base, using your gloved hand or tongs to avoid the spines. With your sterilized tool, make a clean cut as close to the main plant as possible, angling the blade slightly to prevent water pooling on the wound. Avoid sawing motions—smooth, decisive cuts minimize trauma. If the pad is stubborn, wiggle it slightly to loosen its grip before severing it entirely. Once removed, set the pad aside (it could be a propagation candidate!) and inspect the wound on the mother plant. If it’s oozing or discolored, you may need to treat it with a fungicide or let it callous over in a dry, shaded spot for a few days.
Aftercare: Nurturing Your Cactus Back to Health
Pruning doesn’t end with the removal of the pad—it’s just the beginning of the recovery process. Your cactus will need time to heal, and that means adjusting its care routine. For the first week or two, withhold water entirely to prevent rot from setting in at the wound site. Place the plant in a bright, indirect light location, avoiding direct sun that could scorch the vulnerable area. If the weather is cool or humid, consider using a small fan to improve air circulation around the cactus. Monitor the wound closely; if it darkens or emits a foul odor, it may be infected, and you’ll need to act swiftly with a fungicide or by removing additional tissue. Once the wound has calloused over (it should look dry and slightly hardened), you can resume watering, but do so sparingly—Opuntia prefer a “soak and dry” approach. This period of convalescence is your chance to observe your cactus’s resilience and adjust your care as needed.
Pests and Pathogens: The Hidden Enemies of Opuntia Pads
Sometimes, the damage to your Opuntia pads isn’t from neglect—it’s from uninvited guests. Cochineal scale, those tiny, cottony pests that cling to the pads like barnacles, are a common culprit. These insects secrete a white, waxy substance and can weaken the pad by sucking out its sap. Mealybugs and spider mites are other frequent offenders, leaving behind webbing or a cottony residue. Fungal infections, often signaled by black spots or a powdery mildew-like coating, can also wreak havoc. If you spot these issues, don’t reach for the shears just yet. Instead, isolate the affected plant and treat it with a mixture of neem oil and water, or a horticultural oil spray. For severe infestations, you may need to remove heavily infested pads entirely, but always pair this with a thorough treatment to prevent recurrence. Prevention is key: regularly inspect your cactus, especially during the growing season, and keep it in a well-ventilated area to deter pests.

Propagation: Turning Trash into Treasure
Here’s the silver lining: those “dead” or damaged pads you’ve removed might not be as lifeless as they seem. Opuntia pads are champions of regeneration, and with a little coaxing, they can sprout roots and grow into brand-new plants. To propagate, let the cut pad sit in a dry, shaded spot for a week or two to allow the wound to callous over. Then, lay it on top of a well-draining soil mix—cactus or succulent soil works perfectly—and mist it lightly every few days. Avoid burying it; the goal is to encourage root growth from the base, not suffocate it. Place the pad in bright, indirect light and wait. In a few weeks, you should see signs of life: new spines, a slight plumpness, or even tiny roots peeking out. Once established, you can transplant it into its own pot. This is where the magic of cacti shines—what was once ailing can become the start of a thriving new plant.
Long-Term Strategies: Preventing Future Pad Damage
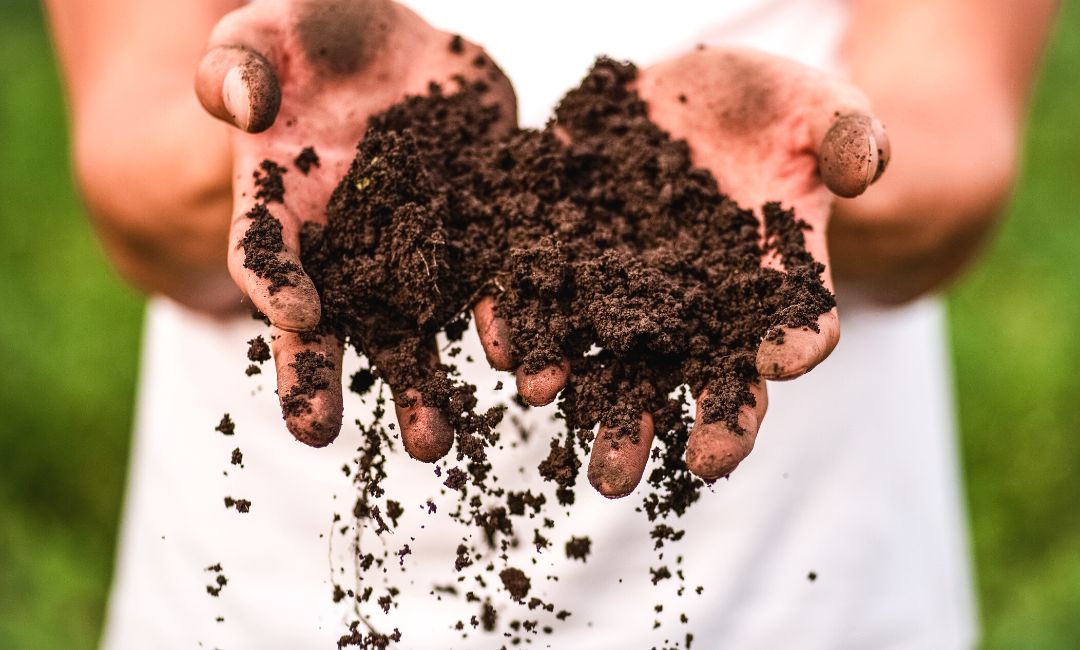
The best offense is a good defense, and that’s especially true for Opuntia care. To minimize future pad damage, start with the basics: proper watering. These desert natives despise soggy soil, so water only when the top inch of soil is completely dry. Ensure your pot has drainage holes and use a gritty, fast-draining soil mix to mimic their natural habitat. Light is another critical factor—Opuntia crave bright, direct sunlight, but if you’re transitioning a plant indoors, do so gradually to avoid sunburn. Fertilize sparingly, using a balanced, diluted fertilizer during the growing season, and avoid over-fertilizing, which can lead to weak, leggy growth. Finally, keep an eye on temperature fluctuations. While Opuntia are hardy, sudden cold snaps or drafts can stress them, leading to pad damage. By creating a stable, desert-like environment, you’ll give your cactus the best chance to flourish.
Removing dead or damaged Opuntia pads is more than a chore—it’s an act of stewardship. It’s a way to connect with the rhythms of these remarkable plants, to understand their needs, and to intervene when nature’s course takes a turn. With the right tools, techniques, and a dash of patience, you’ll not only restore your cactus to its former glory but also deepen your appreciation for its tenacity. So, the next time you spot a withering pad, don’t hesitate. Grab your shears, put on your gloves, and get to work. Your Opuntia will thank you—one thriving pad at a time.
FAQ
How often should I remove damaged cactus pads?
You should inspect your cactus regularly and remove any damaged pads as soon as you notice them to prevent further issues.
Can I propagate cactus pads after removing them?
Yes, you can propagate cactus pads by allowing them to callous over before placing them in suitable soil.

Leave a Reply